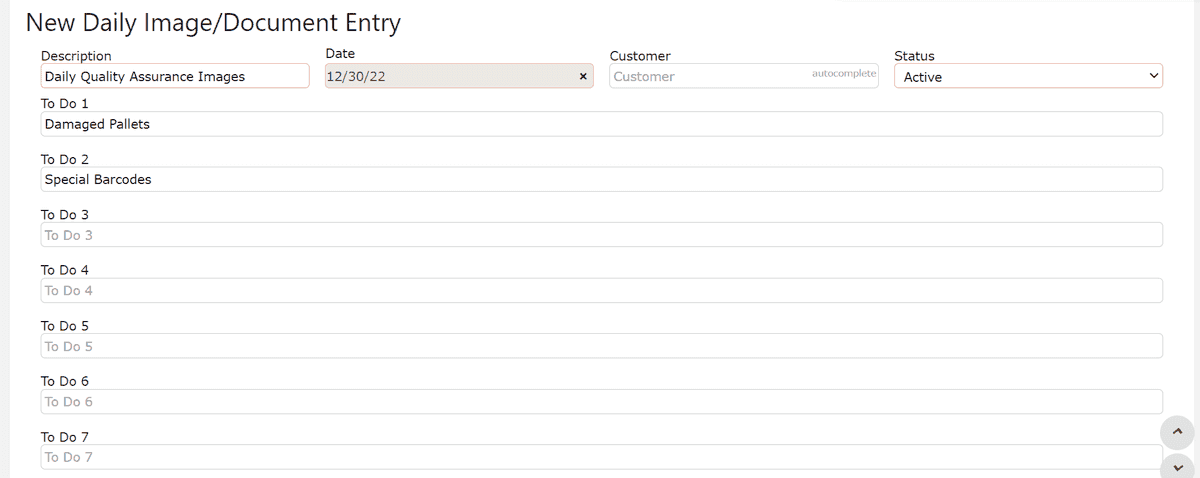
Scan Gun Fundamentals - Key Information
Scan gun fundamentals define the core processes and system requirements that enable Zebra RF devices to operate effectively within Inspired ERP environments. At Inspired, Zebra scan guns are provisioned, configured, and deployed with required software and settings before being handed off to customers, ensuring seamless integration with warehouse workflows and ERP transactions. Understanding scan gun fundamentals helps ensure reliable device performance, accurate data capture, and consistent user experience across warehouse operations.
Device Provisioning at Inspired
Before deployment, Zebra scan guns are prepared by Inspired I.T. to ensure compatibility with Inspired ERP and customer environments. Key provisioning steps include:
• Installation of required operating system versions approved for Inspired
• Deployment of Inspired-supported software, including:
- Zebra Enterprise Home Screen (EHS)
- Velocity
- DataWedge configuration profiles
• Application of customer-specific configurations and security settings.
• Validation of device functionality and RF connectivity.
This provisioning process ensures devices are operational and aligned with Inspired workflows prior to customer handoff.
Core Scan Gun Components
Scan gun functionality within Inspired relies on several core components:
• Zebra handheld RF devices
• Integrated barcode scanners and physical triggers.
• Wireless connectivity for real-time ERP communication.
Operating System and Firmware
• Android OS versions supported by Inspired ERP
• Zebra firmware and security updates.
• Device-level configurations that impact performance and compatibility.
Software & Applications
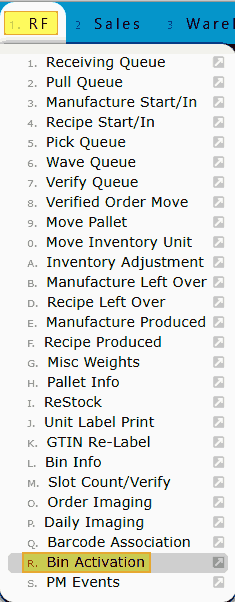
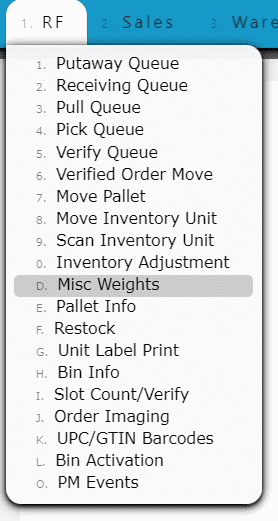
• Terminal emulation software for accessing Inspired RF menus.
• Zebra EHS for device lockdown and controlled user access.
• Inspired ERP RF menu access and authentication.
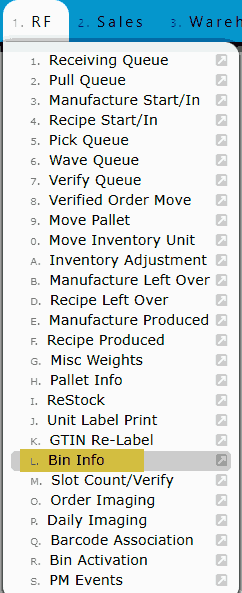
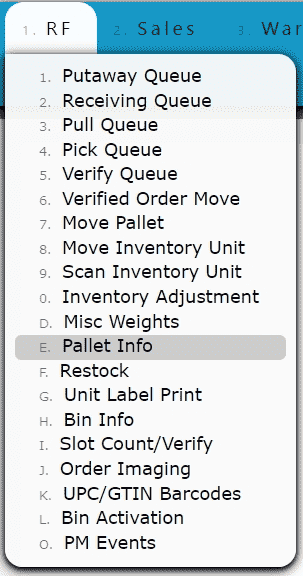
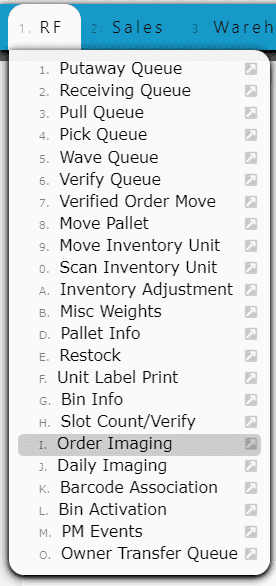
Integration with Inspired Workflows
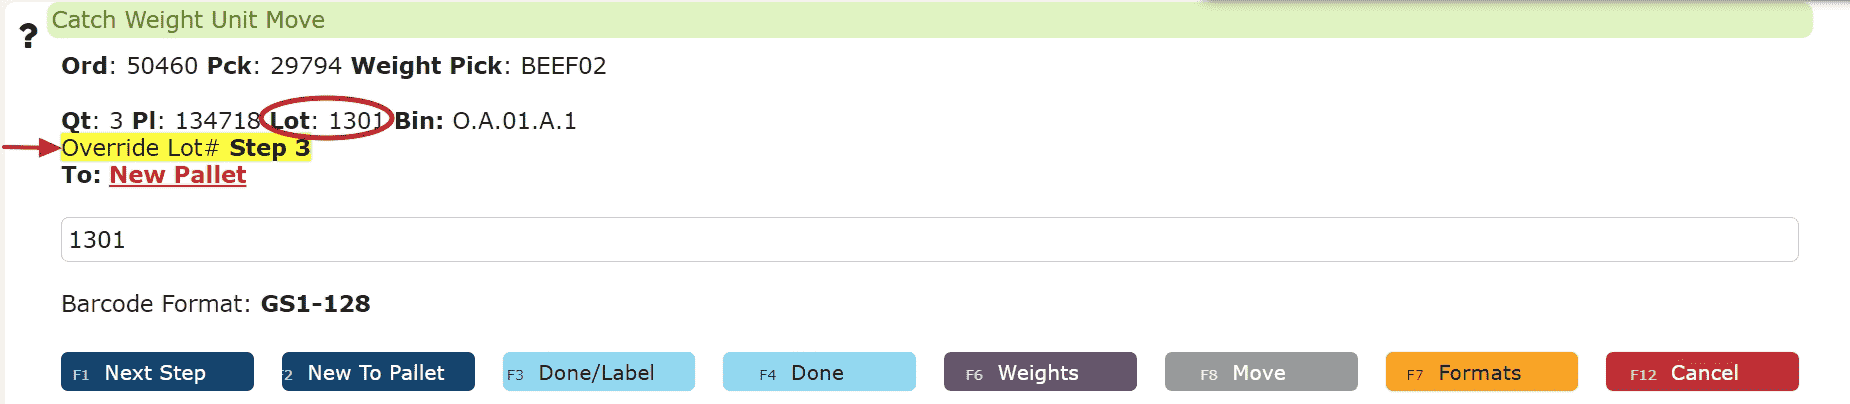
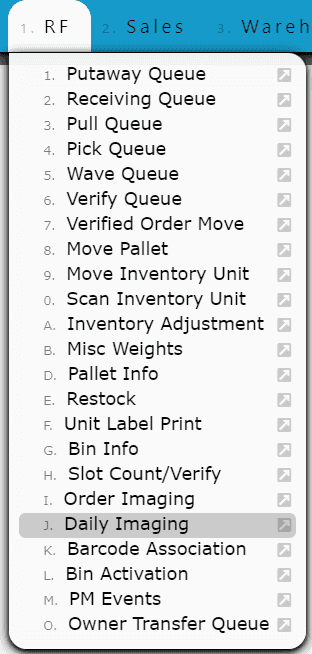
Scan guns interact directly with Inspired through RF-driven workflows. Common workflows include:
• Receiving and putaways
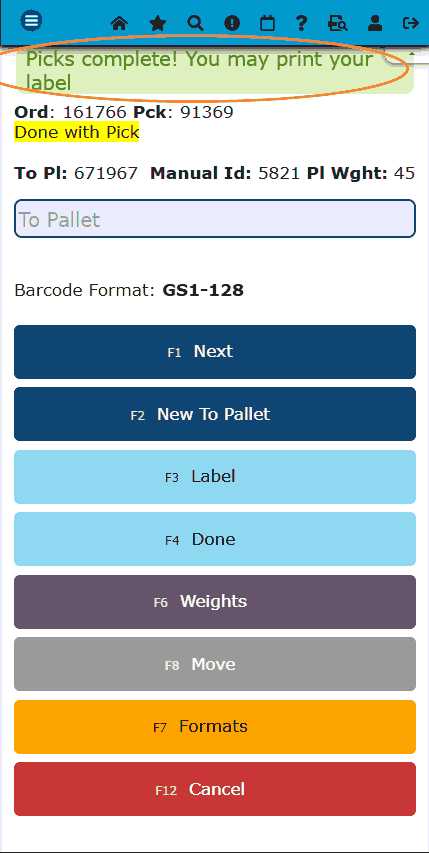
• Picking and order fulfillment
• Slot verifiation and inventory validation
• Cycle counting and inventory adjustments
• Label scanning and pallet identification
• Shipping and manifesting processes
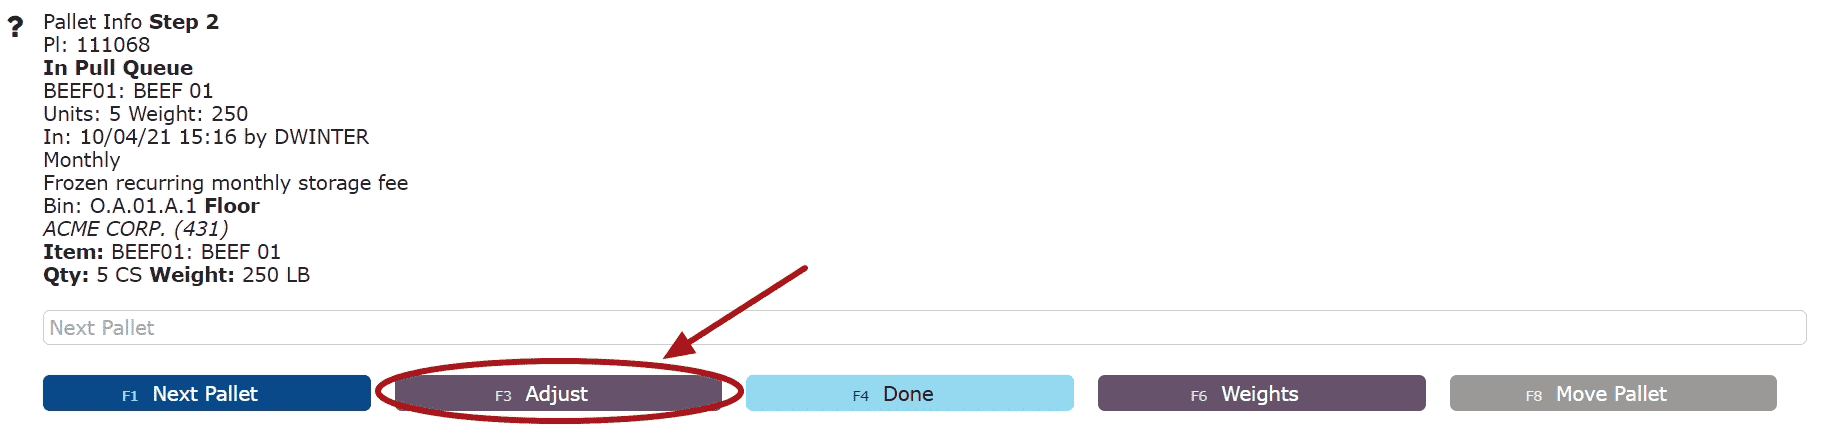
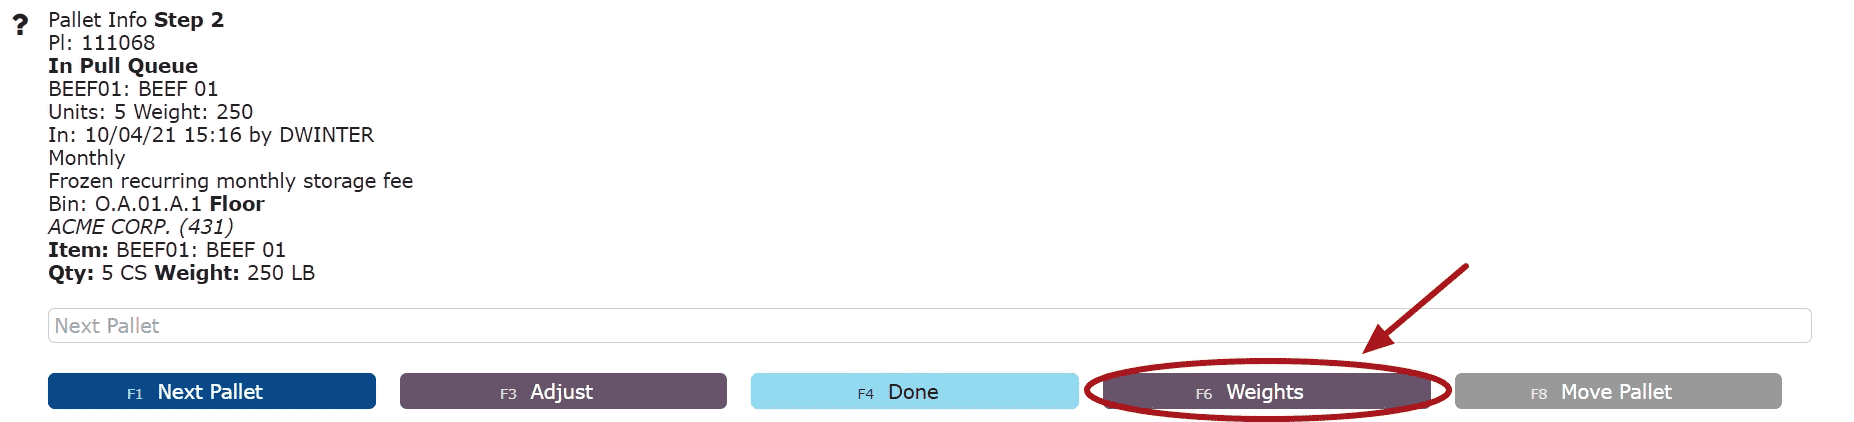
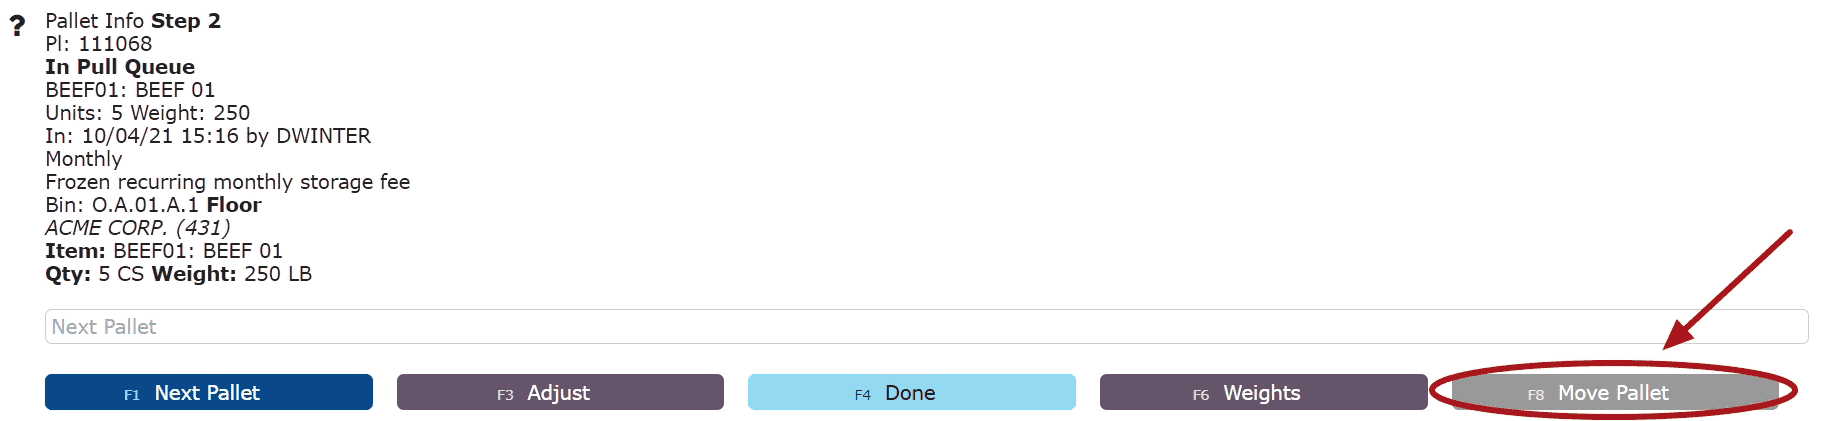
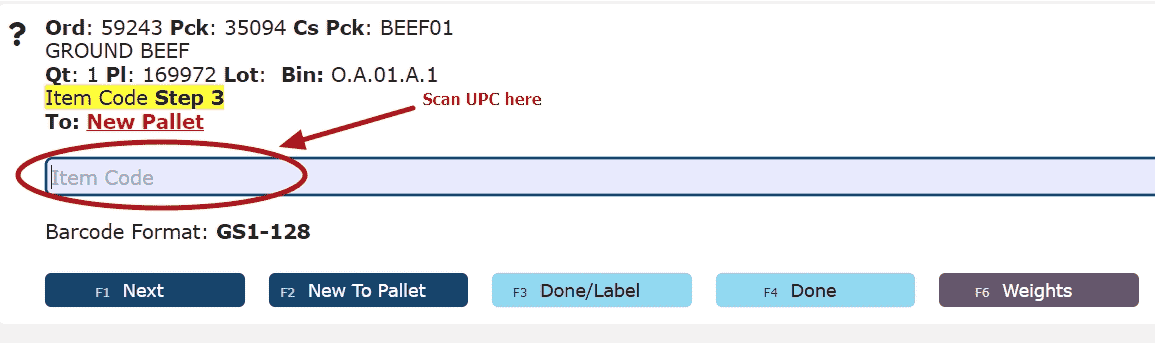
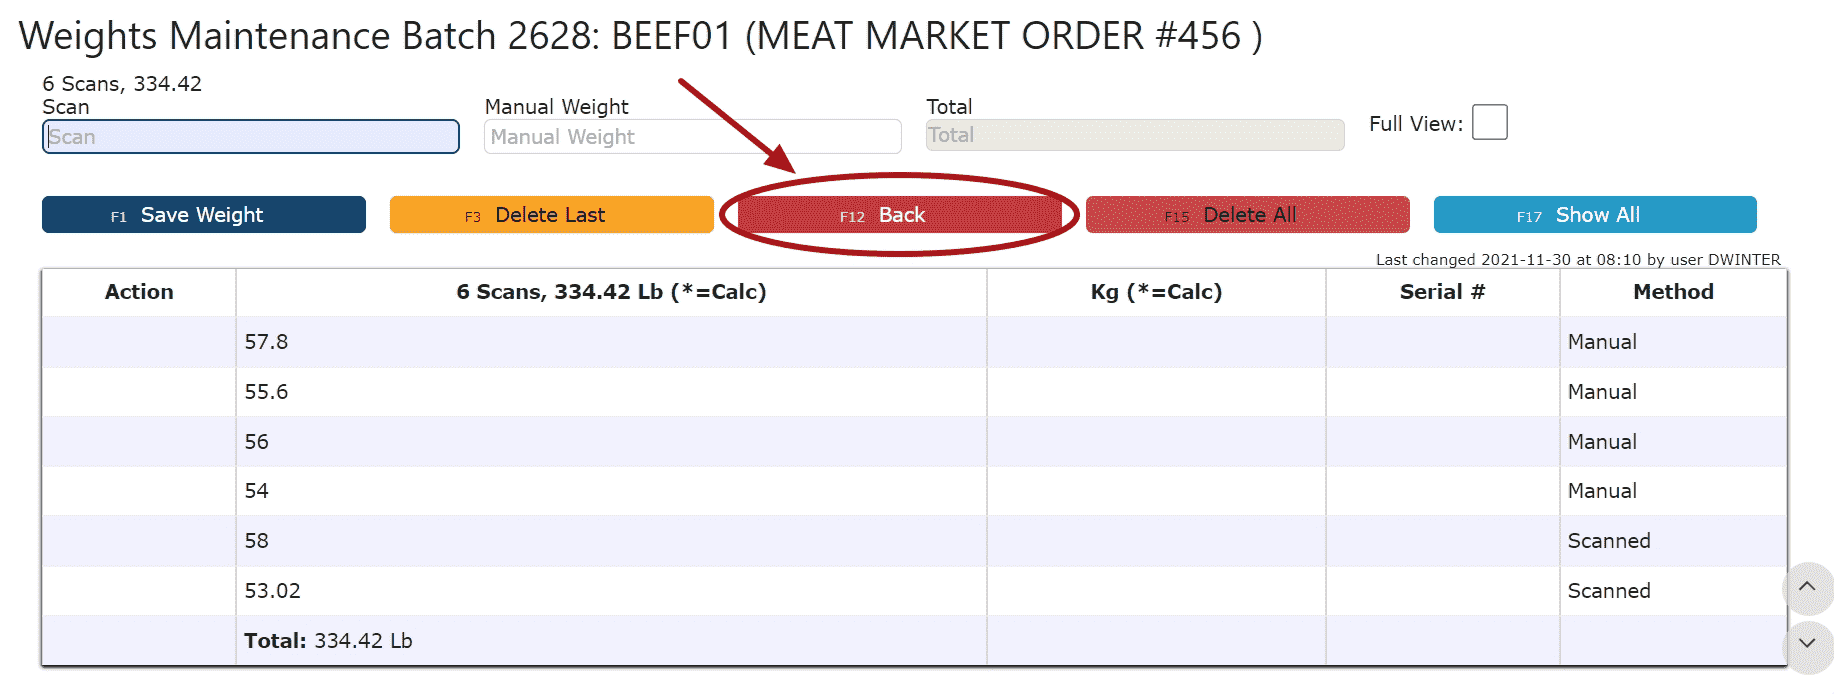
Each workflow depends on accurate scanning of barcodes such as item numbers, pallet IDs, locations, and quantities.
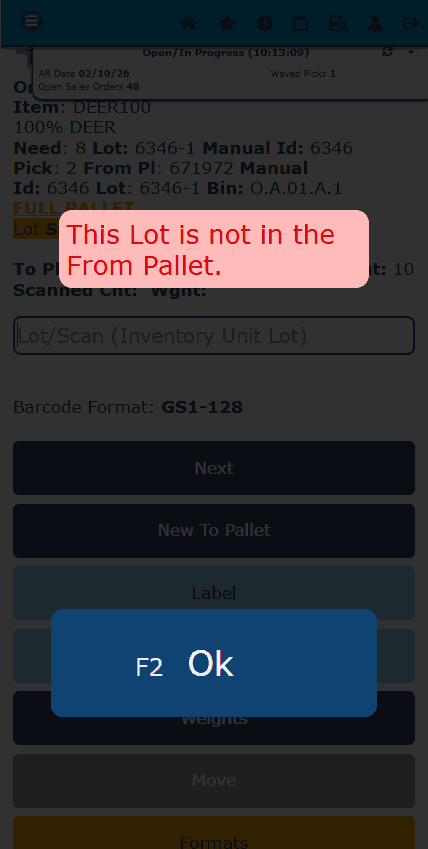
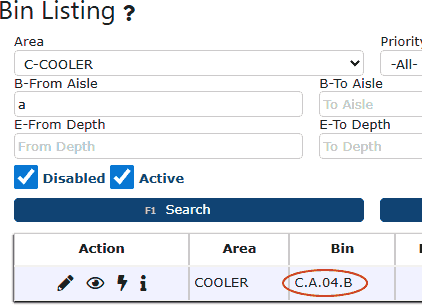
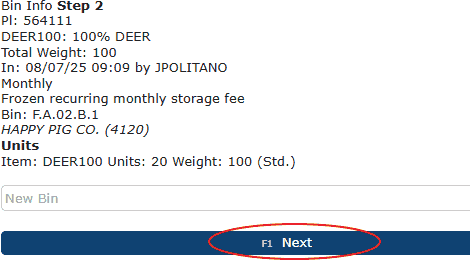
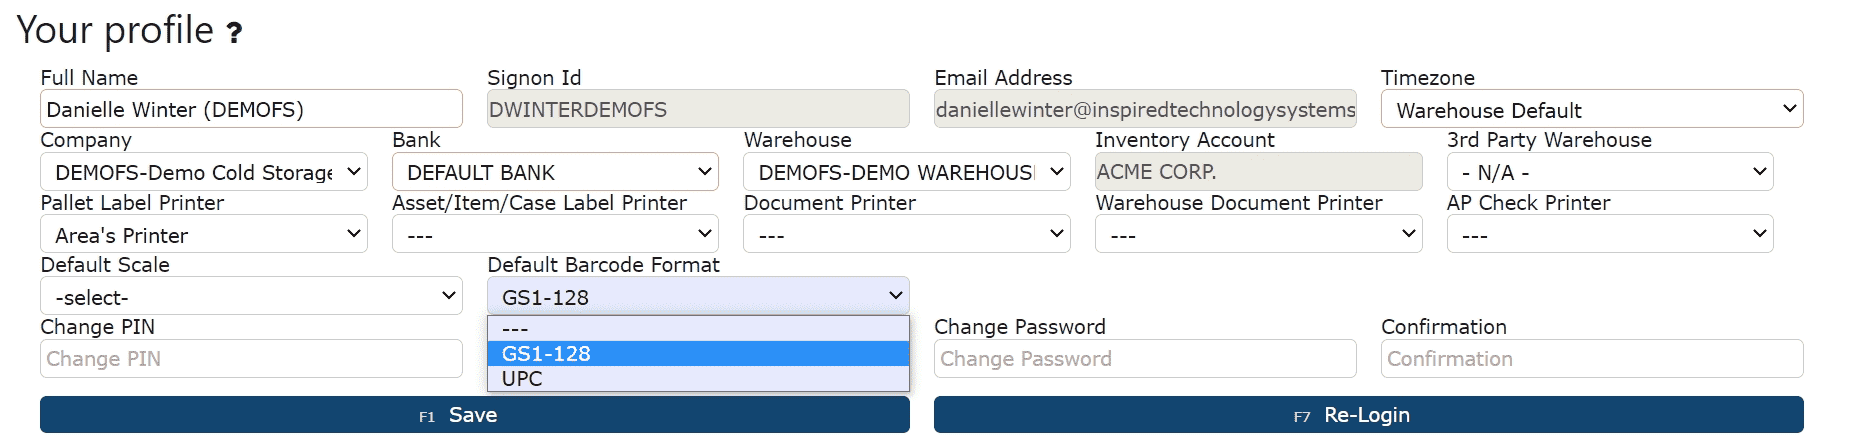
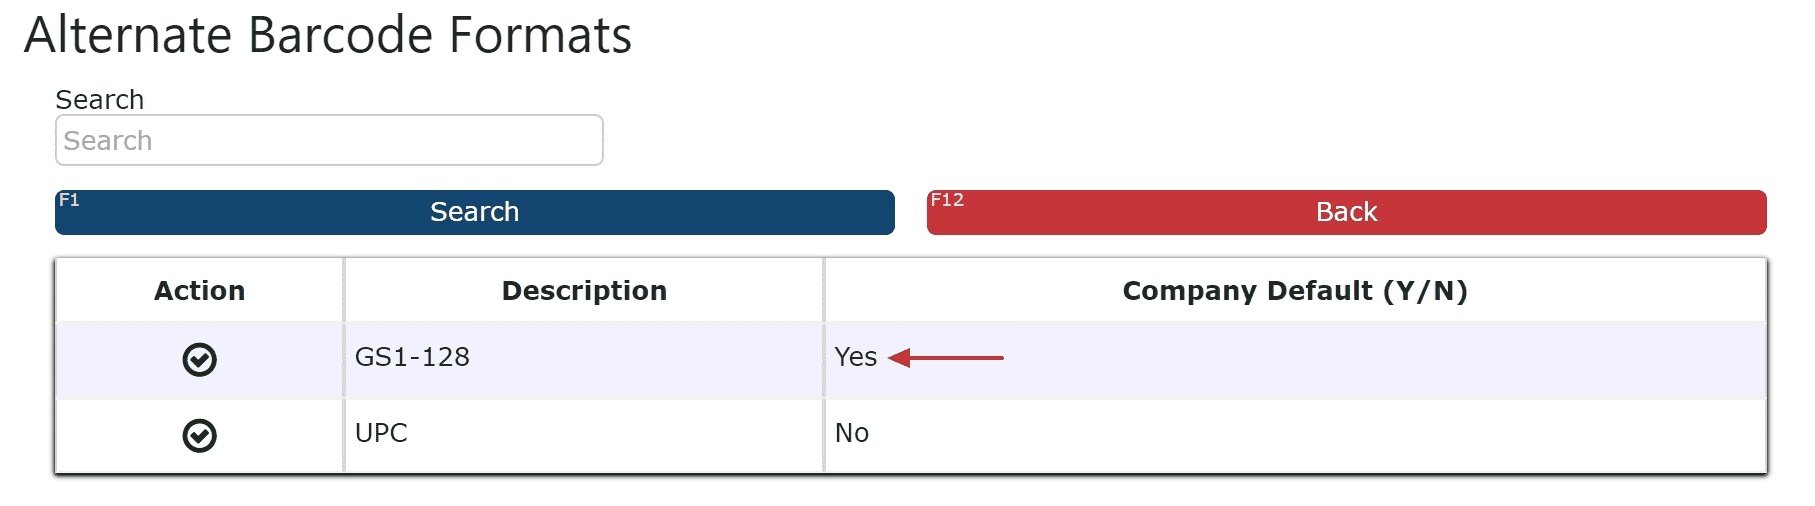
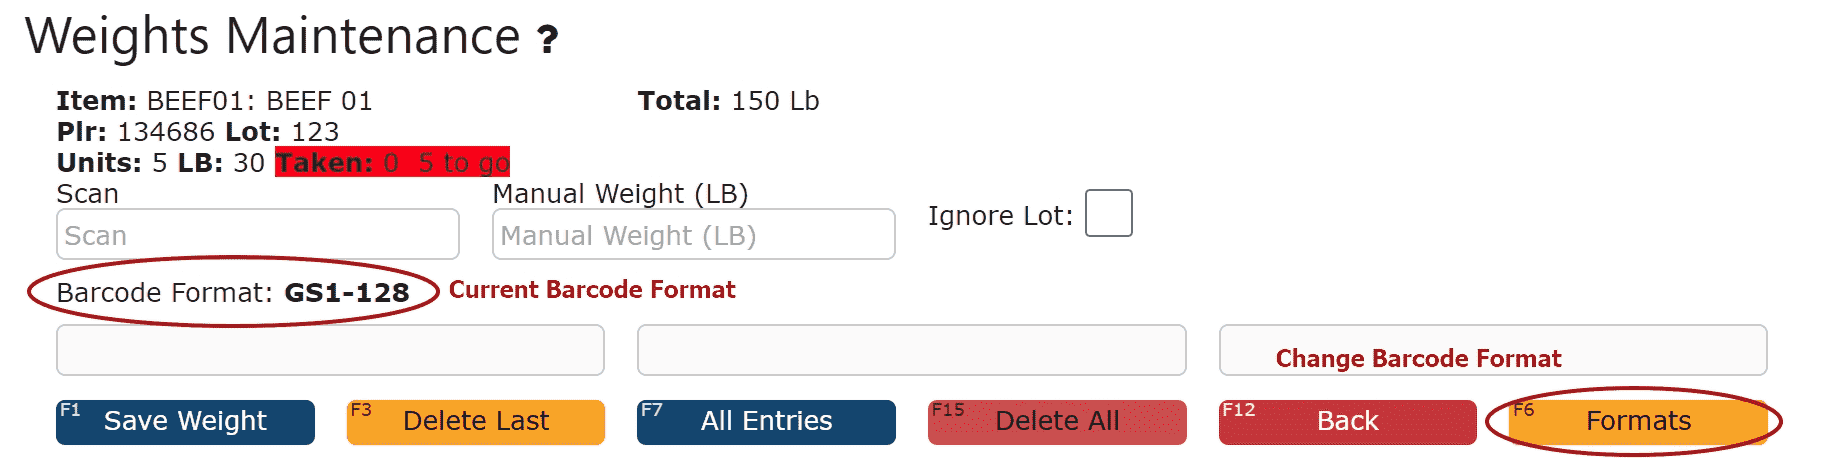
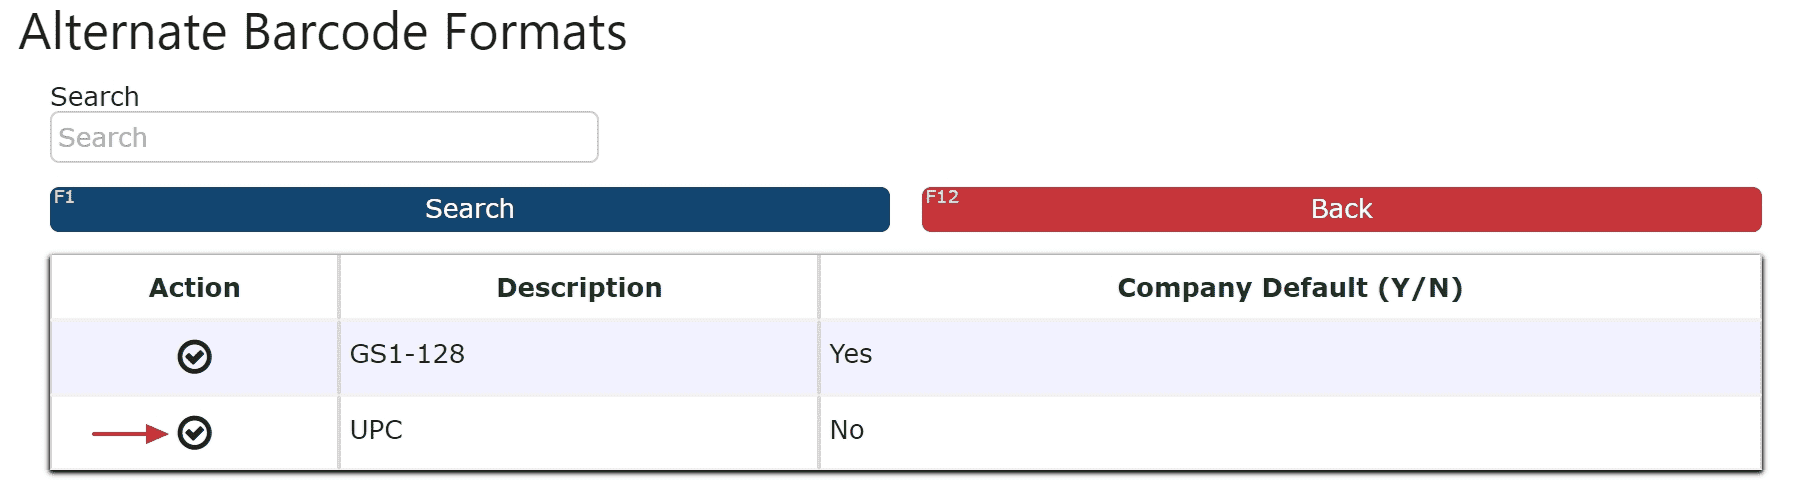
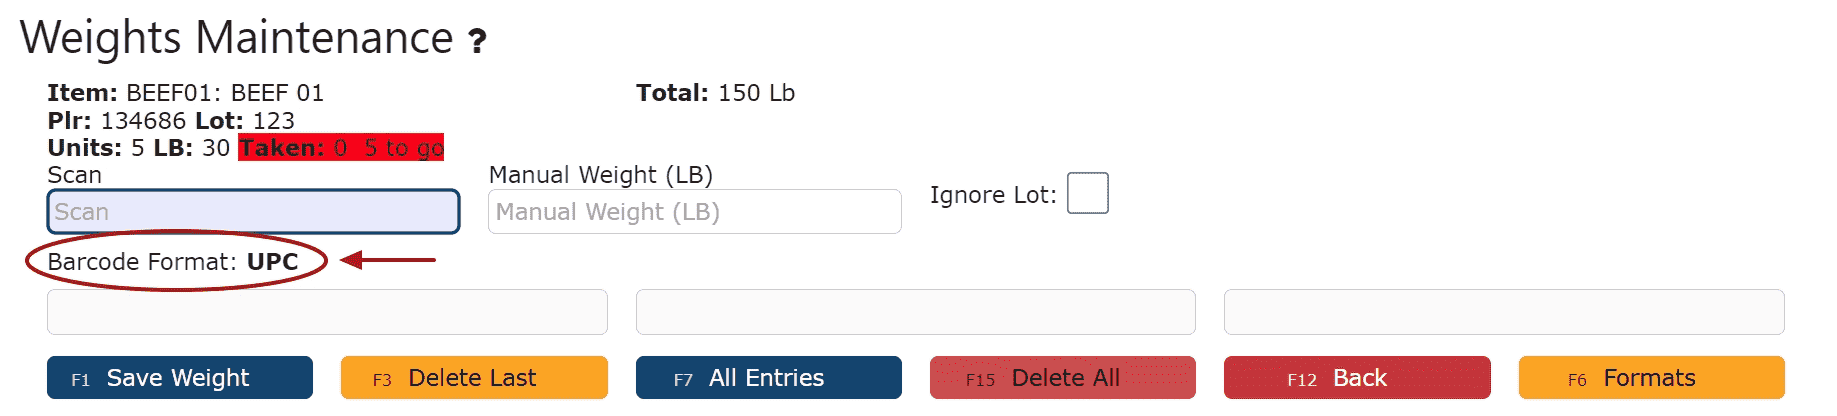
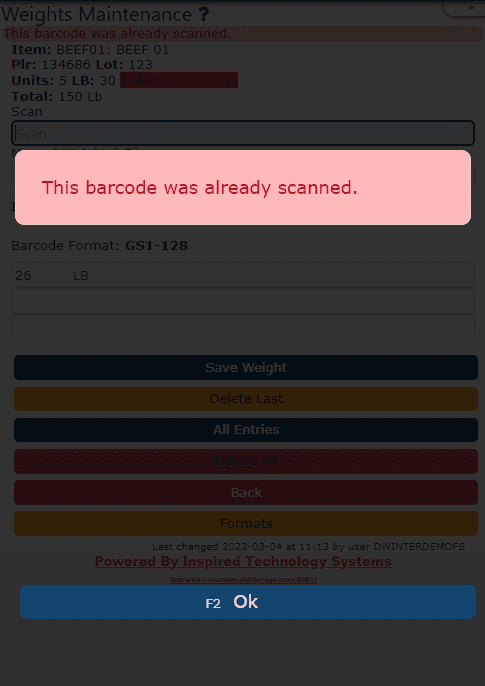
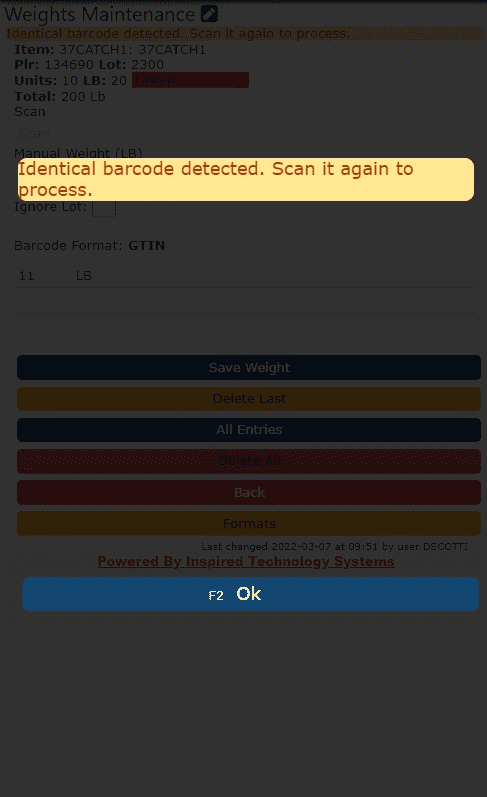
Barcode Scanning Fundamentals
Accurate barcode scanning is foundational to scan gun operation in Inspired. Proper barcode configuration ensures consistent data capture across all warehouse processes. Key concepts include:
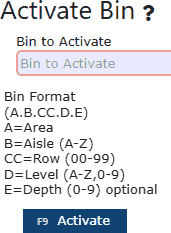
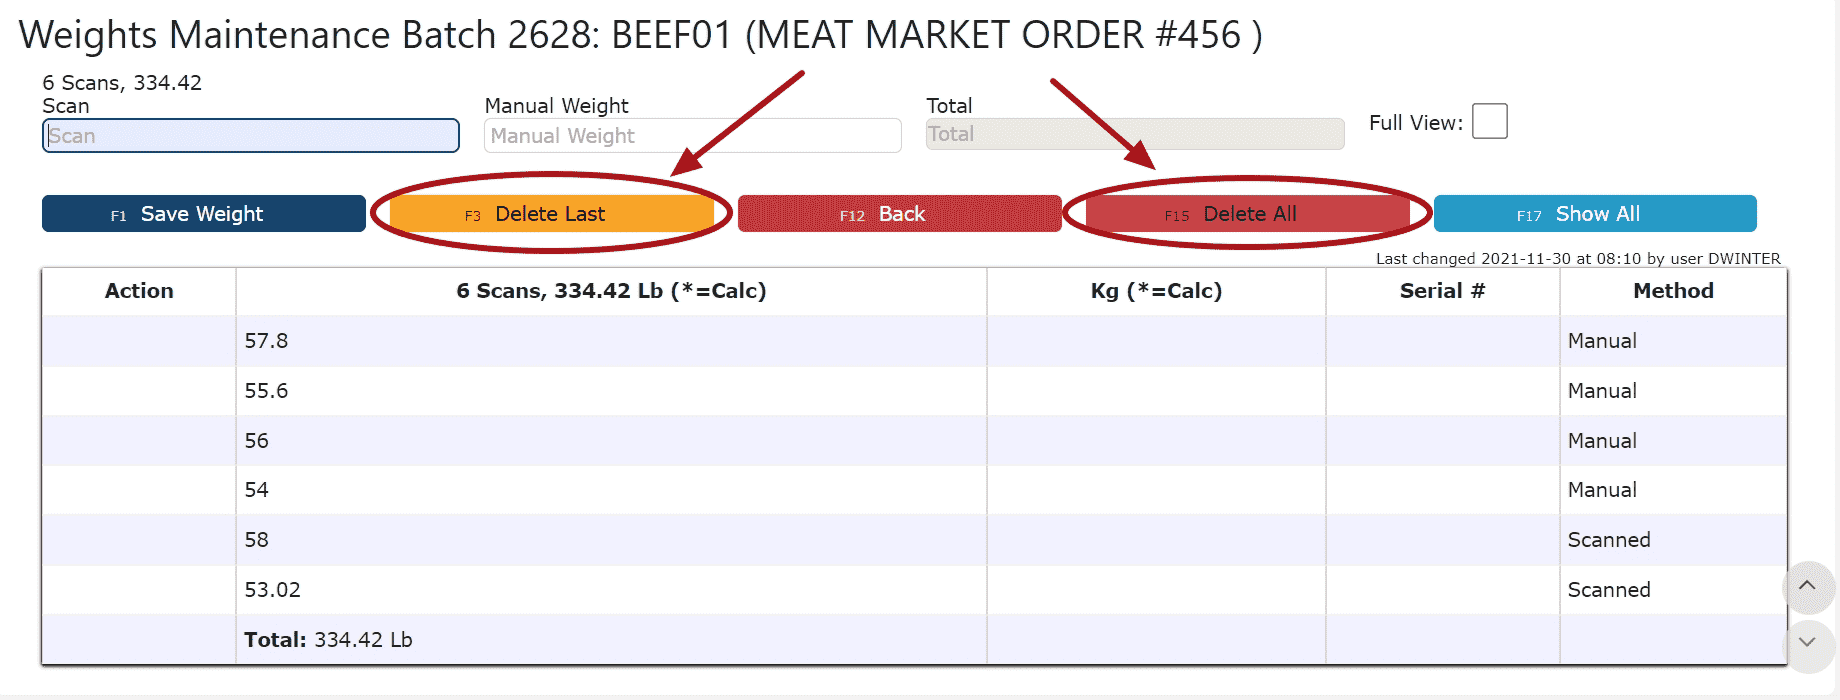
• Barcode symbologies supported by Zebra devices (e.g., Code 128, UPC, QR).
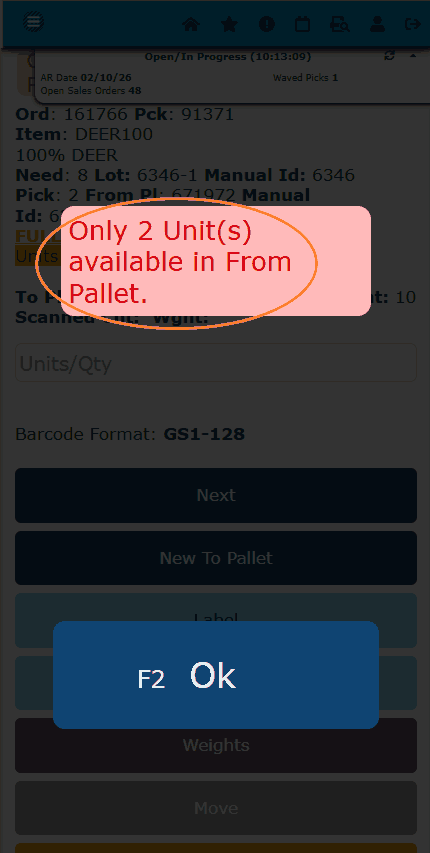
• Validation of scanned data against Inspired records.
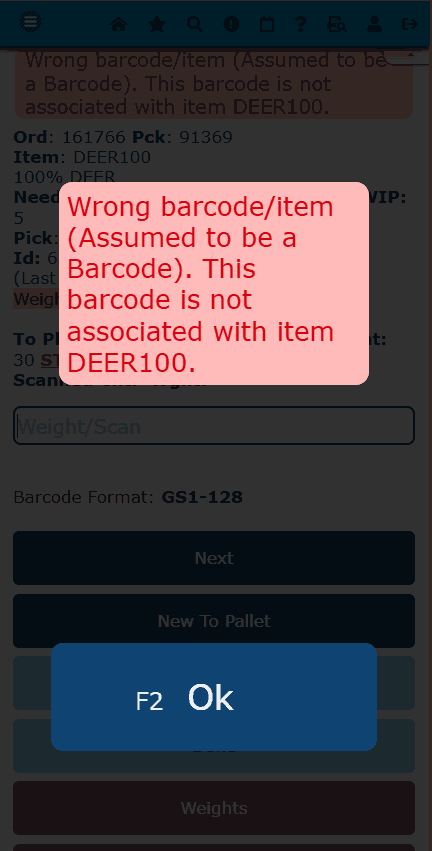
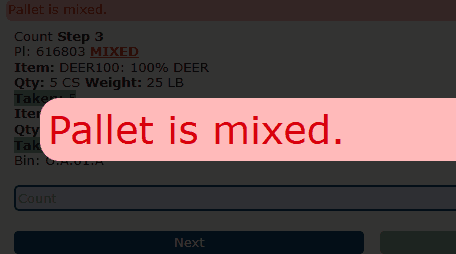
• Real-time feedback through prompts and system messages.
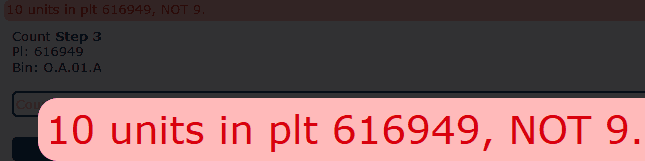
• Error handling when invalid or unexpected barcodes are scanned.
Customer Handoff & Deployment
Once provisioning is complete, scan guns are delivered to customers for operational use. During handoff:
• Devices are tested to confirm connectivity to Inspired environments.
• Customer-specific settings are validated.
• Documentation or guidance may be provided for end users and IT teams.
• Devices are ready for immediate use within warehouse operations.
This approach minimizes deployment time and ensures a consistent user experience across customer sites.
Operational Impact
Proper implementation of scan gun fundamentals delivers measurable operational benefits:
• Improved accuracy in inventory and order processing.
• Faster transaction execution compared to manual entry.
• Reduced training time for warehouse users.
• Consistent device behavior across multiple locations and users.
• Enhanced system reliability and supportability.