WMS Activity:
Warehouse related activities that are performed on pallets in inventory.
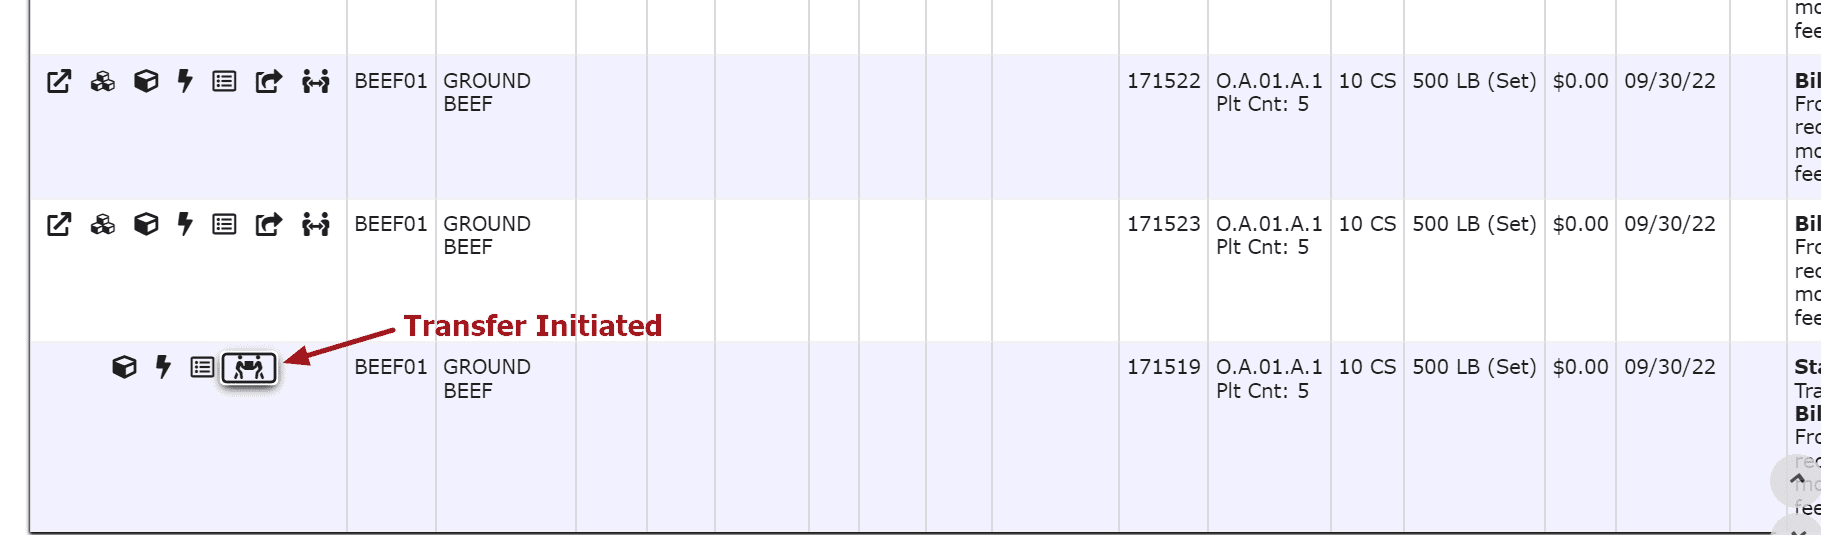
Ownership Transfers: Move pallet(s) from one customer's inventory into another.
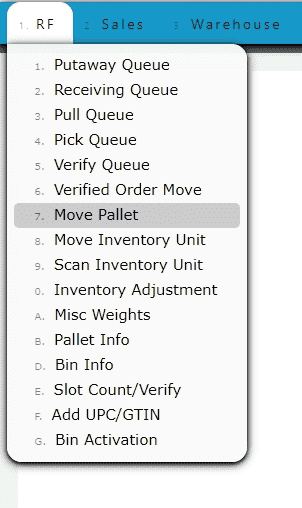
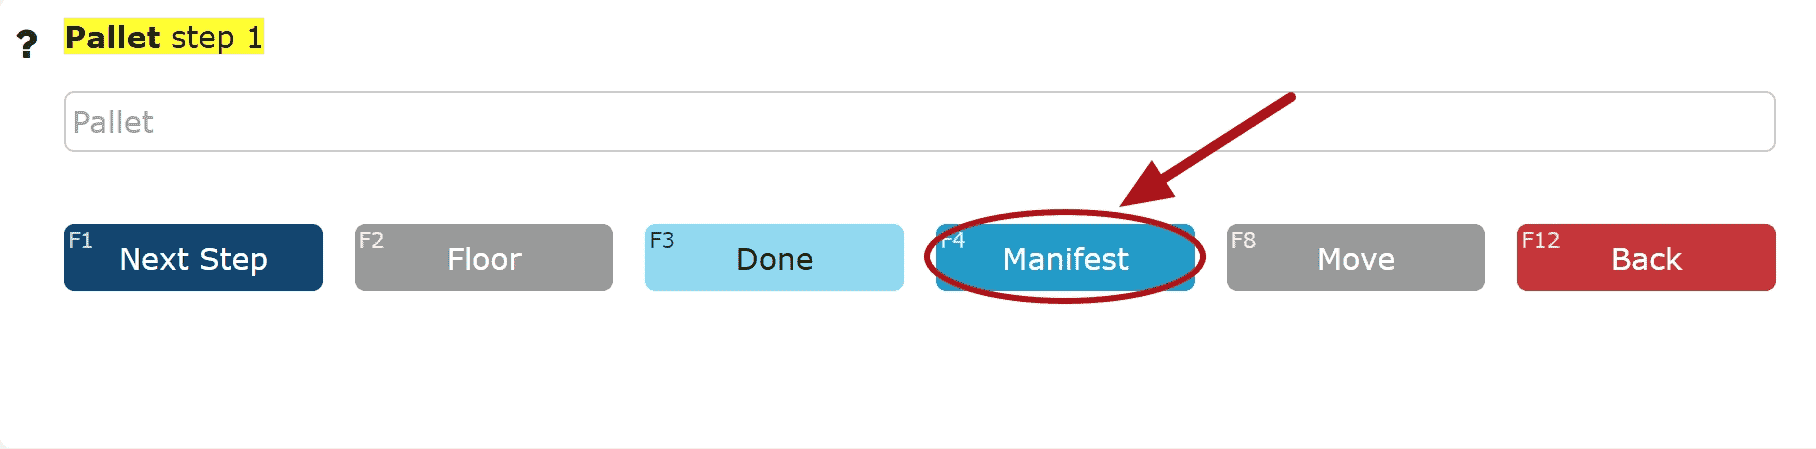
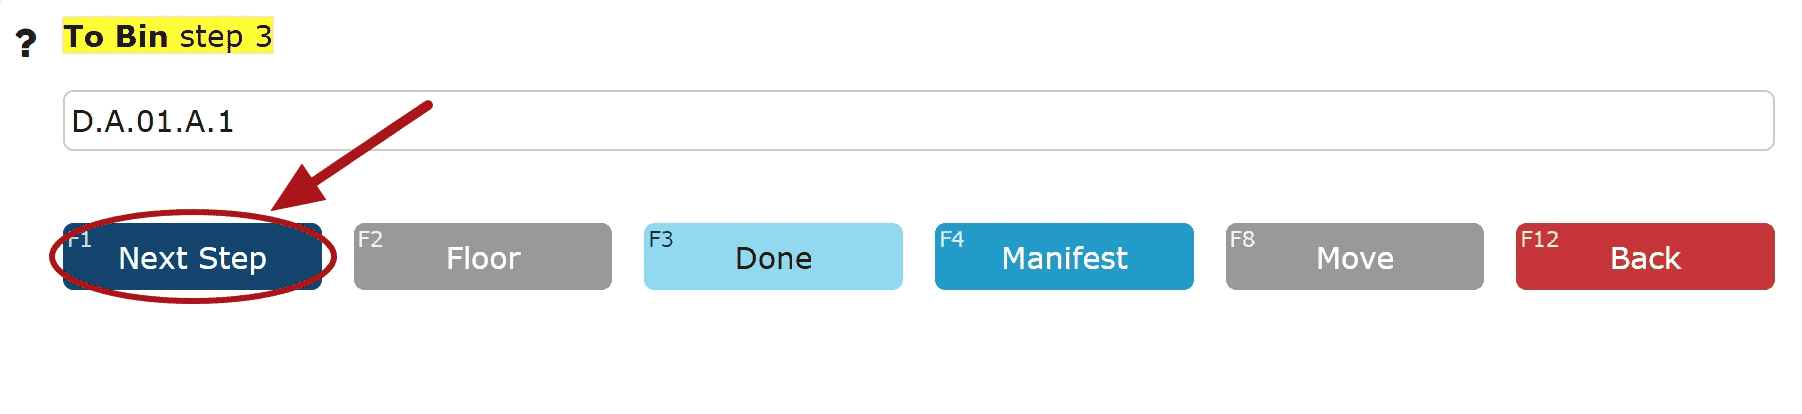
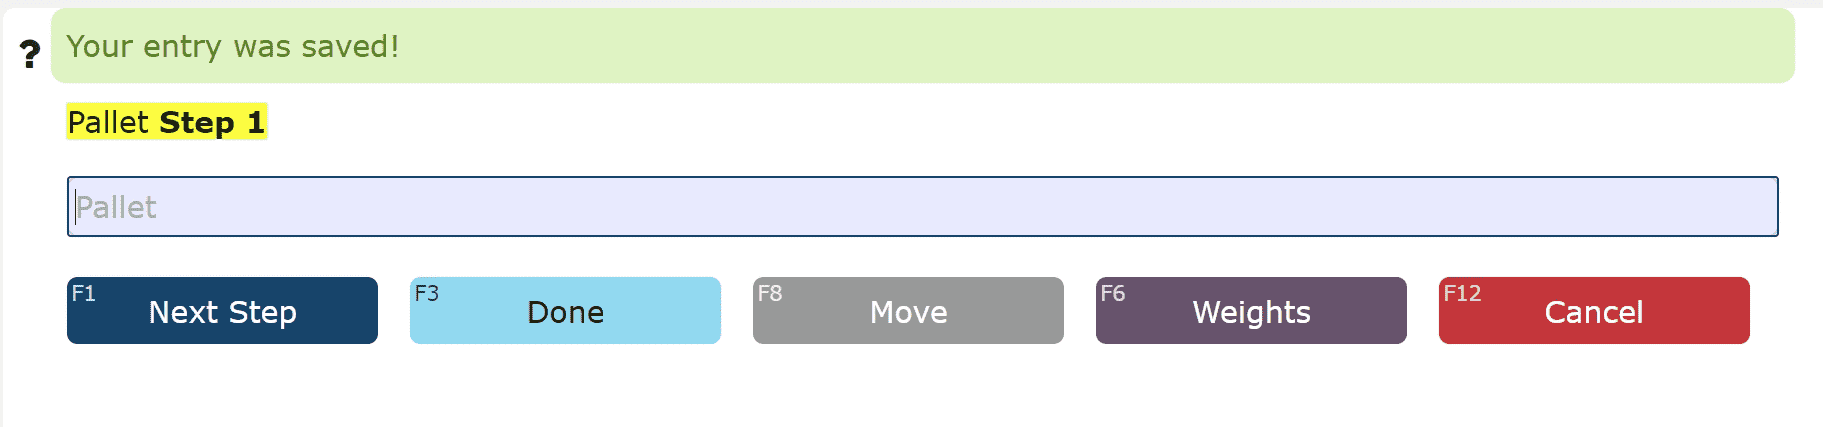
Pallet Moves: Moving one whole pallet to a new bin.
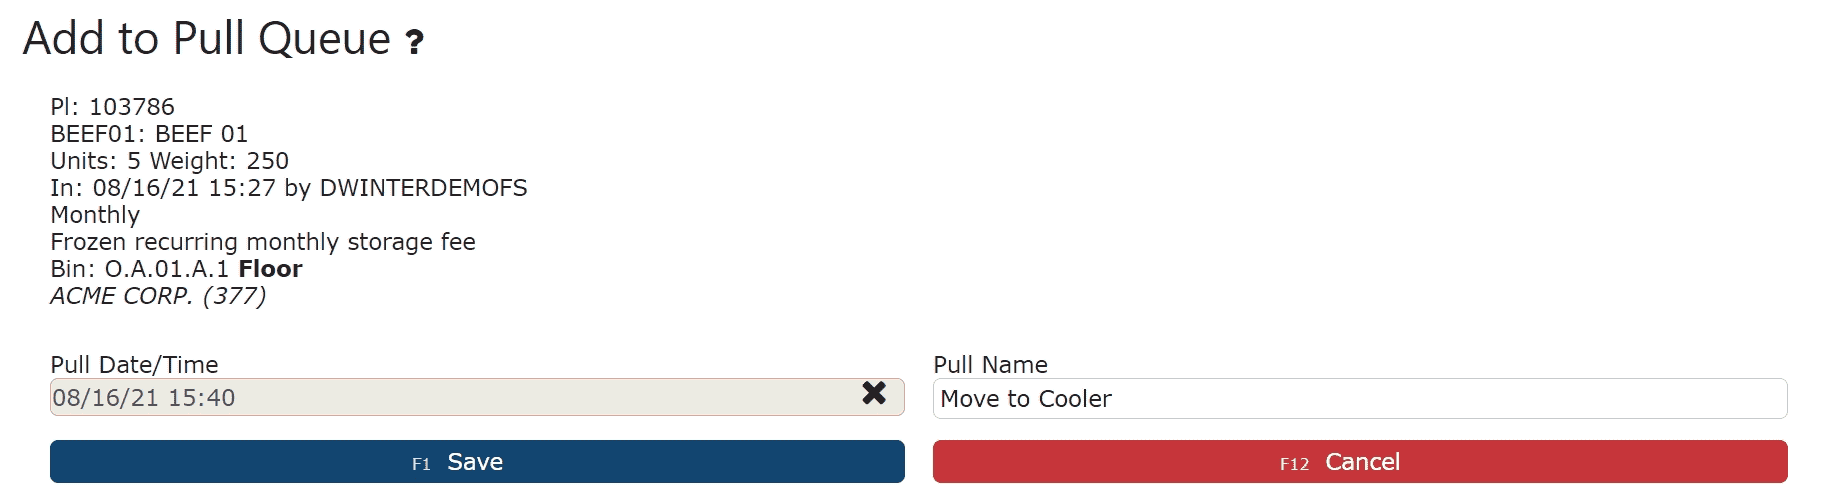
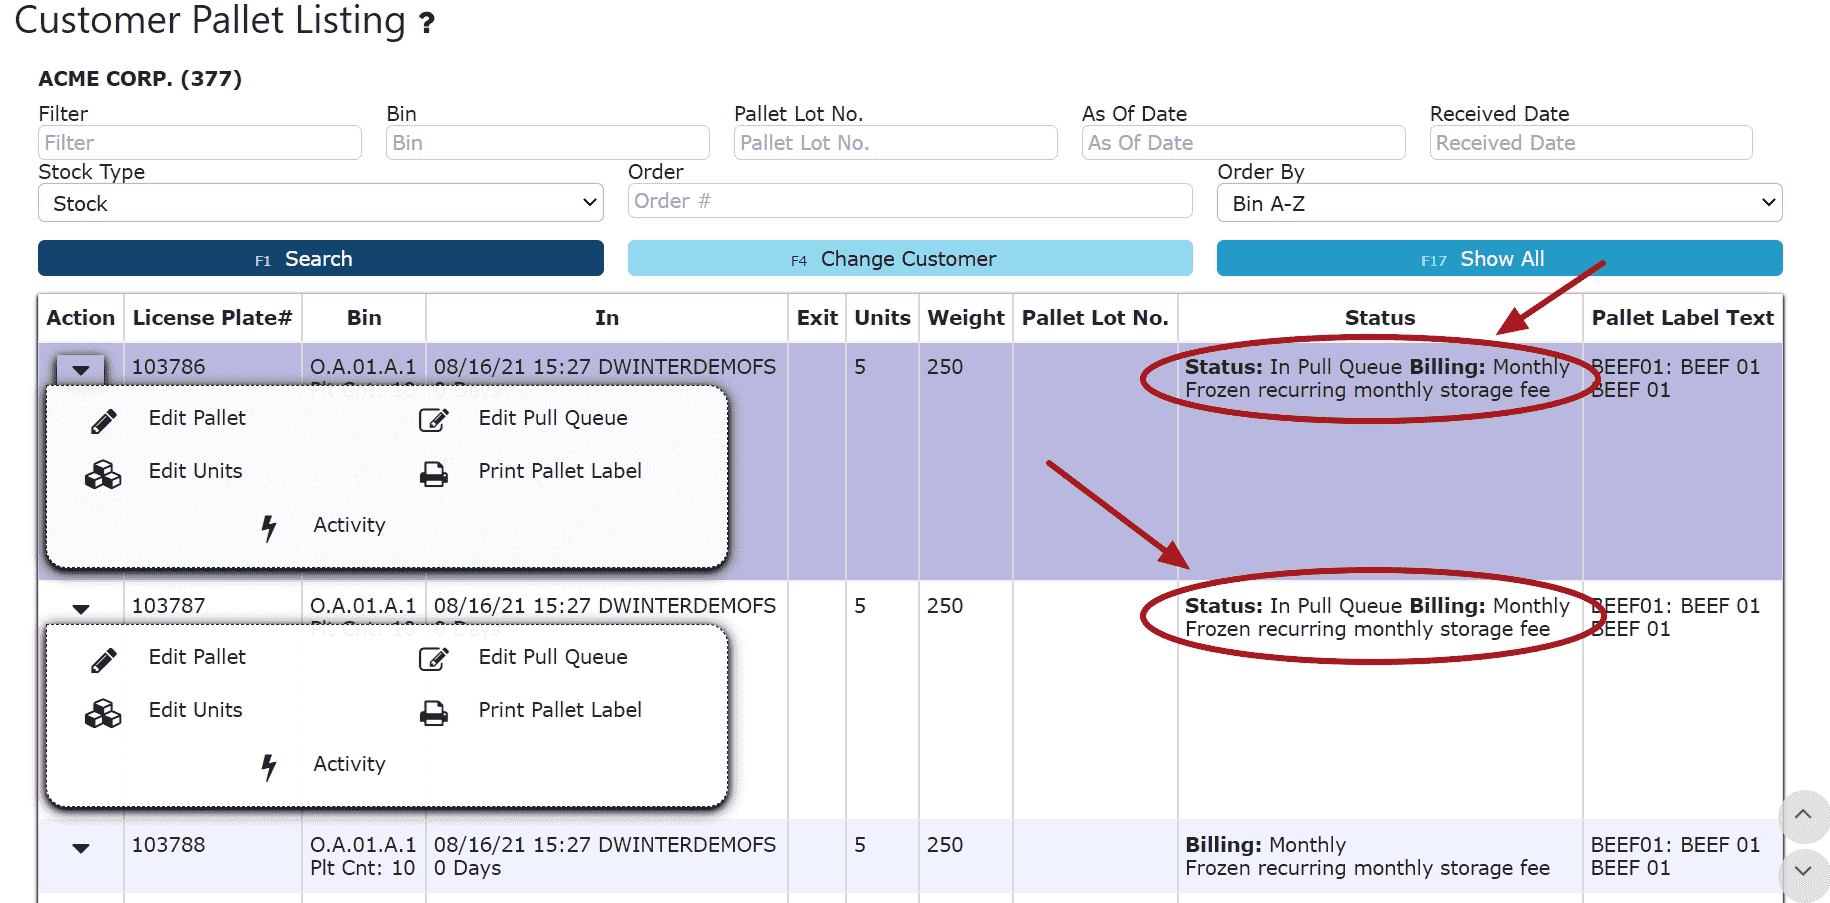
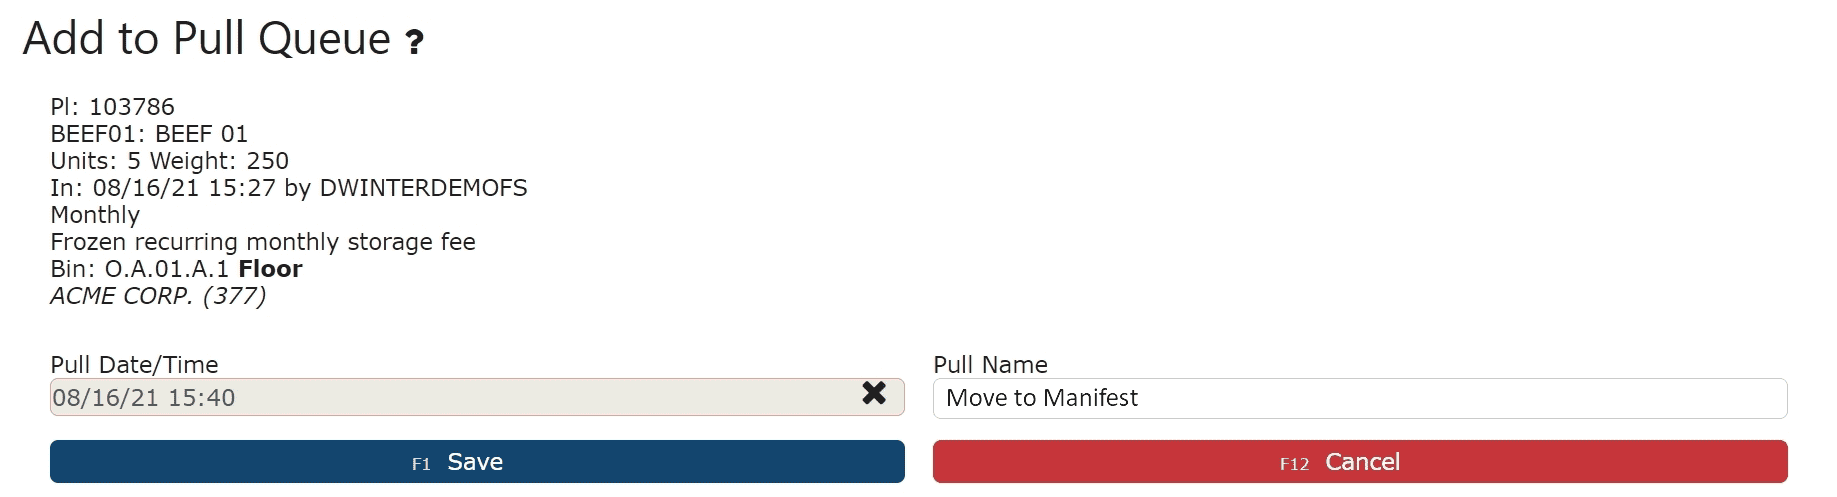
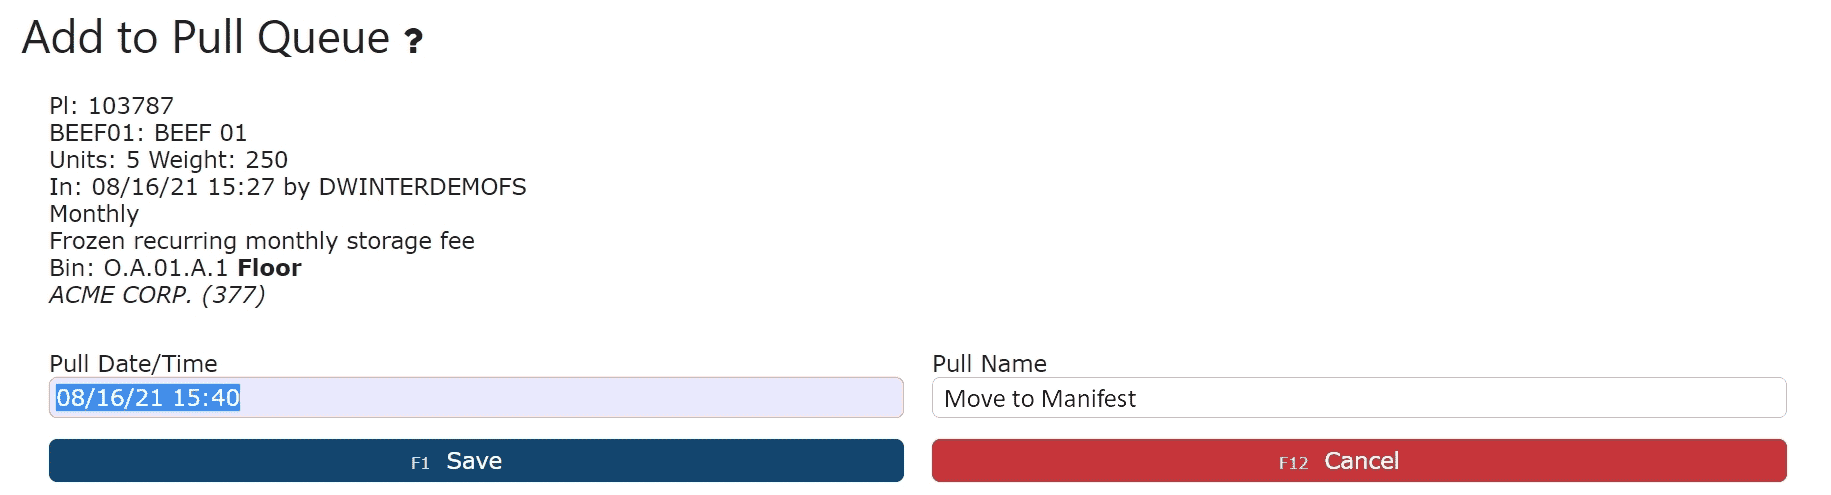
Pull Queues: A guided/pre-planned pallet move of one or more pallets to new bins/areas. Place a single/multiple pallets into a queue to later decide how they will be moved.
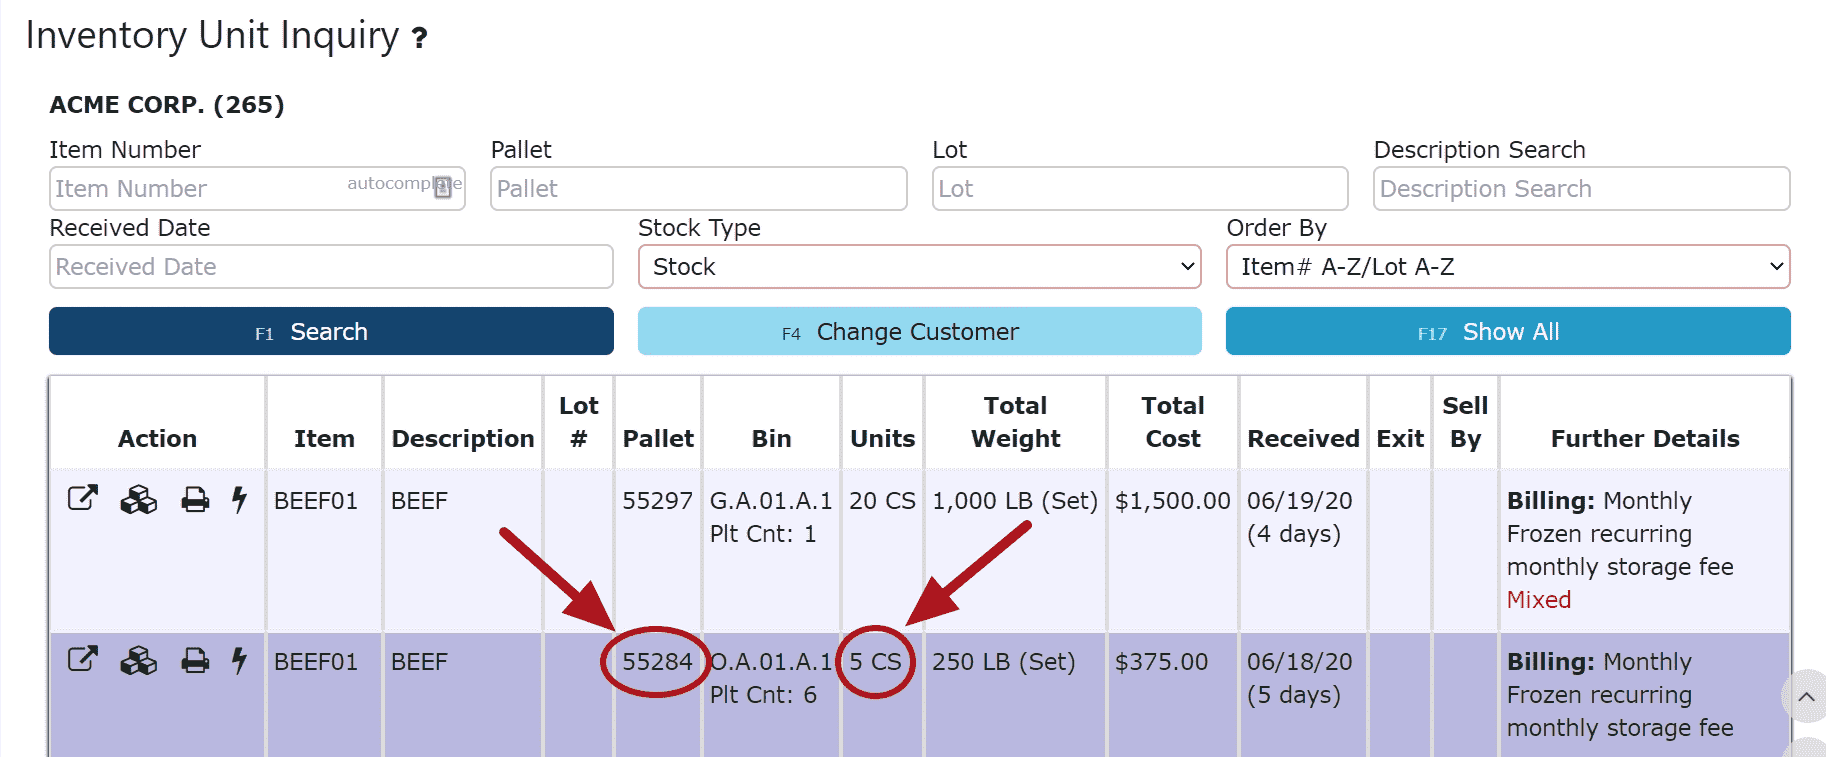
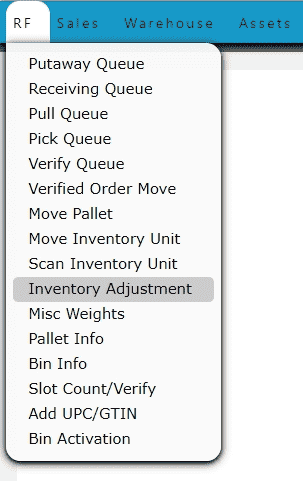
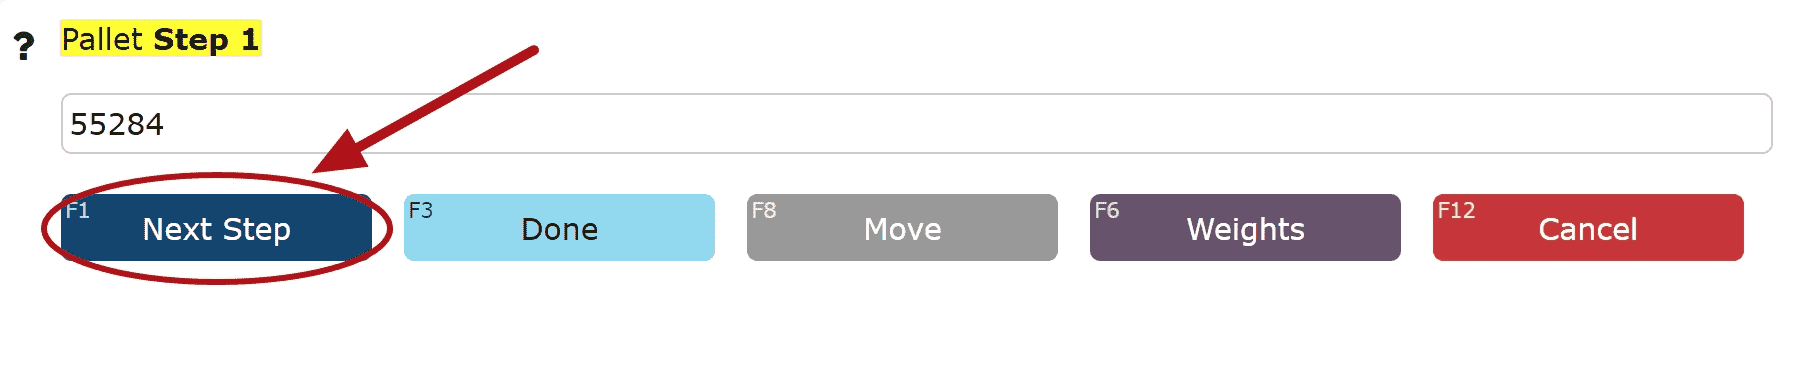
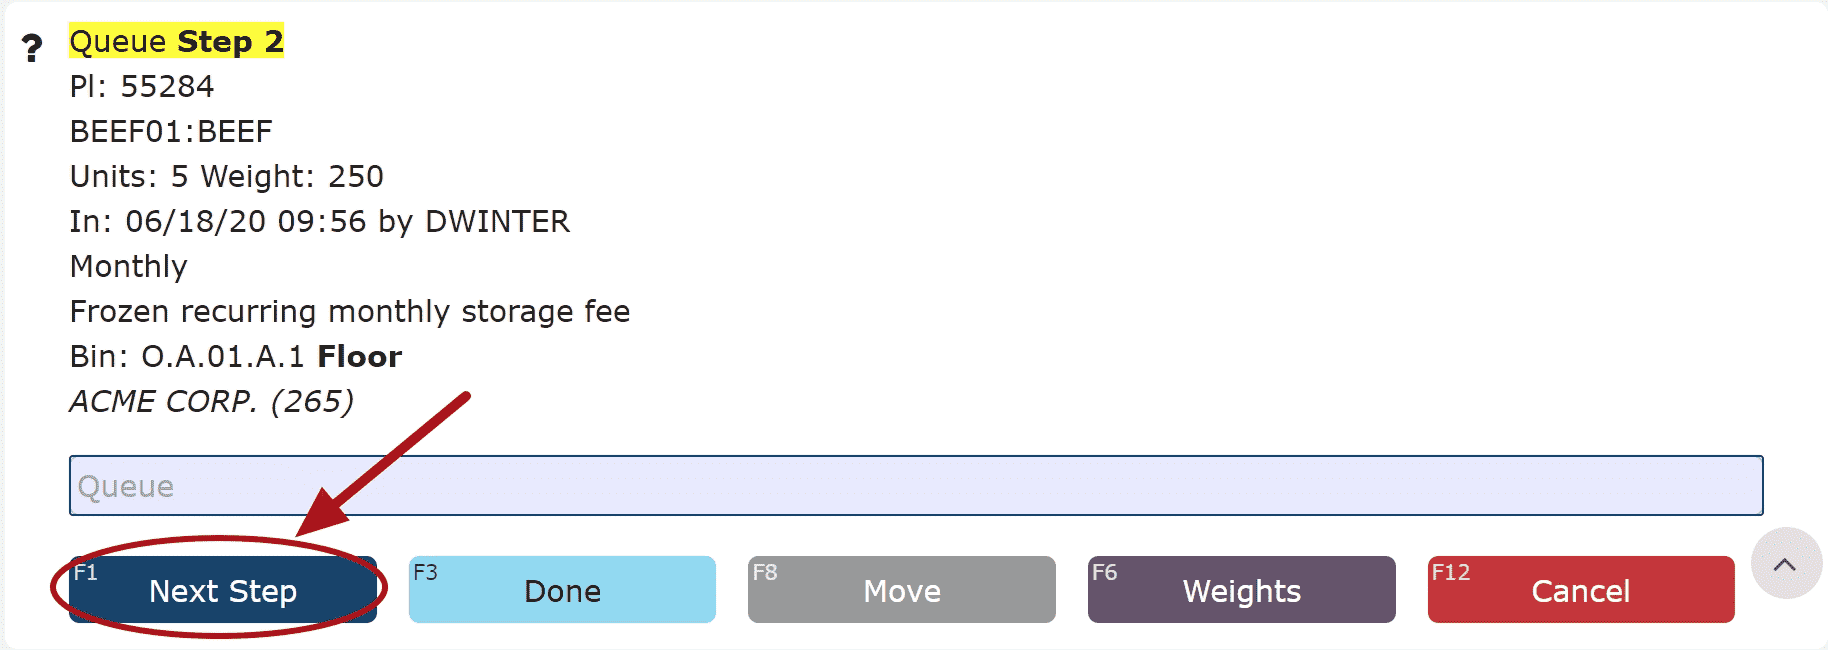
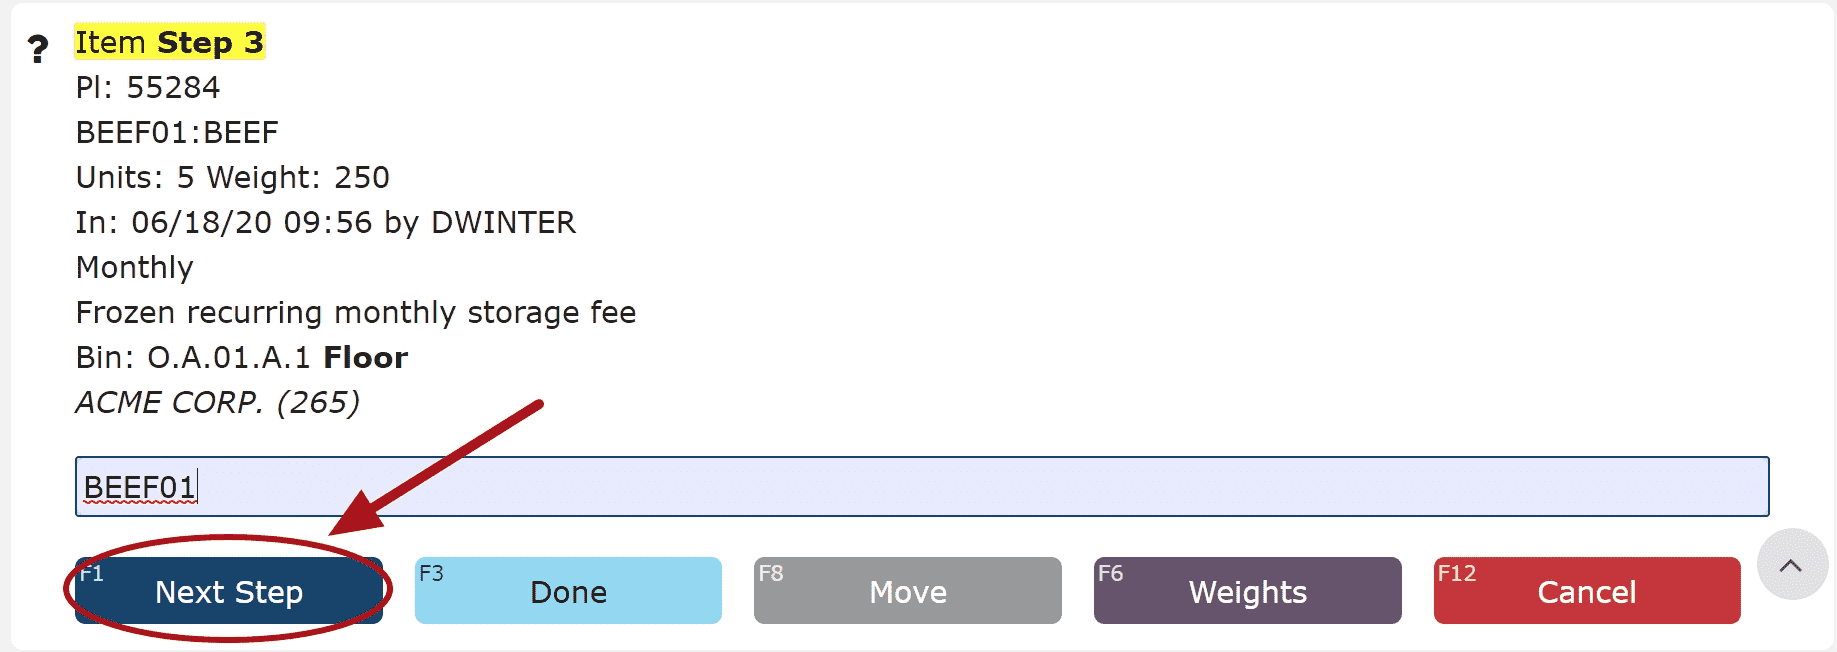
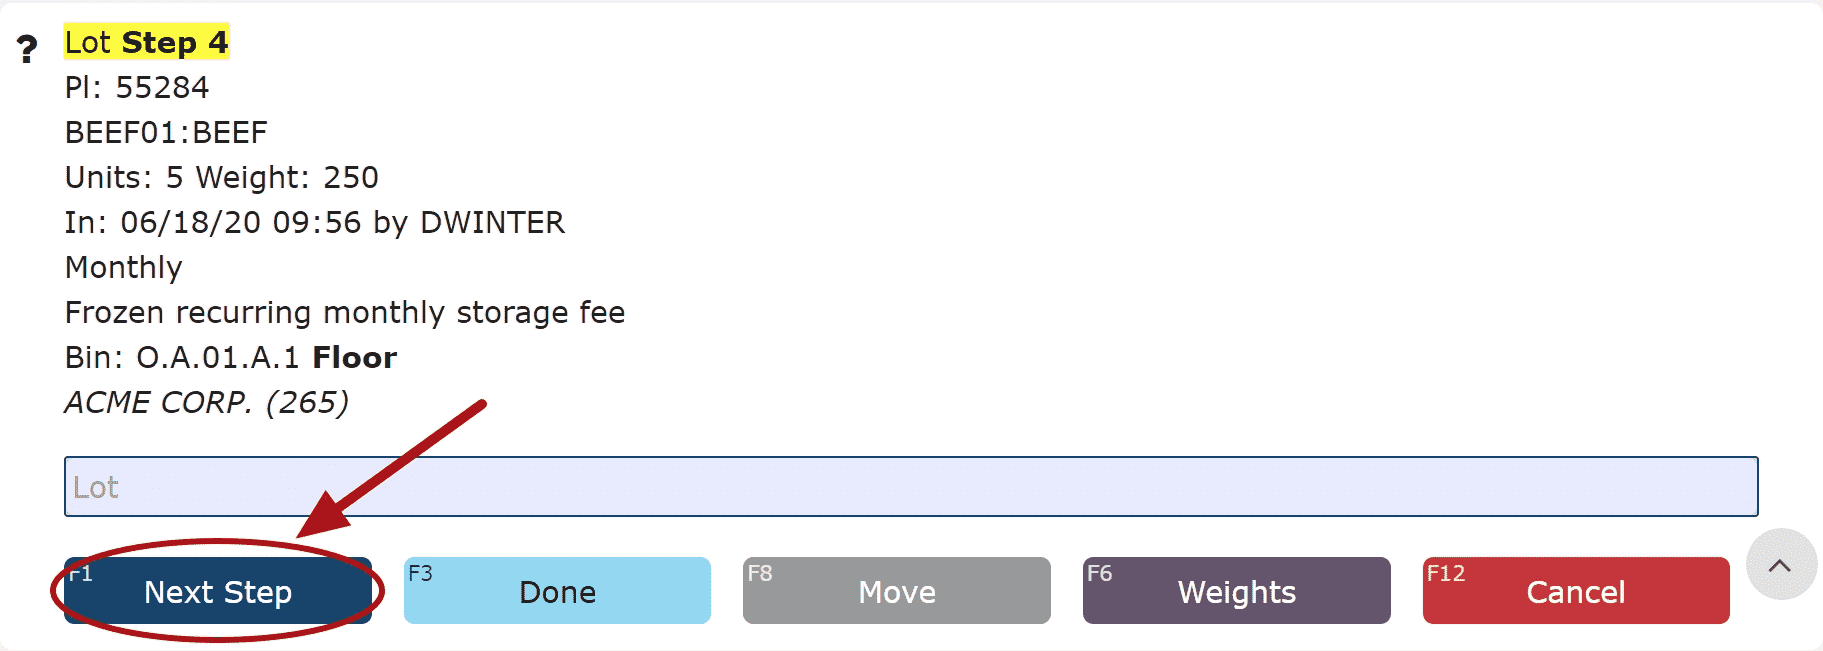
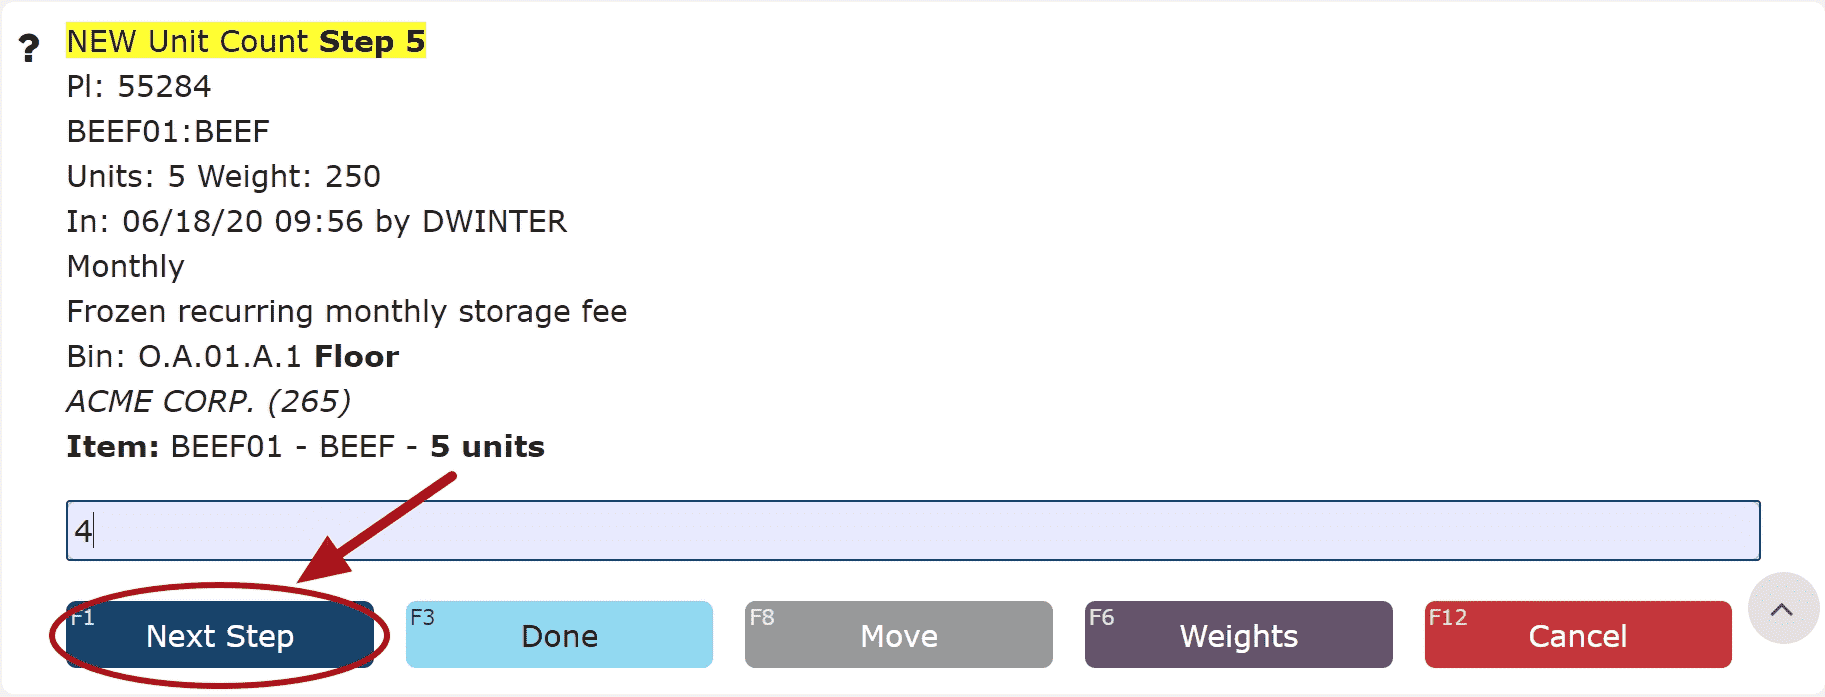
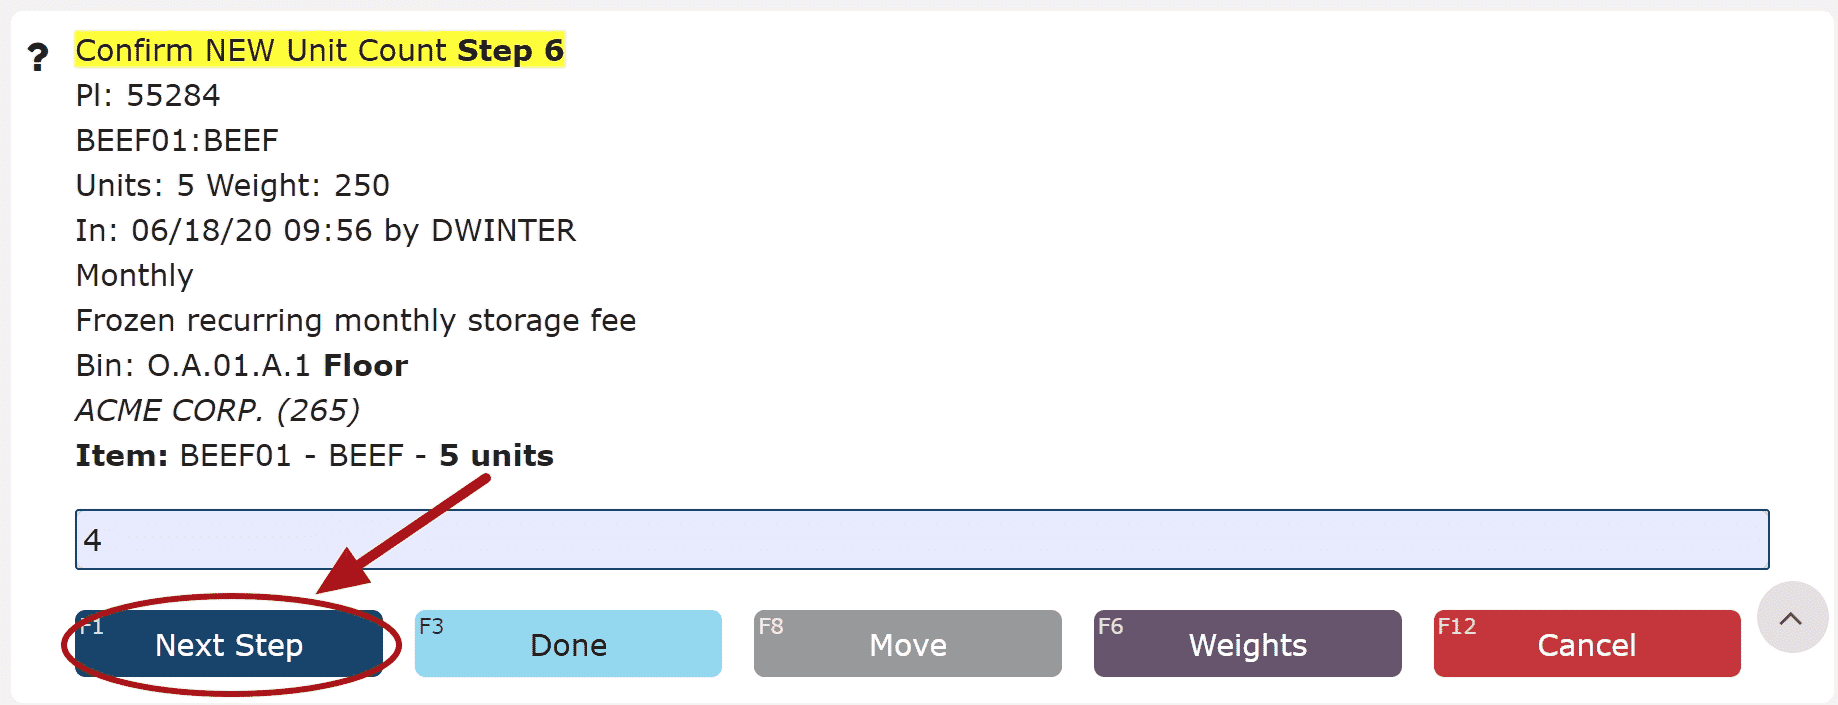
Inventory Adjustments: Adjusts the amount of units on a pallet either by decreasing or increasing the amount.
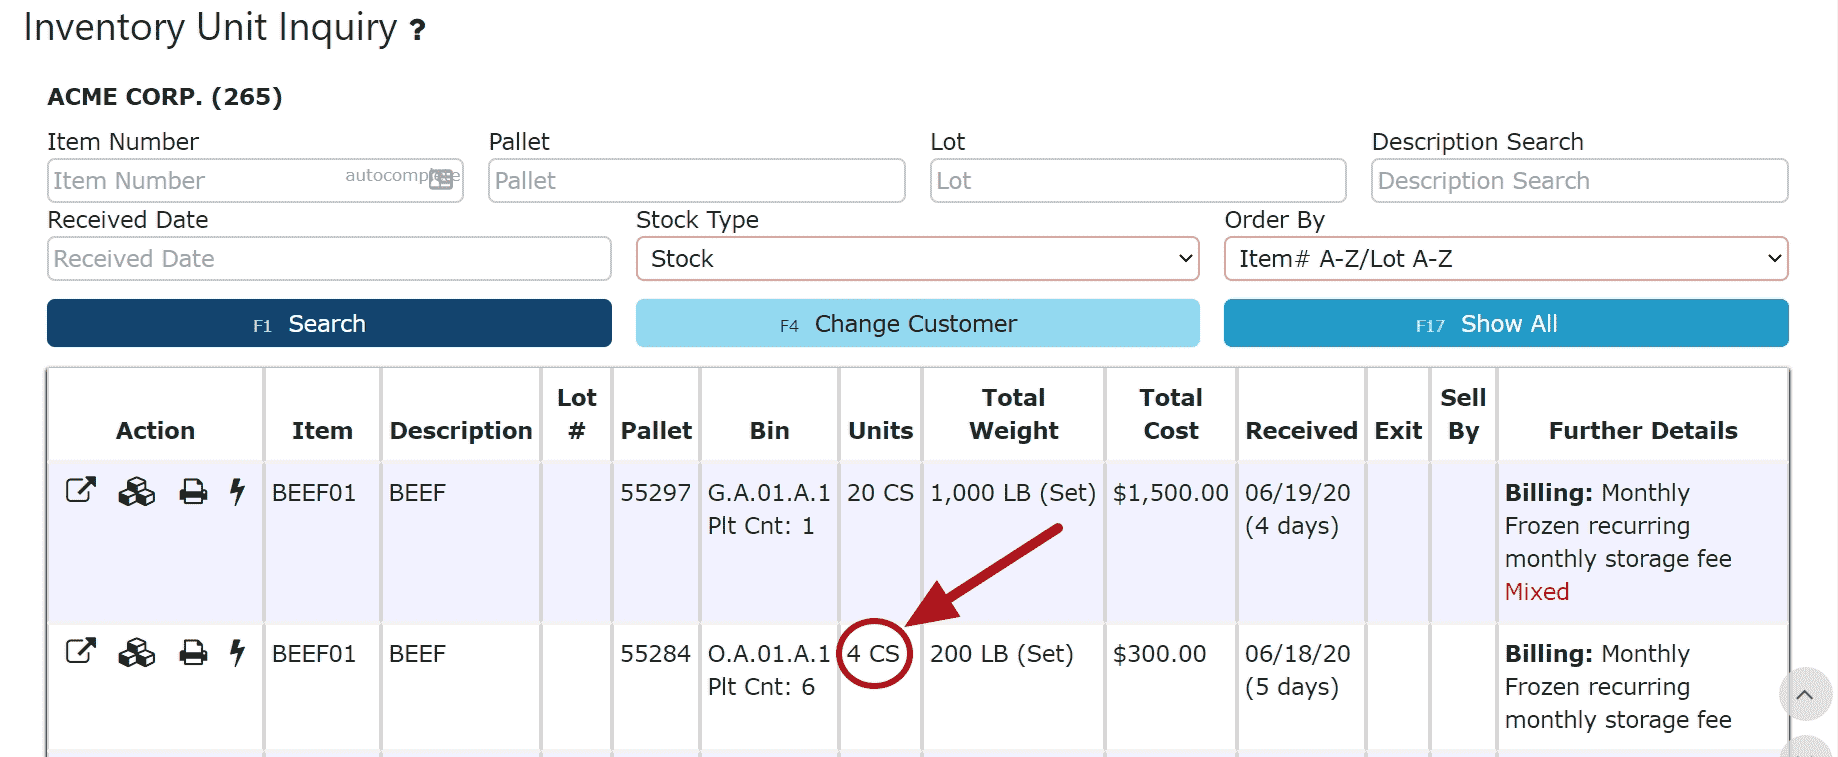
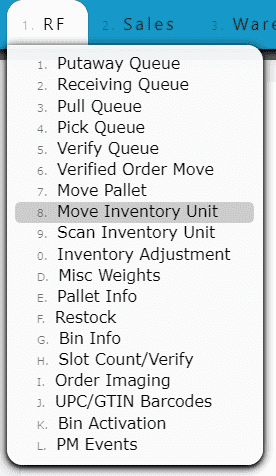
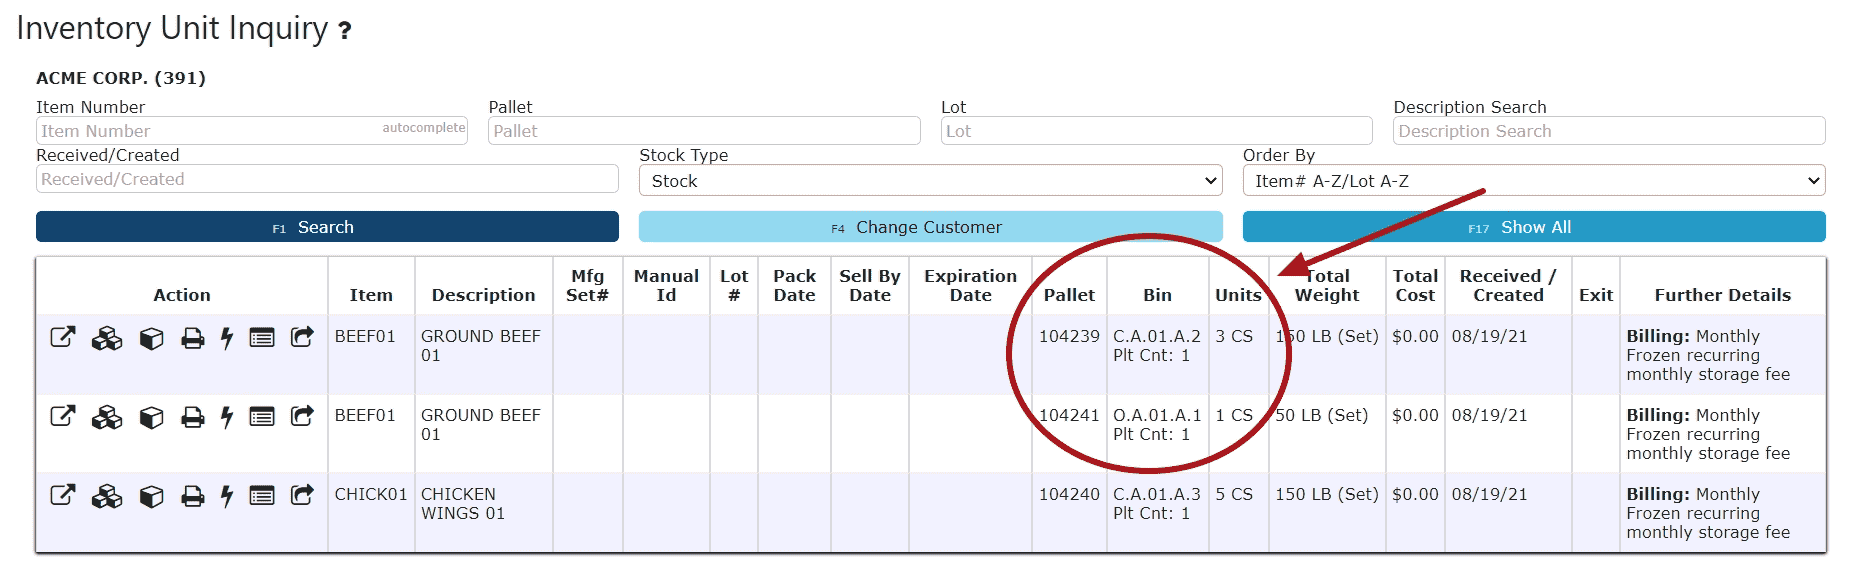
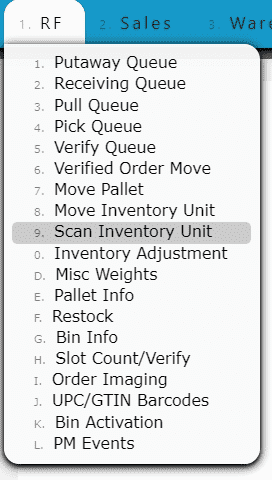
Move Inventory Units: Moving units from one pallet to another.
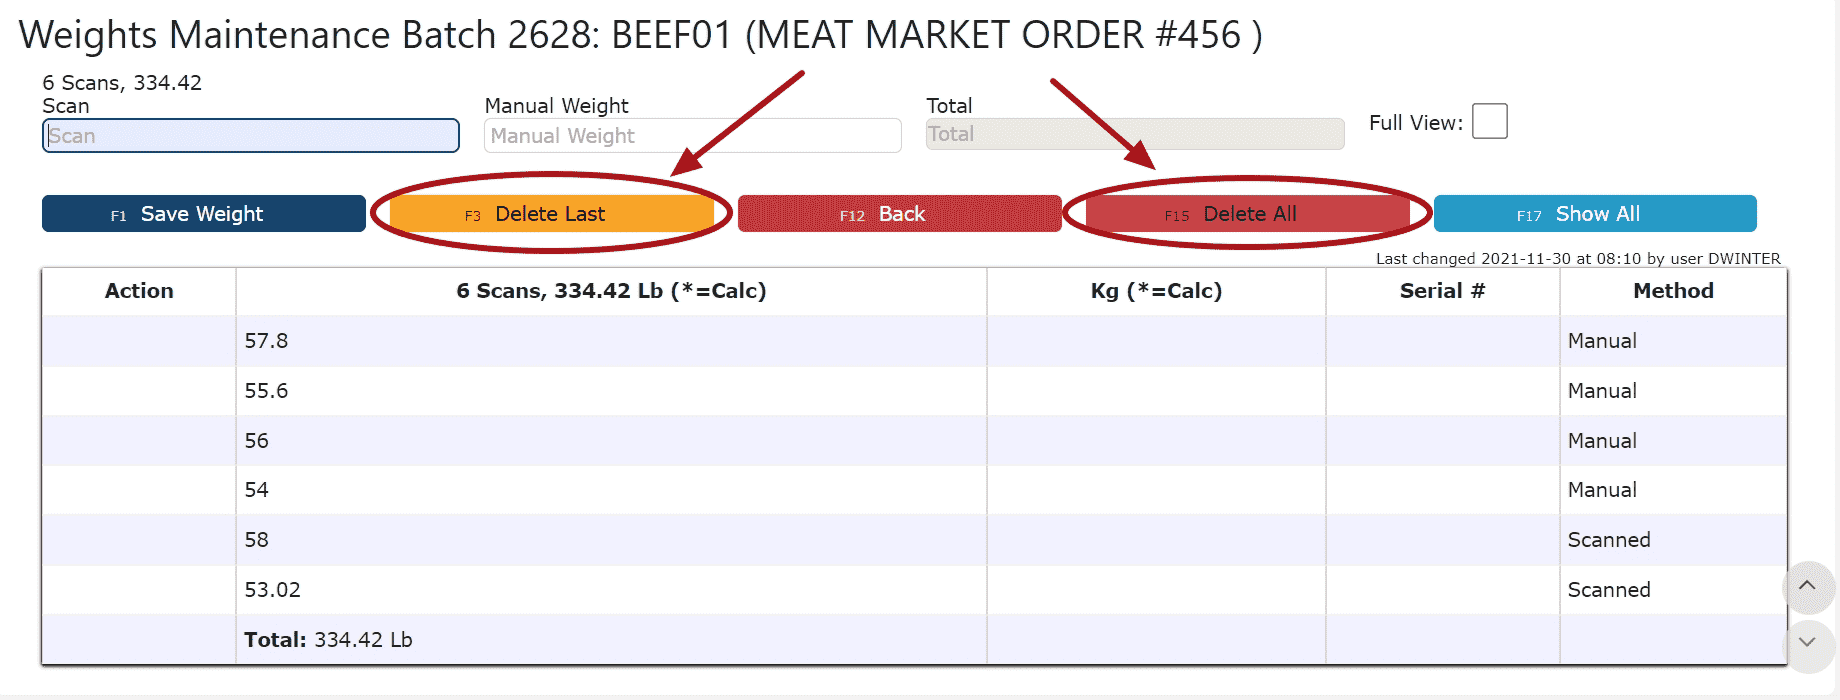
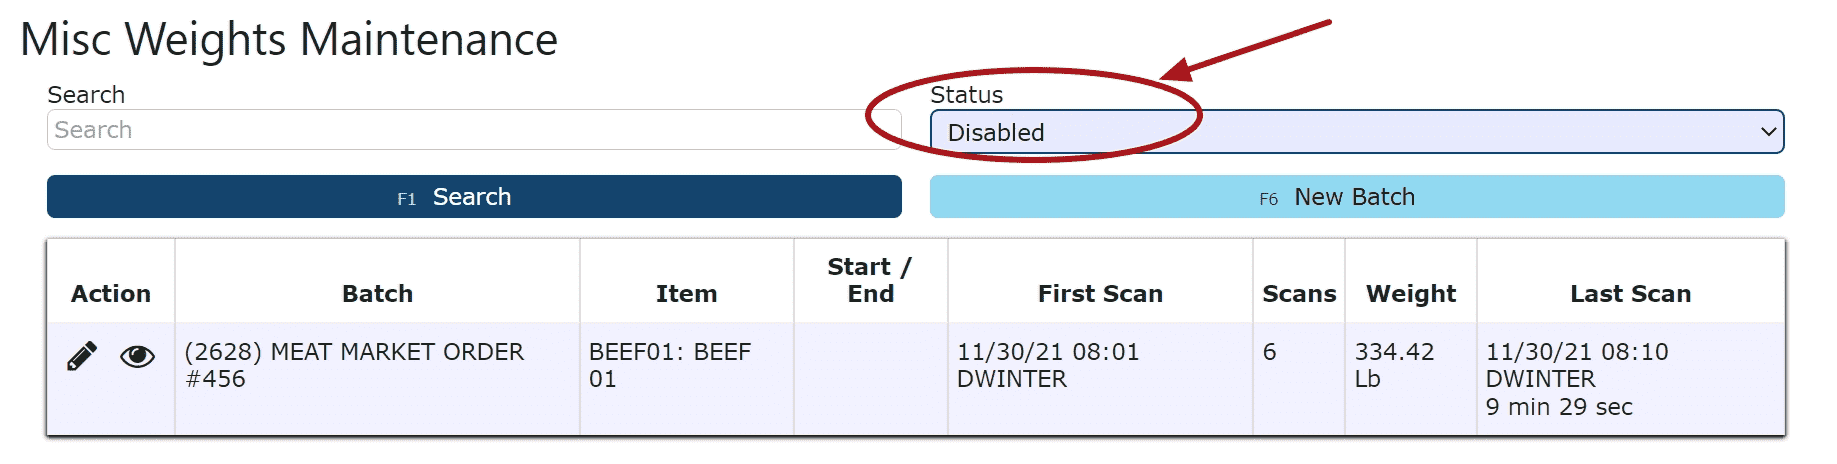
Scan Inventory Units: Moving units with catch weights from one pallet to another.
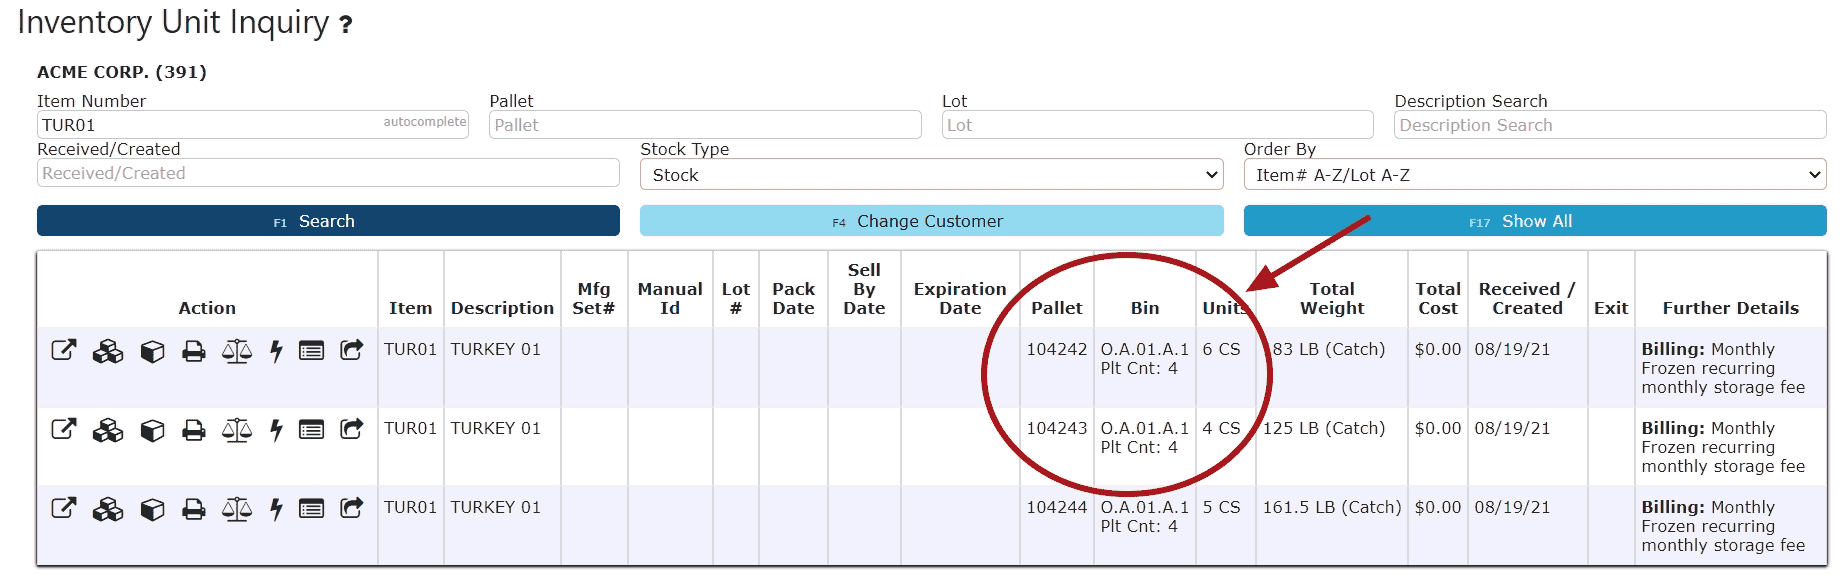
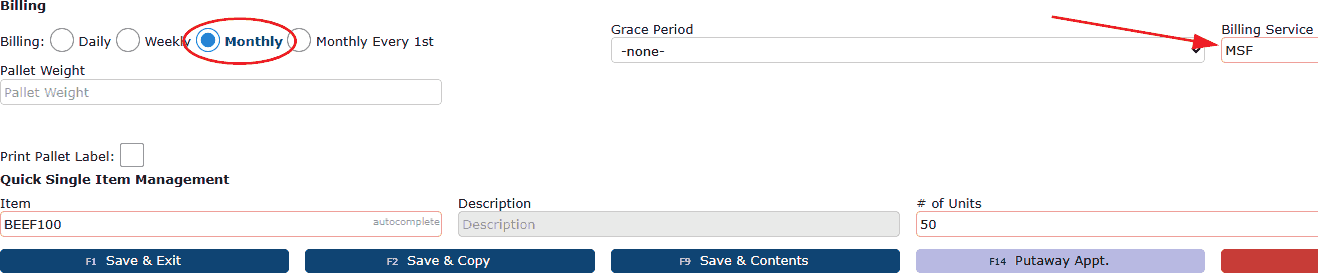
Anniversaries: Storing pallets for multiple days, weeks or months. Daily, Weekly, Monthly and Monthly on the First (1 anniversary per pallet per day/week/month etc.).
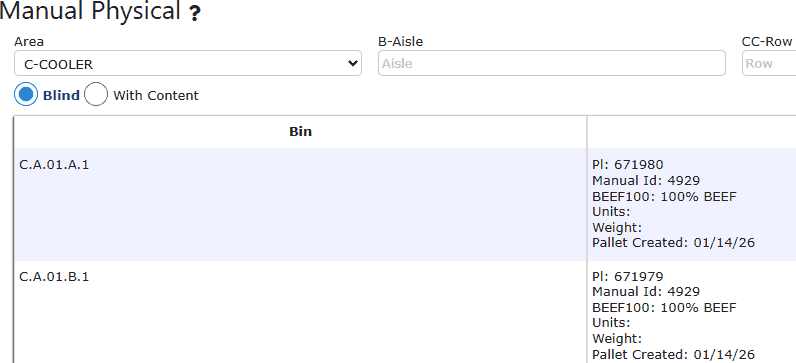
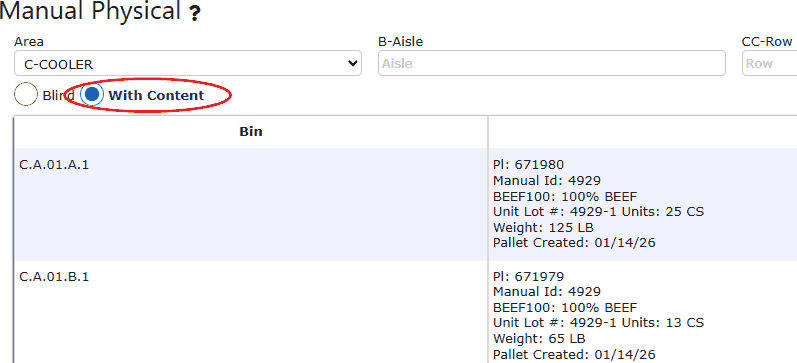
Cycle Counts: Take inventory counts with the Manual Physical or the Slot Count/Verify options.
Types Of Pull Queues:
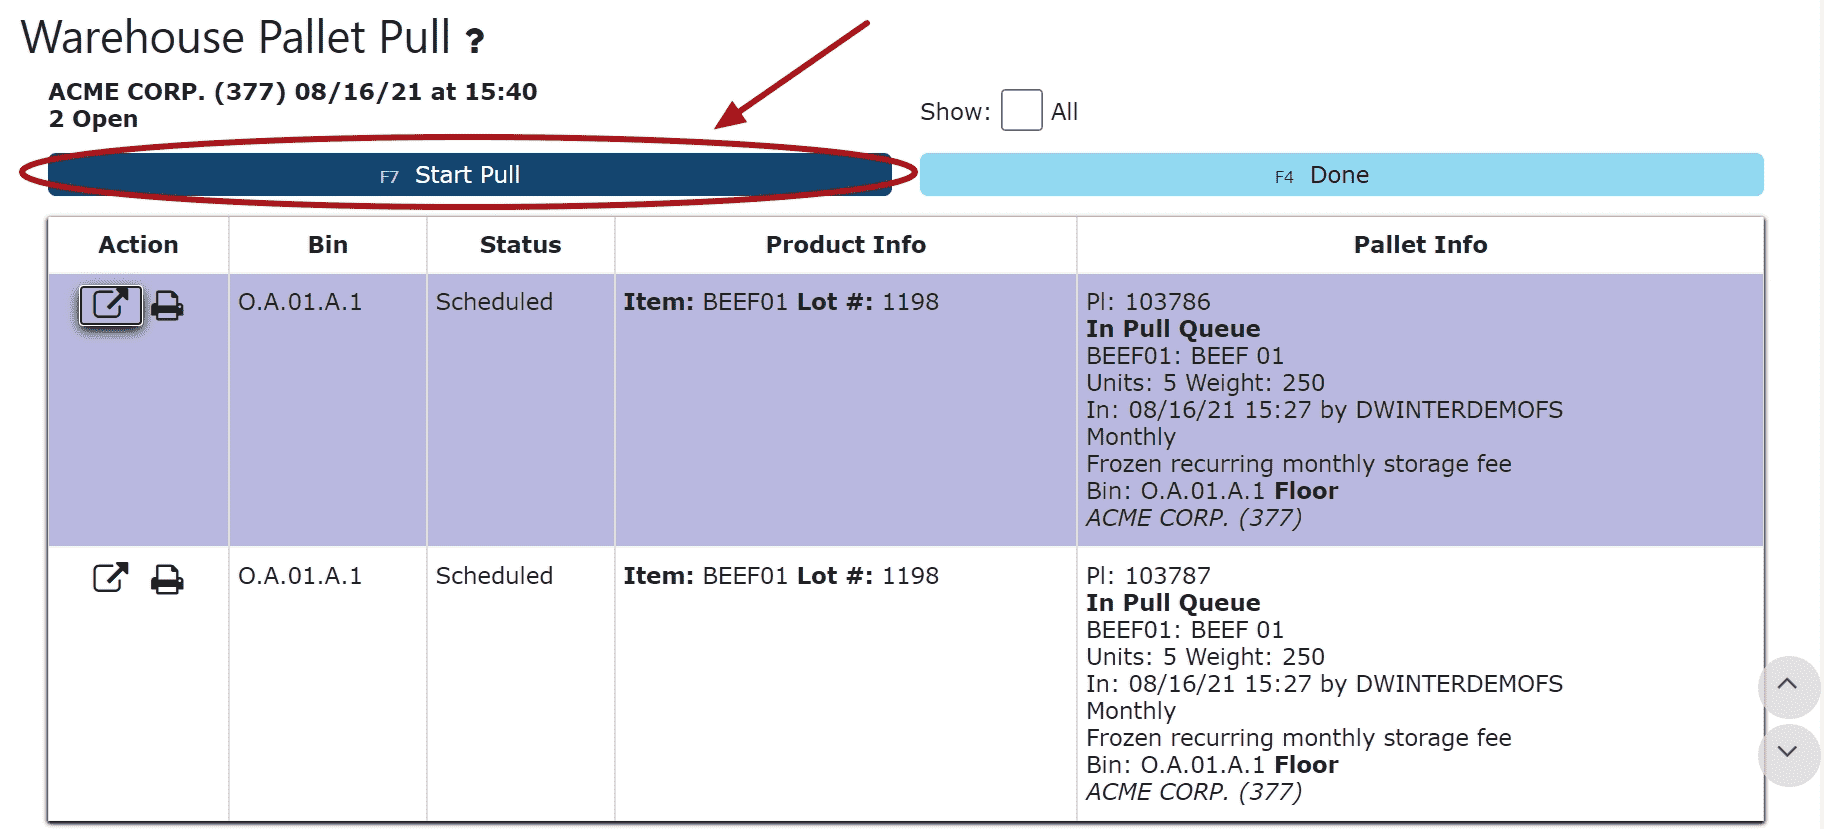
Warehouse Pallet Pull(WPP): Consists of moving a pallet using the pull queue to any other bin in the warehouse EXCEPT manifest bins.
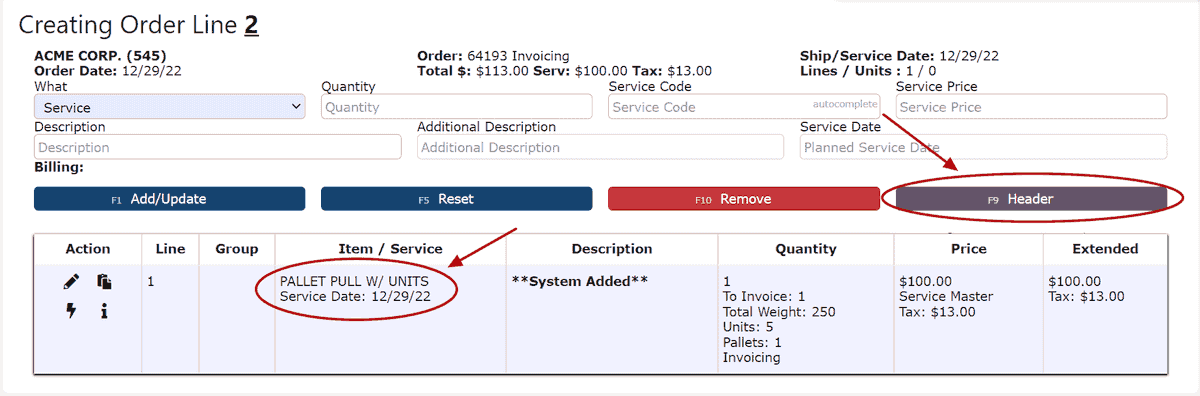
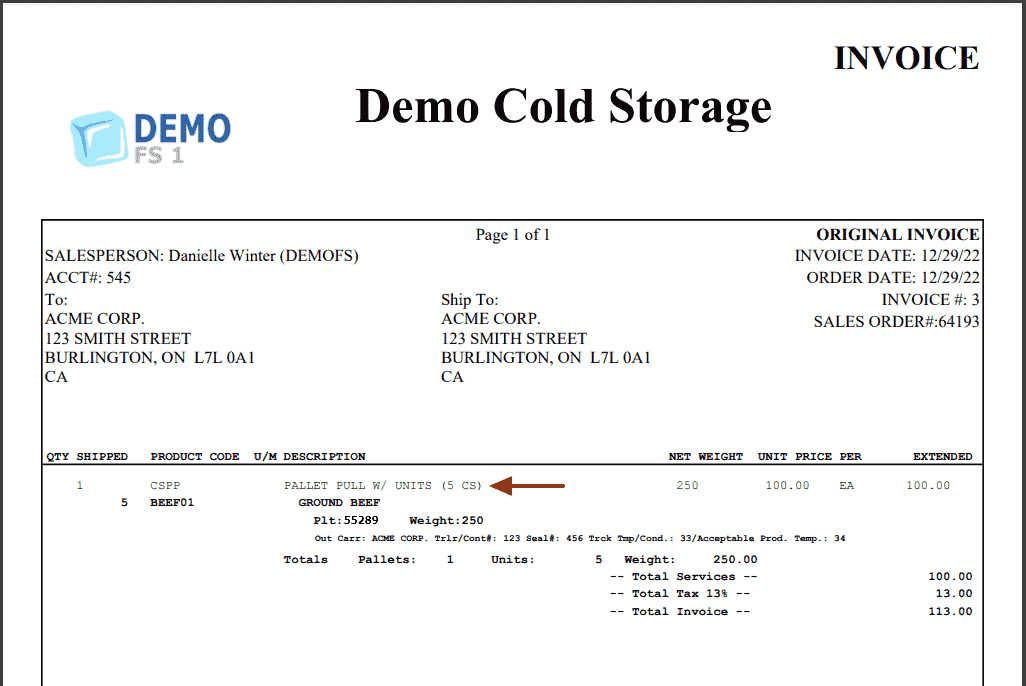
Pallet Pull w/ Units(CSPP): A Pull Queue to a manifest bin of a pallet with units on it.
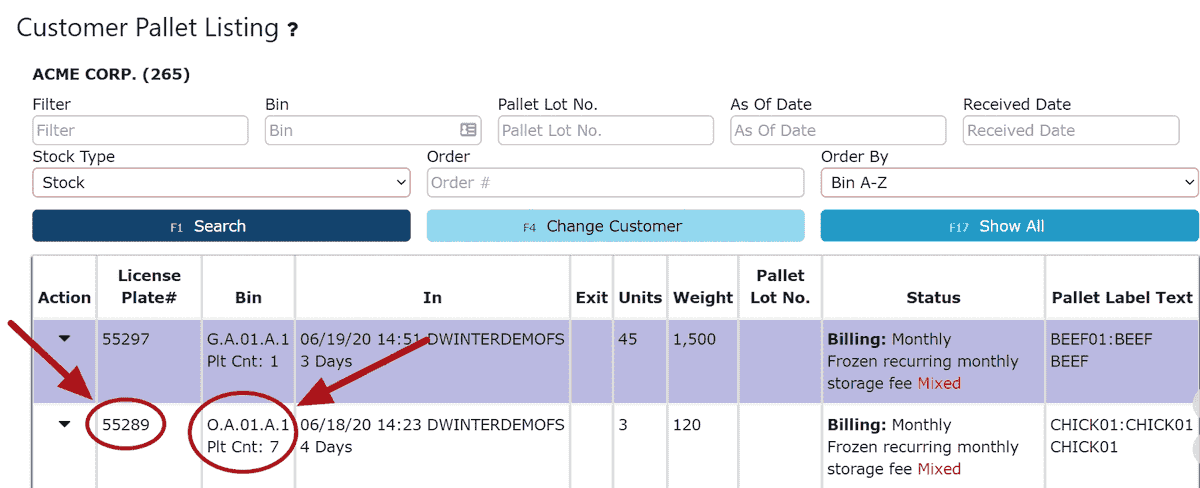
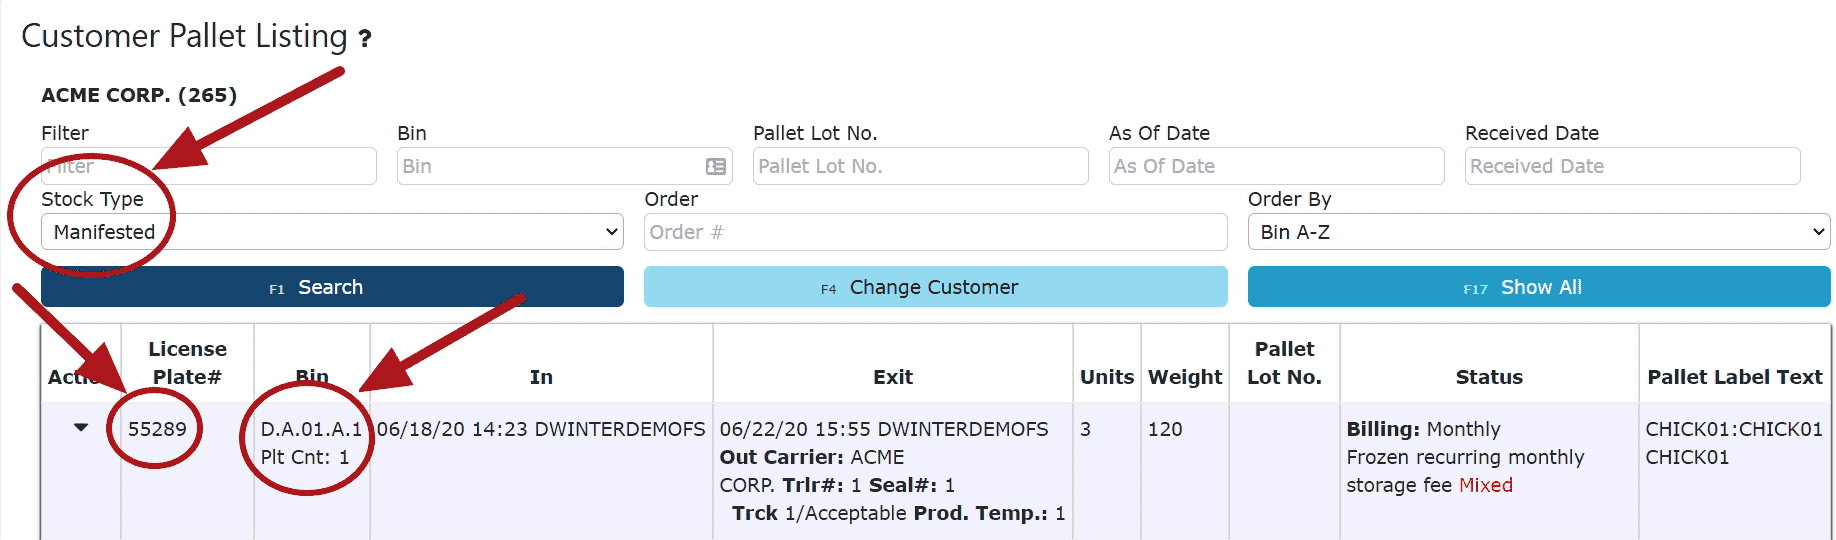
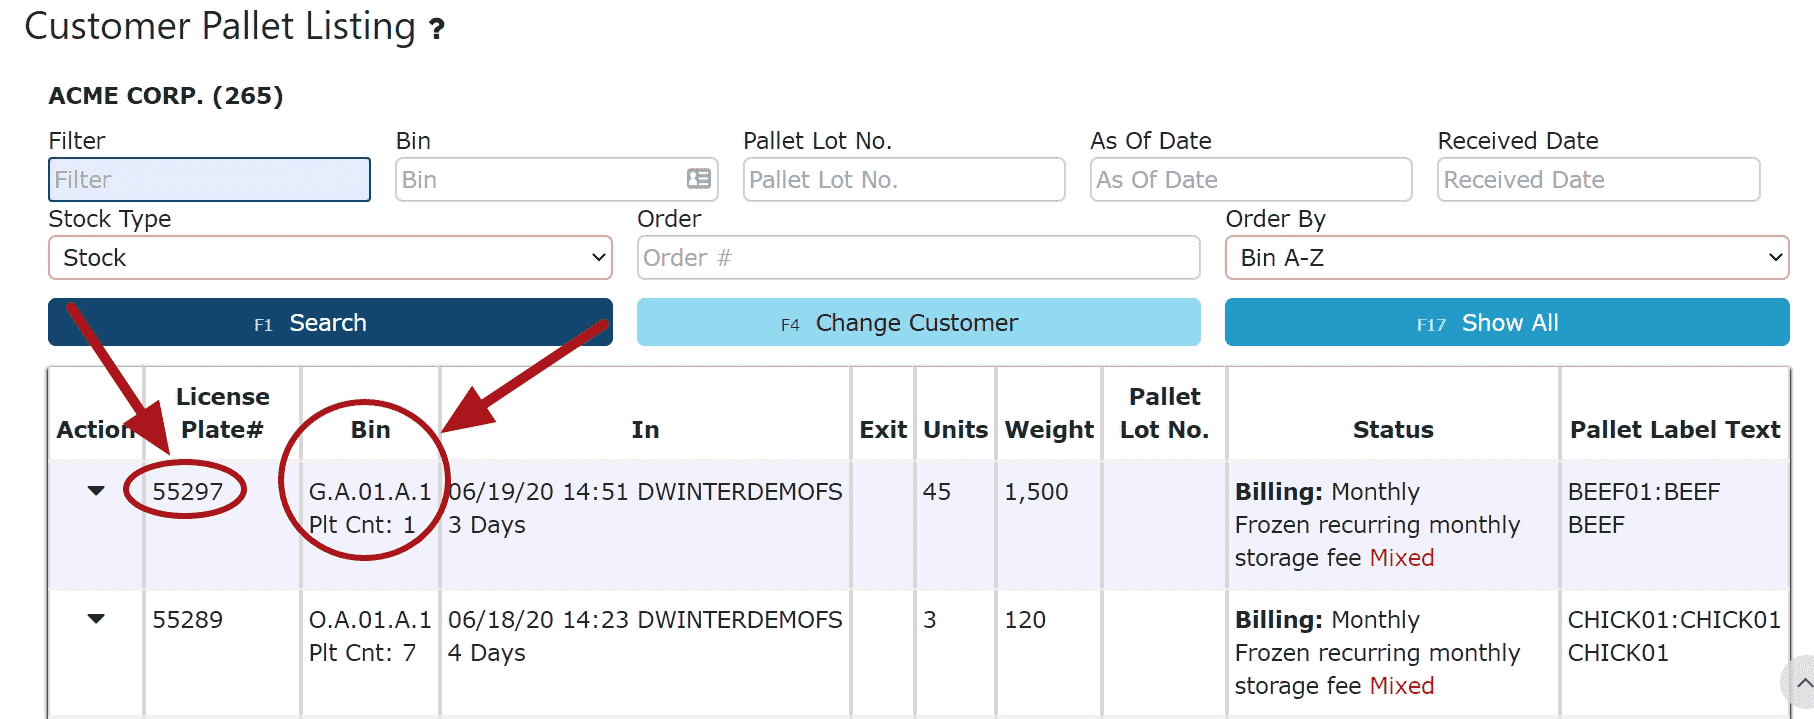
Pallet Pull w/o Units(PP): A Pull Queue of a pallet to the manifest bin with NO units on it. (To view pallets with no units: Sales -> Customer Pallets ONLY)
Case Pick:(CP:Non-Customer Order Related Case Pick): A Pull Queue to a manifest bin of a “New” Pallet that was created through unit moves or case picking etc.
Note: When cases are moved from an existing pallet to a brand new pallet, a NP(New Pallet) Charge is automatically generated.
Types Of Pallet Moves:
Pallet Pull w/ Units(CSPP): Pallet Move to a manifest bin
Case Pick(CP:Non-Customer Order Related Case Pick): A Pallet Move to a manifest bin of a “New” Pallet that was created through unit moves etc.
Note: When cases are moved from an existing pallet to a brand new pallet, a NP(New Pallet) Charge is automatically generated.
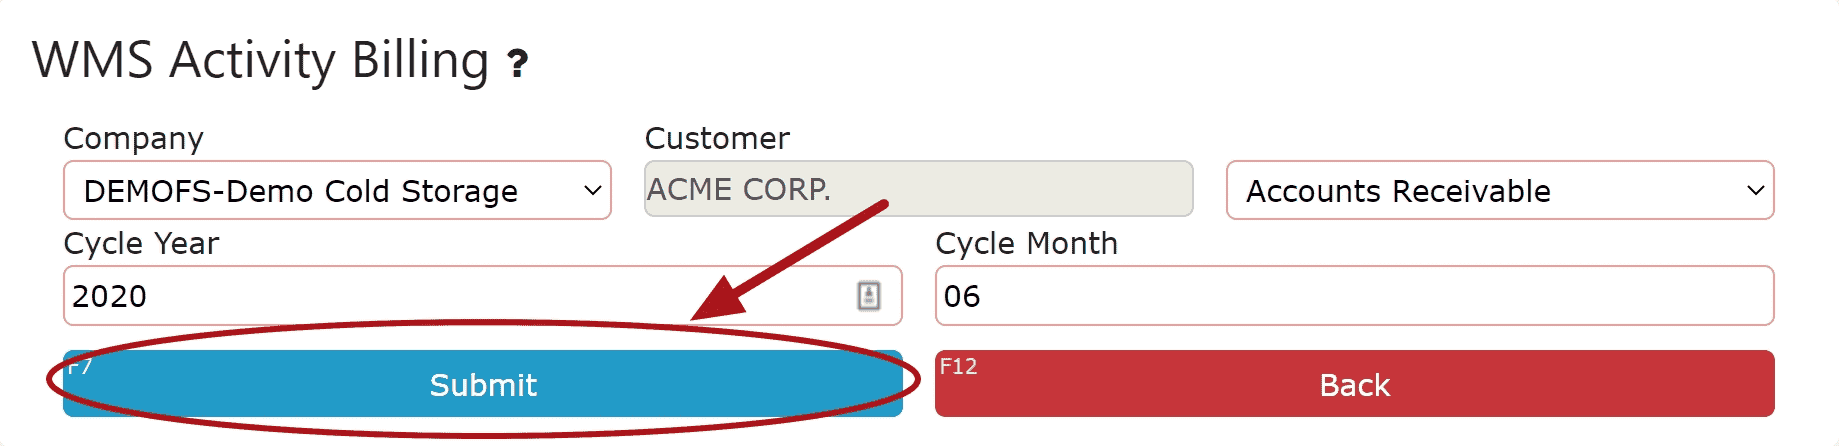
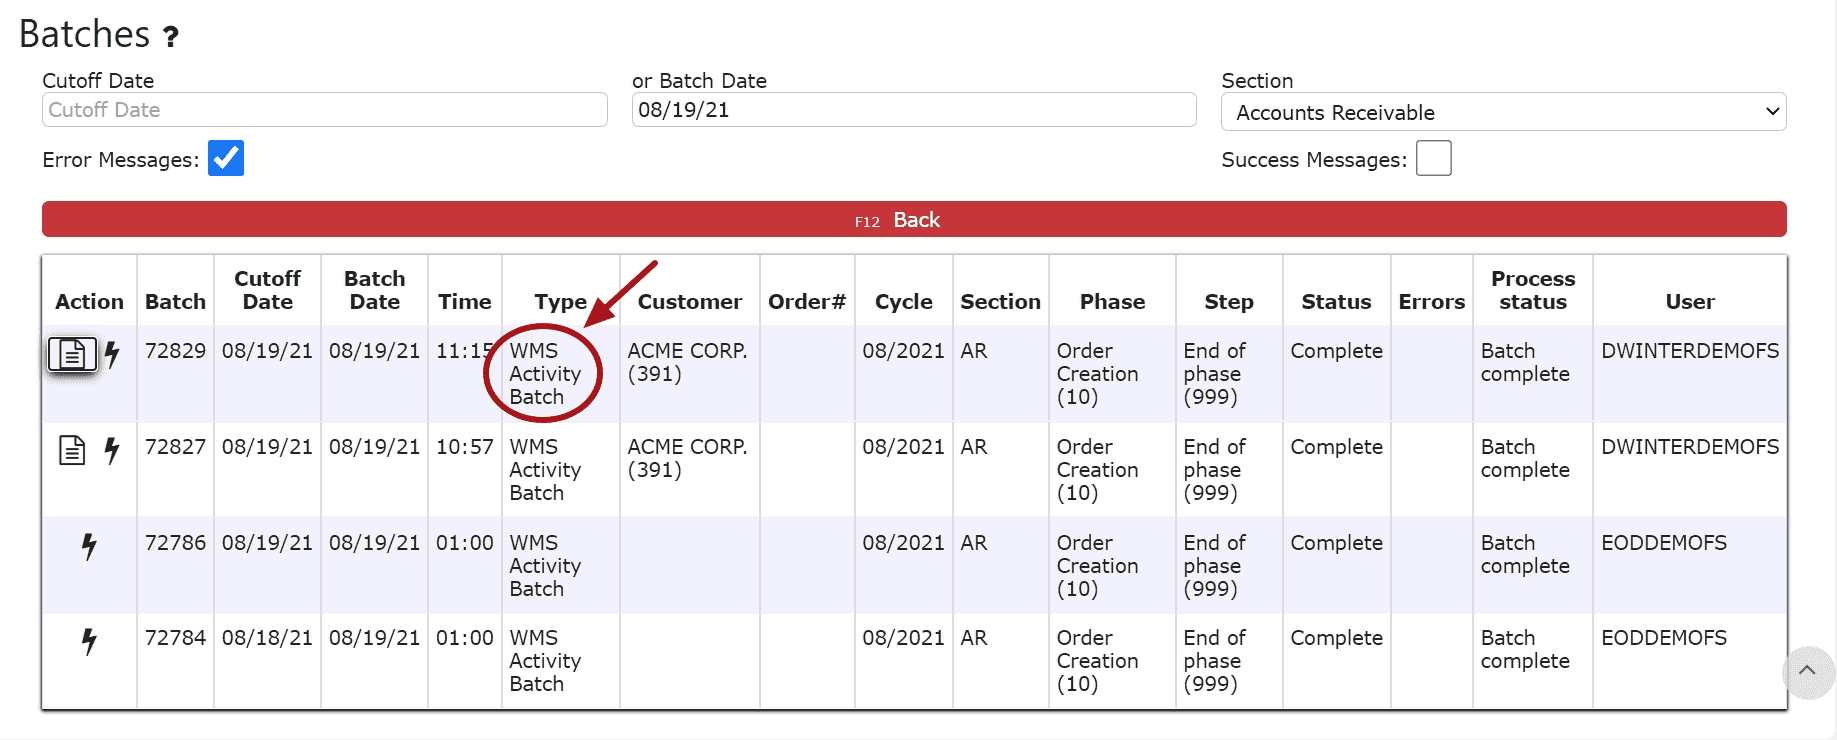
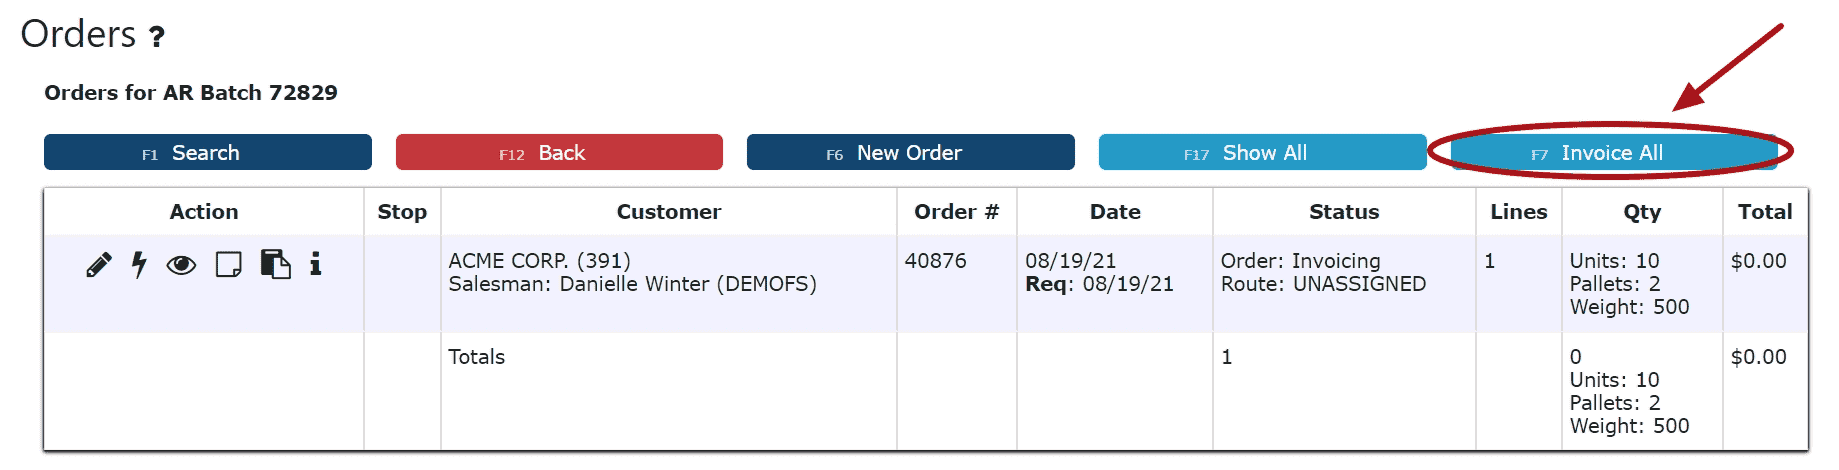
Billed Activity:
Note: Activities can only be billed on the date they were performed. The nightly end of day process will not go through until all activities for that day have been billed for.
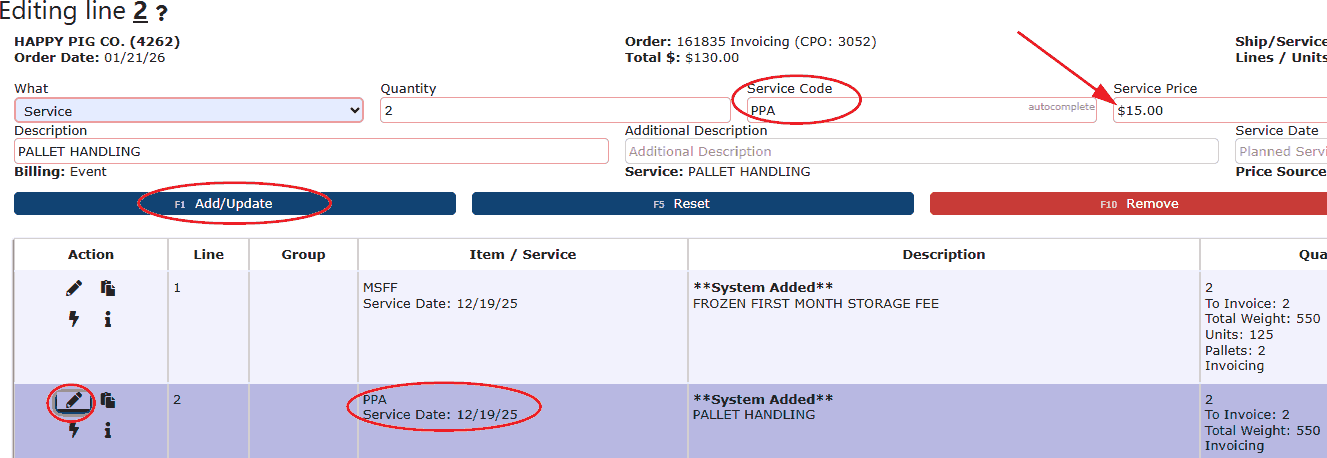
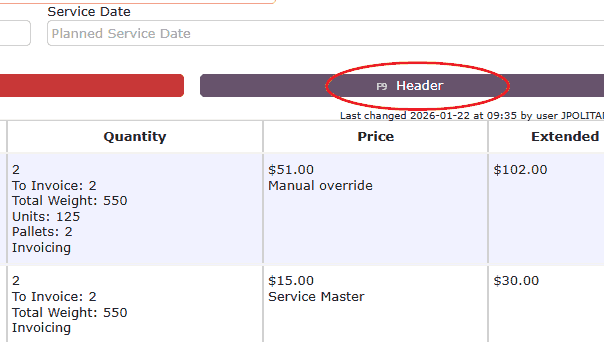
Putaways: Putaway Charge(PPA), First Month Charge(Selected Code)
Anniversaries: Daily, Weekly, Monthly and Monthly on the First (1 anniversary per pallet per day/week/month etc.)
Note: Once billing occurs, an invoice is generated and the number of anniversaries for that date go back to zero
Pull Queues: Warehouse Pallet Pulls(WPP), Pallet Pulls w/ Units(CSPP), Pallet Pulls w/o Units(PP)
Pallet Moves: Pallet Pulls w/ Units(CSPP), Case Picks(CP)
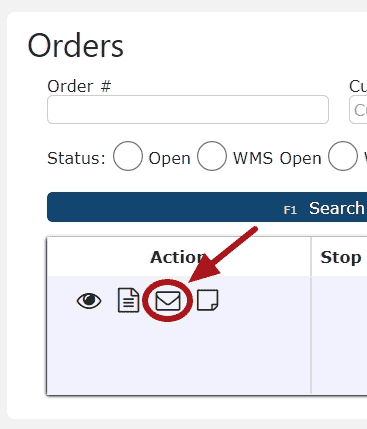
Ownership Transfers: Ownership Transfers (TFR) will automatically generate orders for the customer that the pallets came from
Unbilled Activity:
Pallet Moves: Moves within the warehouse to non-manifest bins
Inventory Adjustments: Adjusts the amount of units on a pallet either by decreasing or increasing the amount
Move Inventory Units: Moving units from one pallet to another
Scan Inventory Units: Moving units with catch weights from one pallet to another
Cycle Counts: Use the Manual Physical or the Slot Count/Verify to take inventory counts