Inbound WMS Activity (Putaways)
A putaway is a billable warehouse action that places received pallets into inventory.
Once a putaway is performed, the pallet(s) are officially entered into inventory and become available for tracking, movement, and billing.
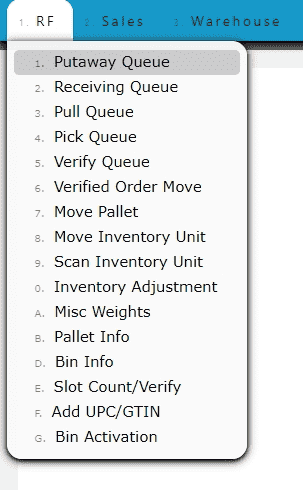
General Putaway Process
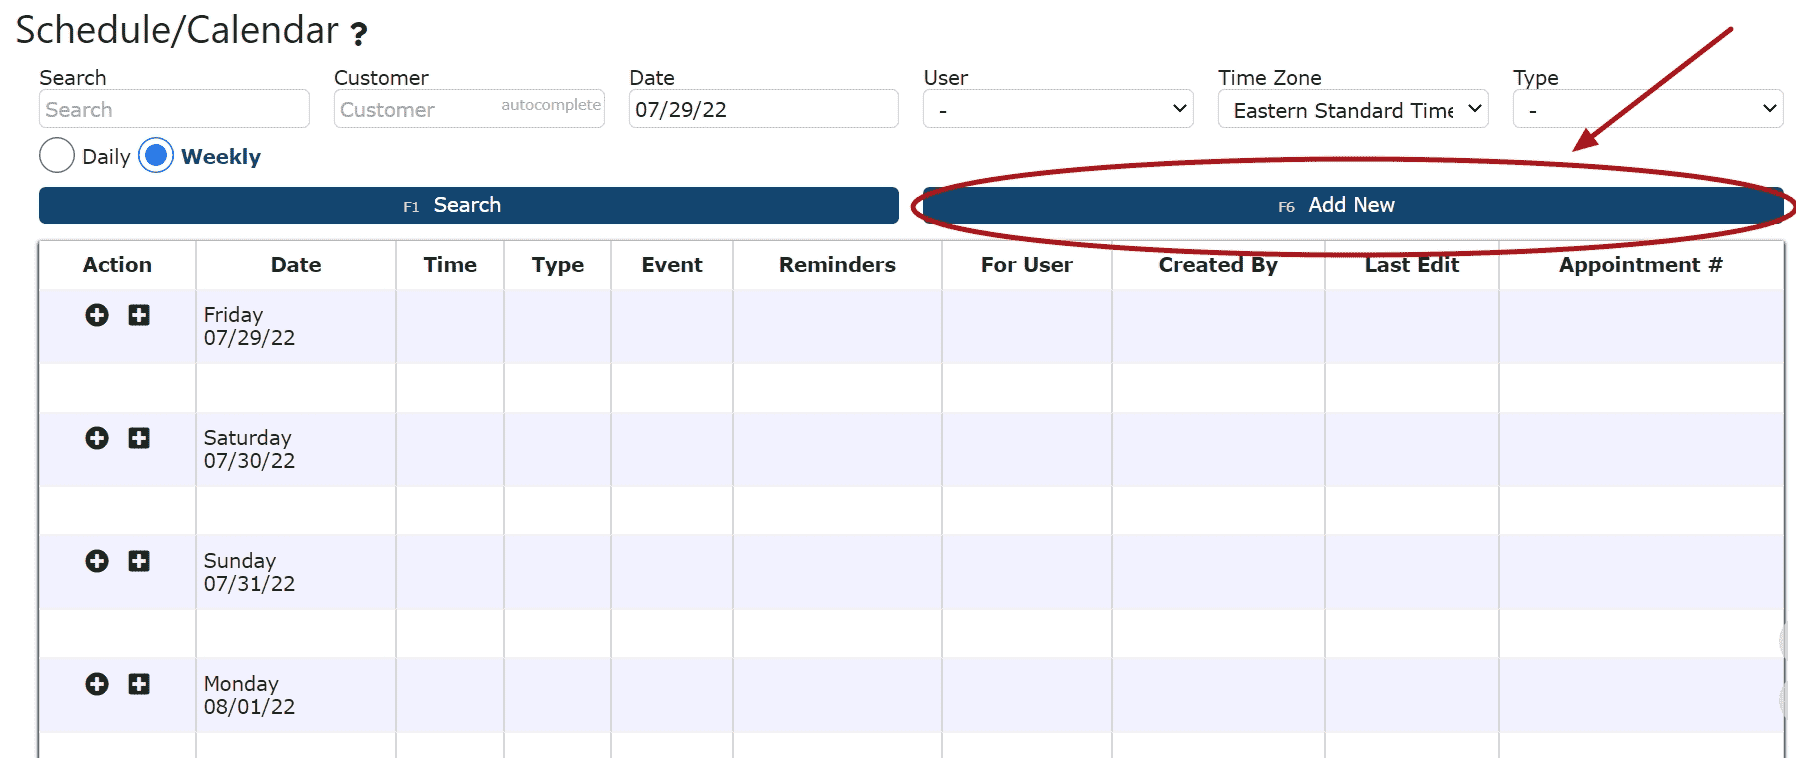
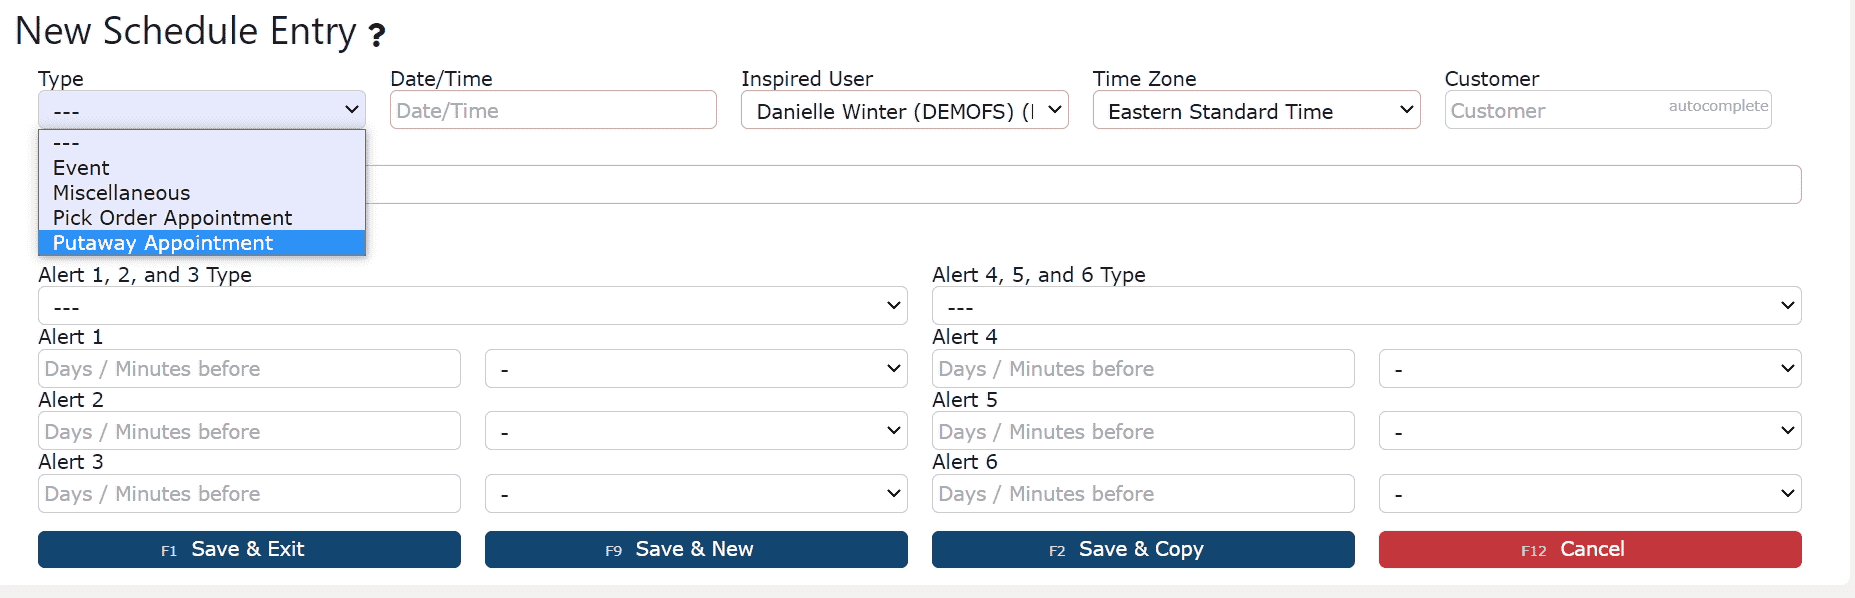
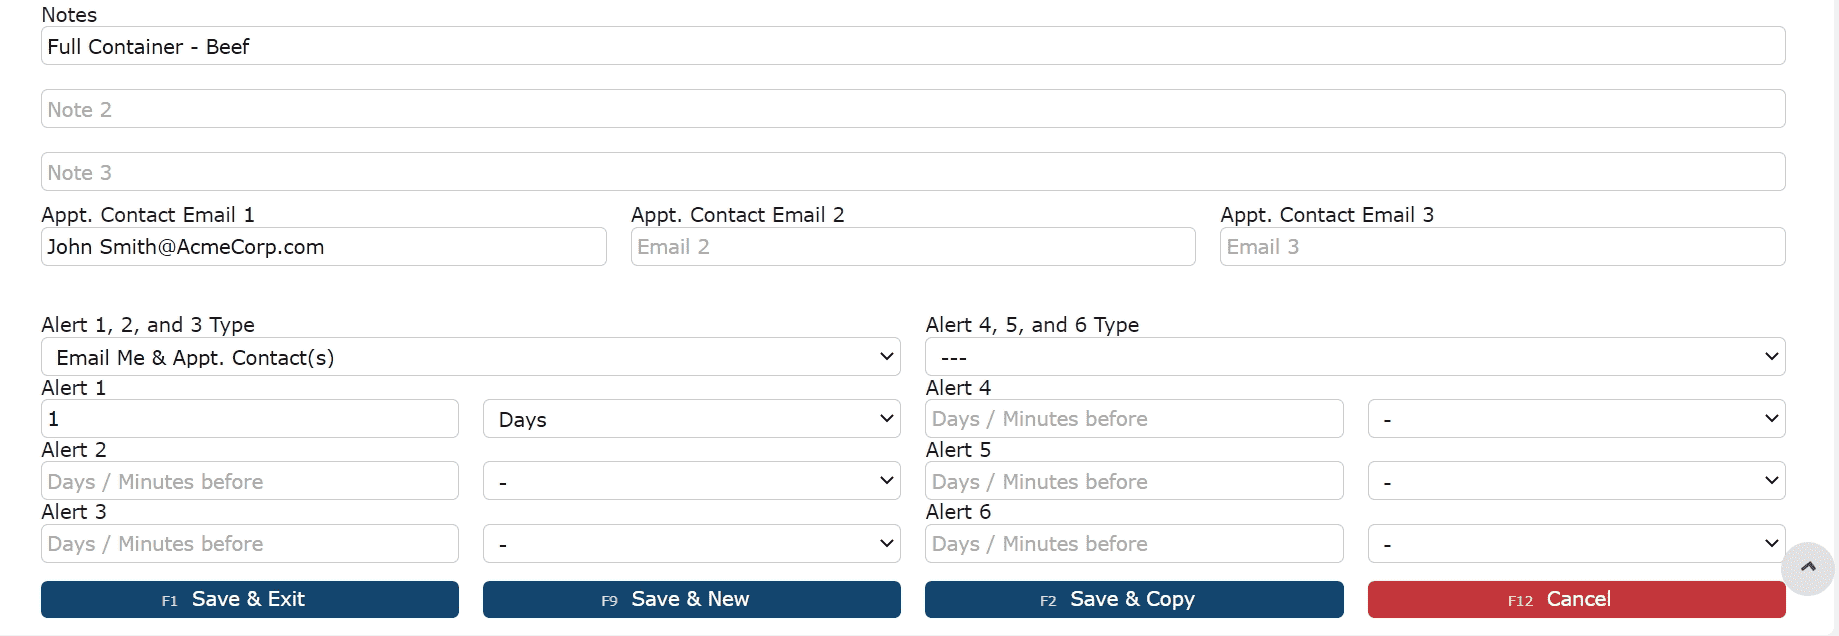
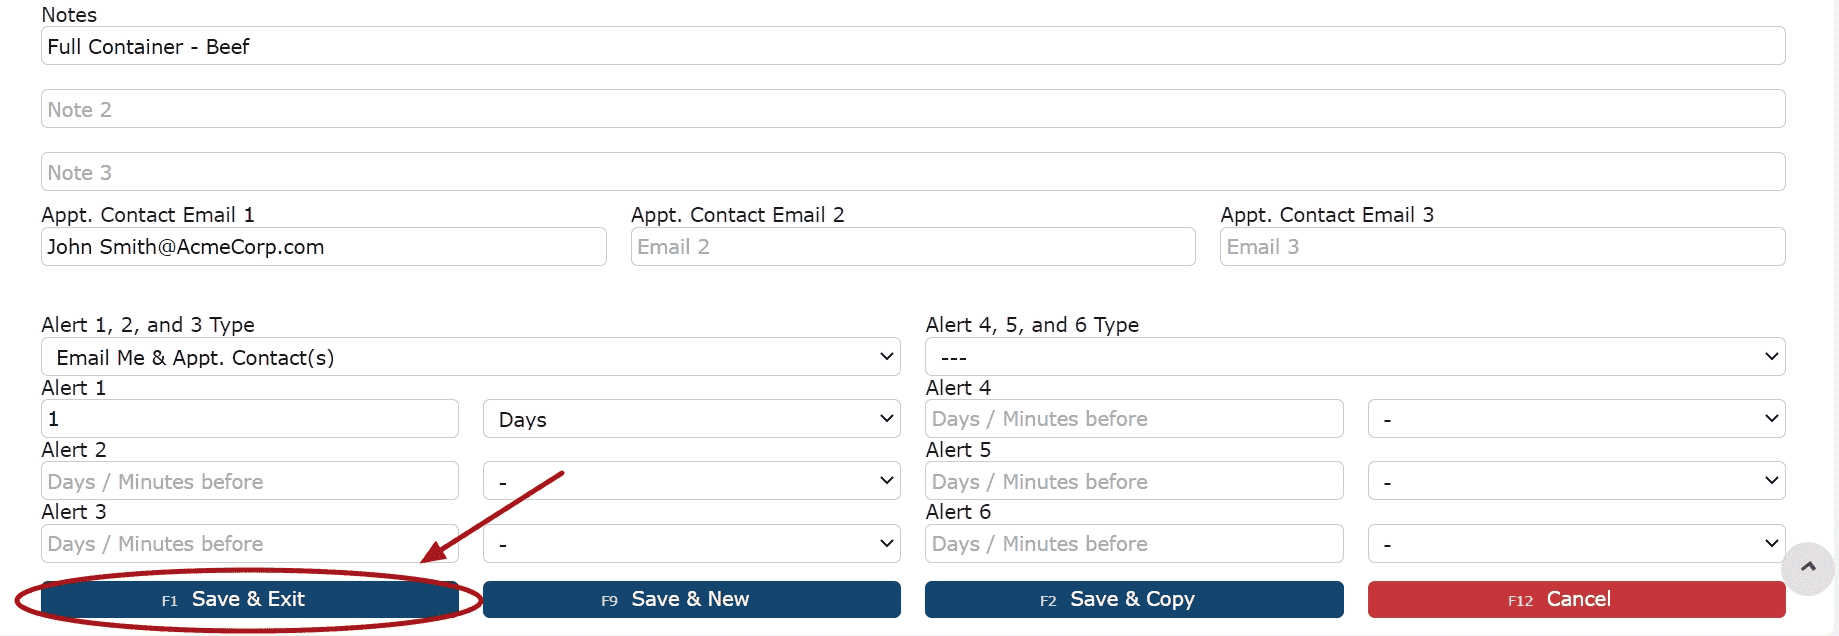
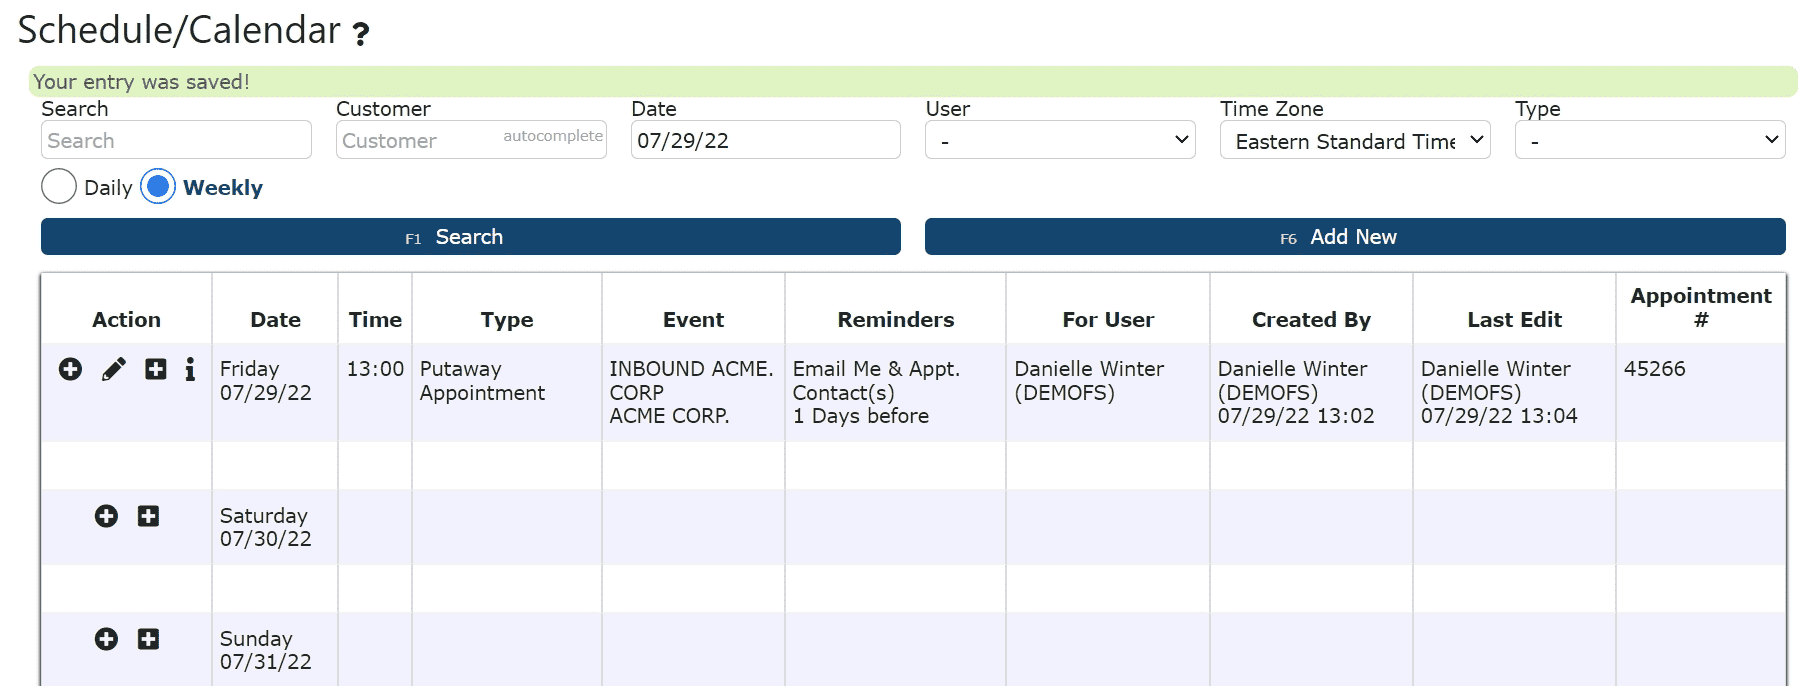
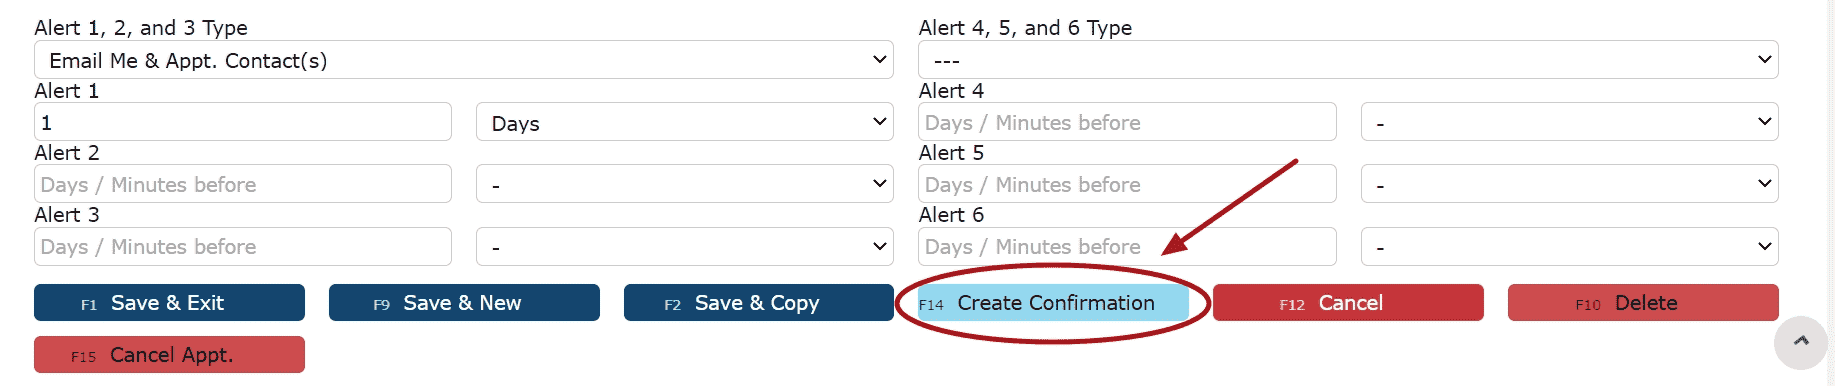
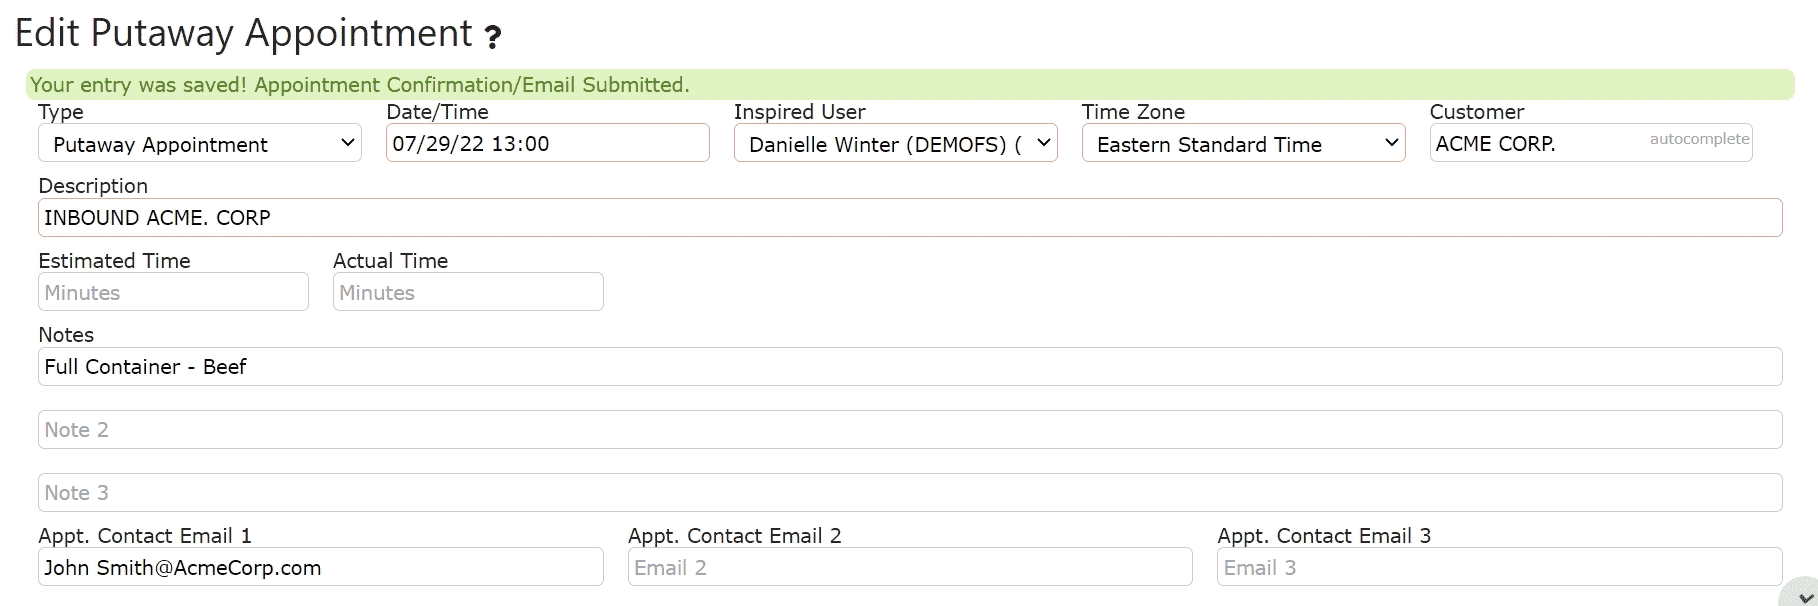
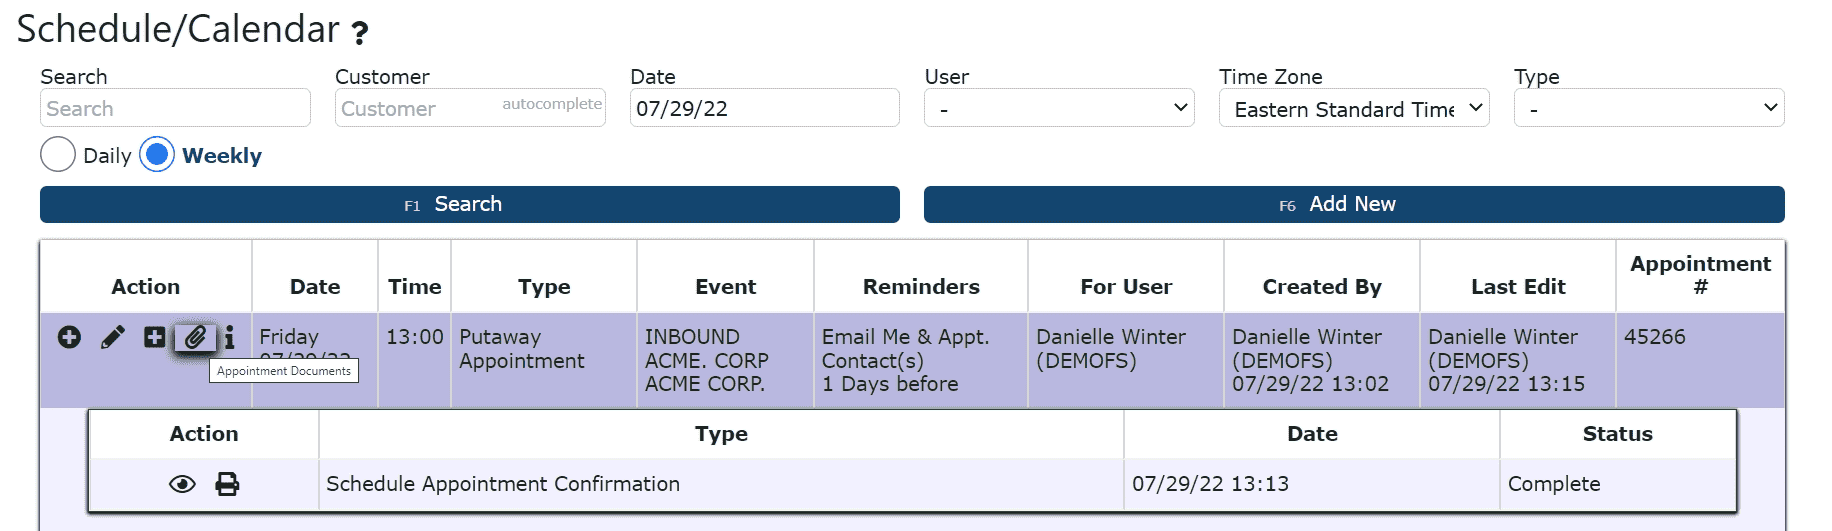
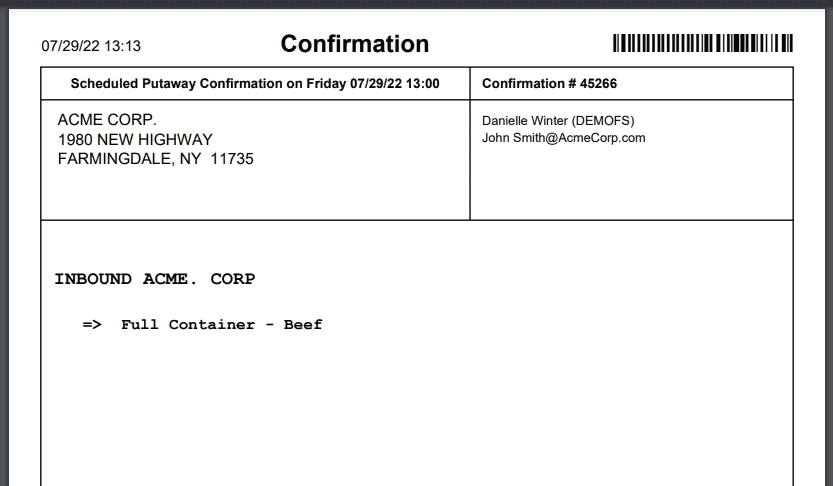
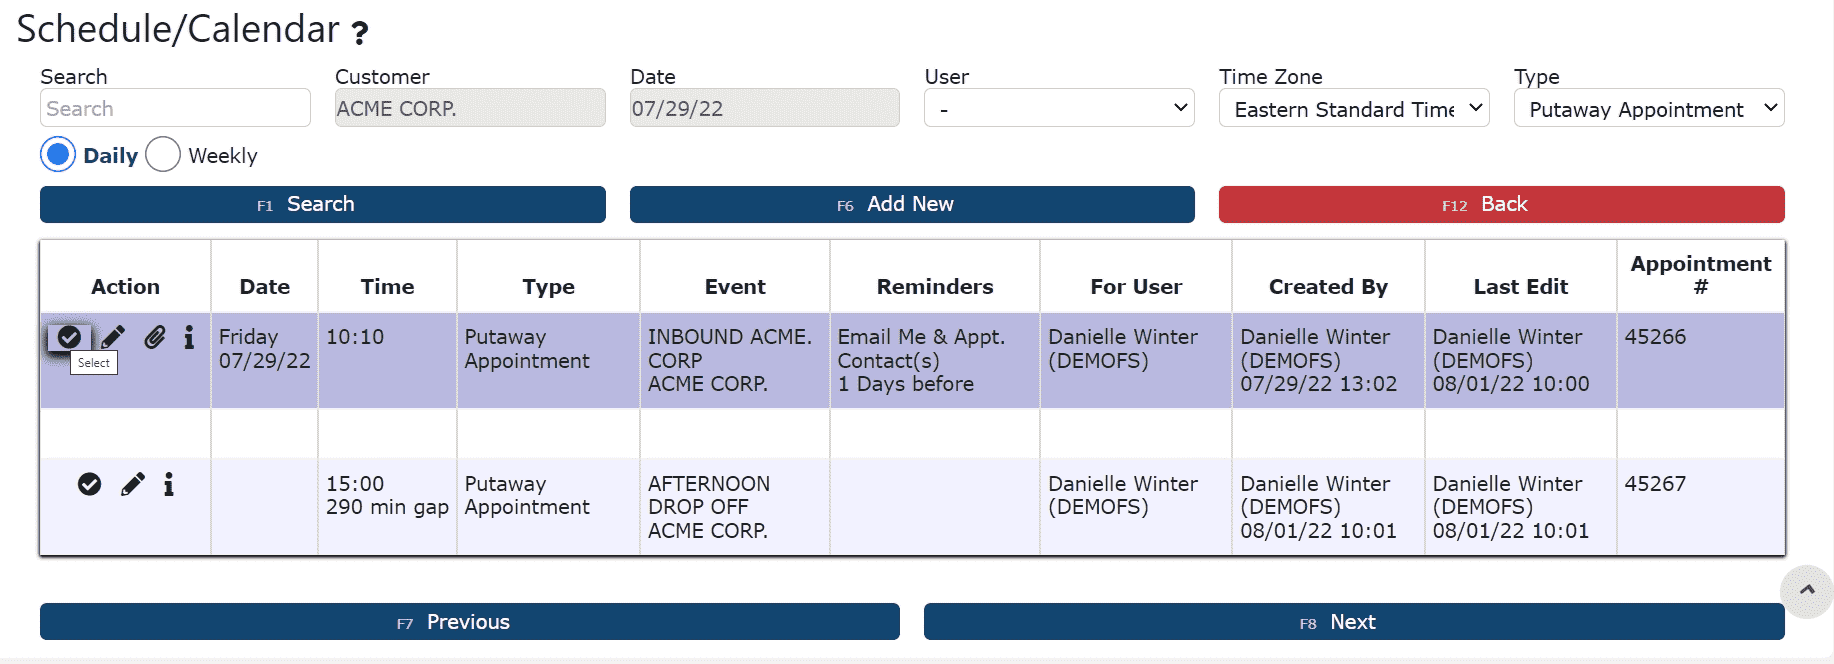
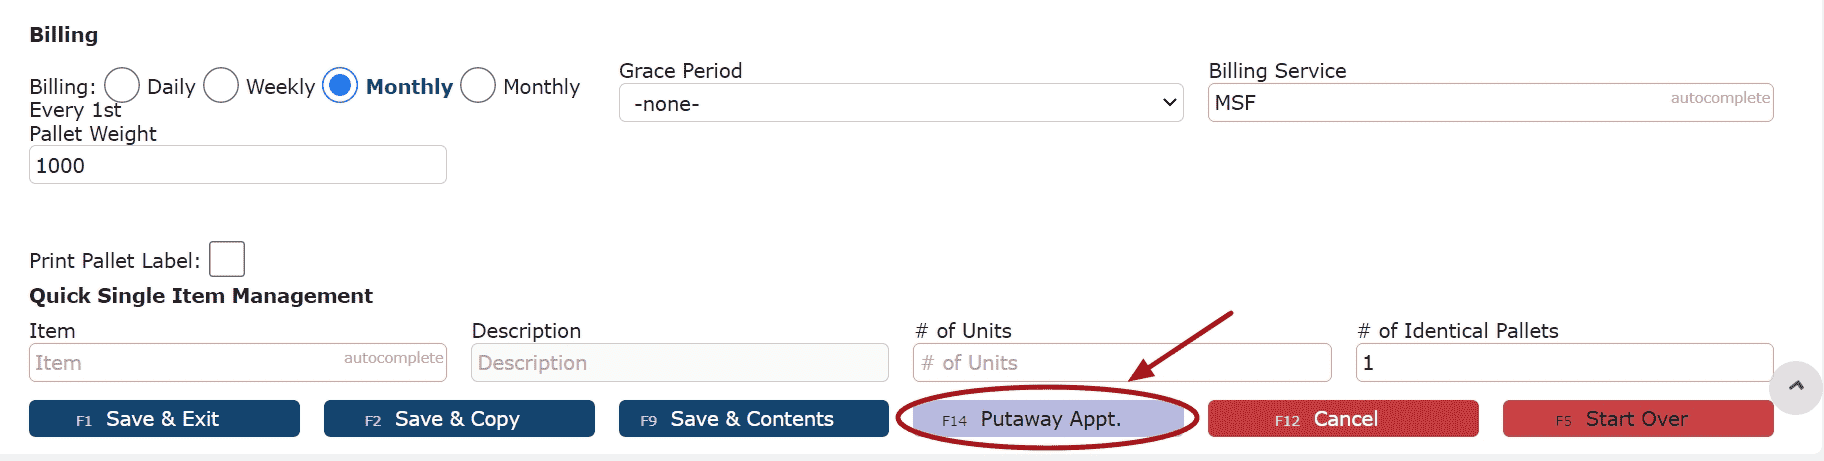
1. Schedule the putaway (optional)
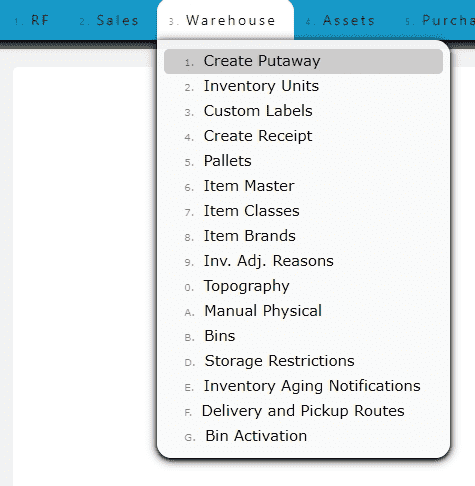
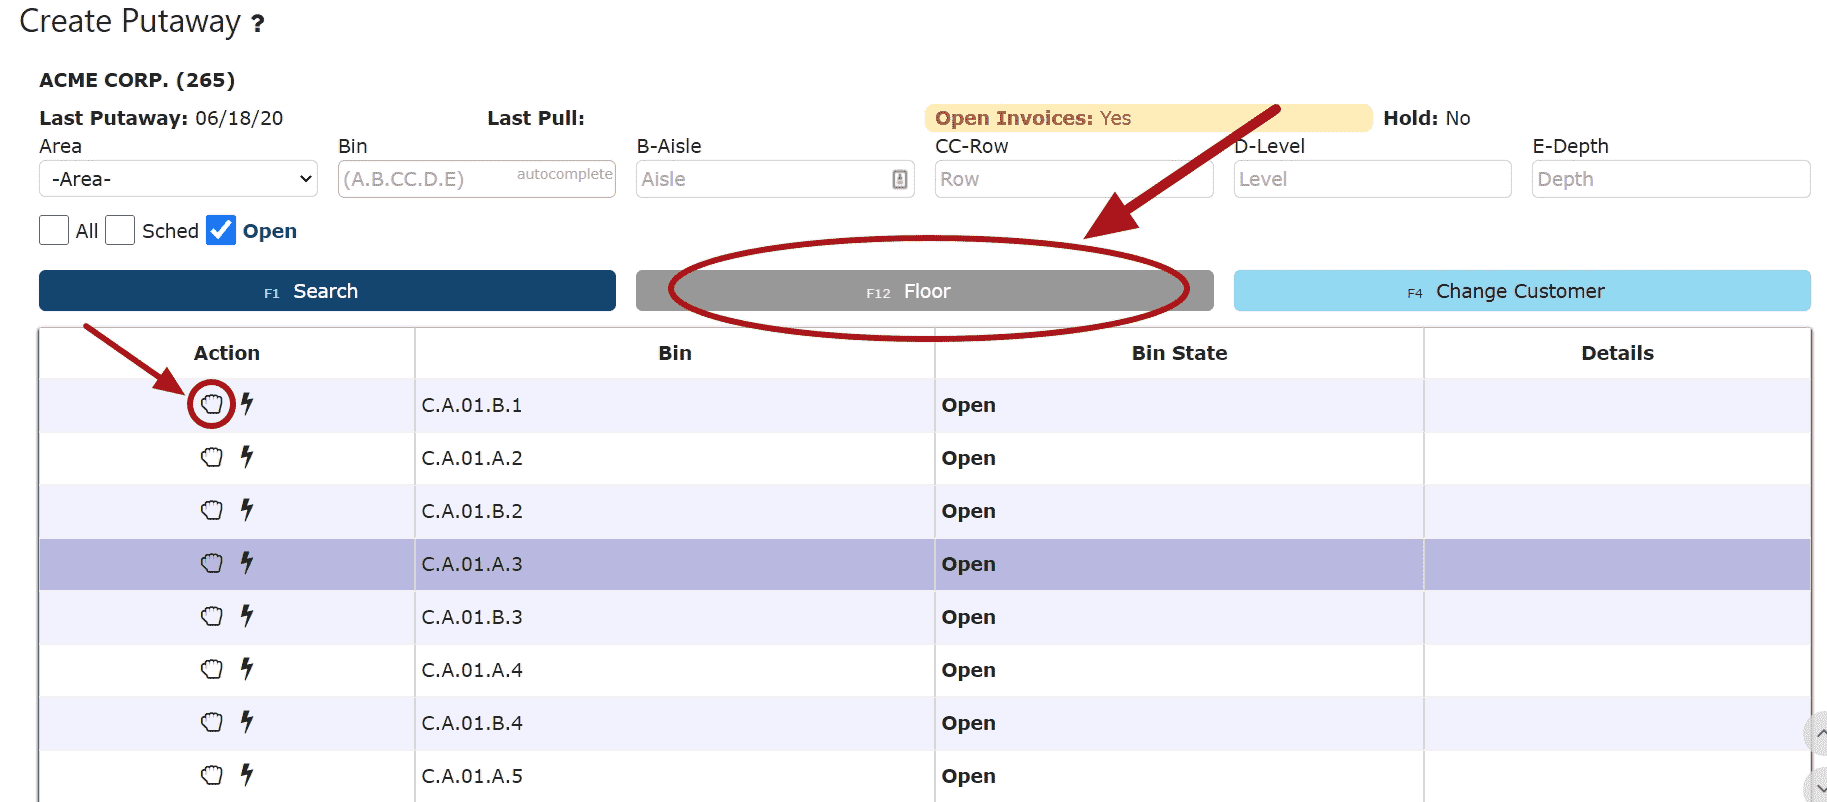
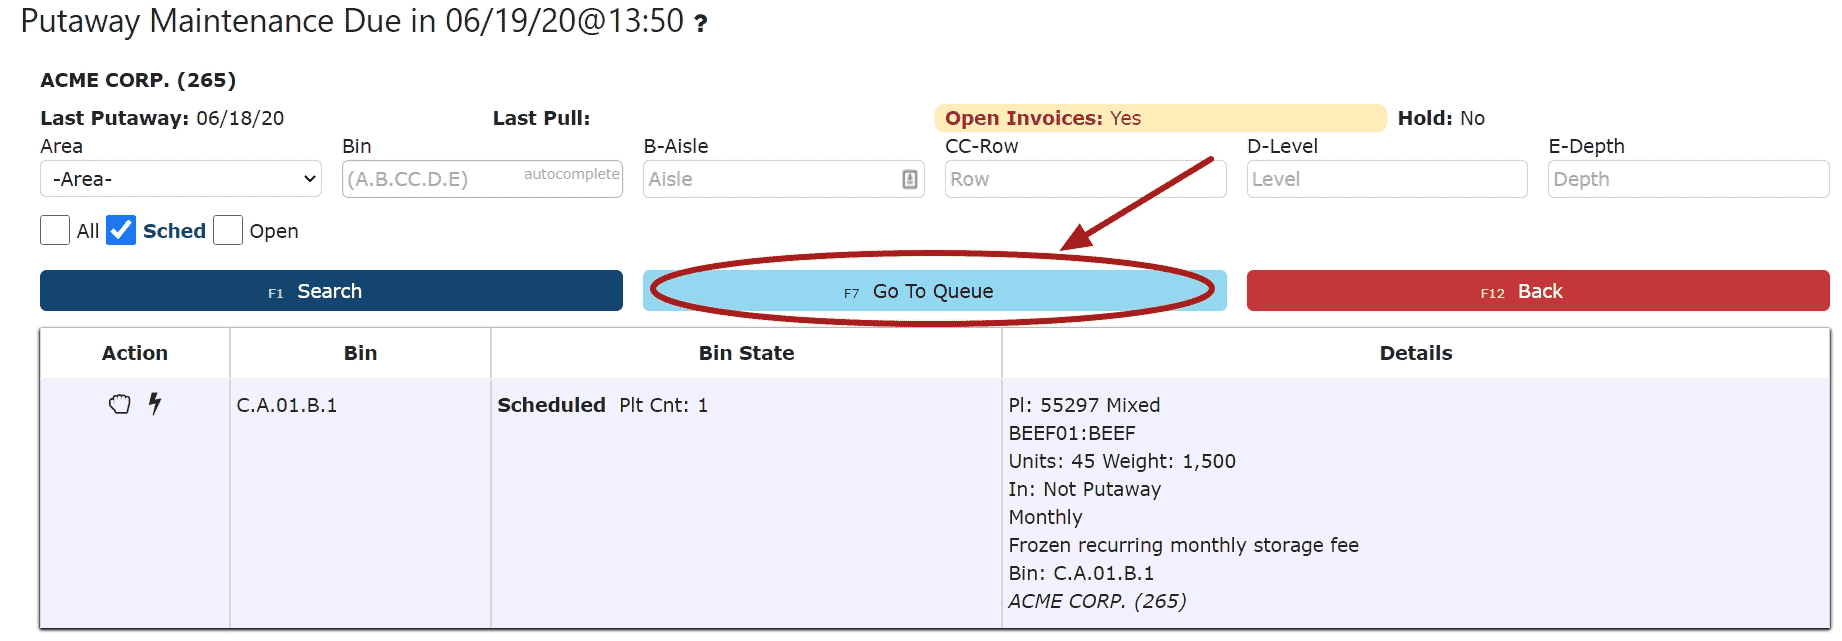
2. Create the putaway
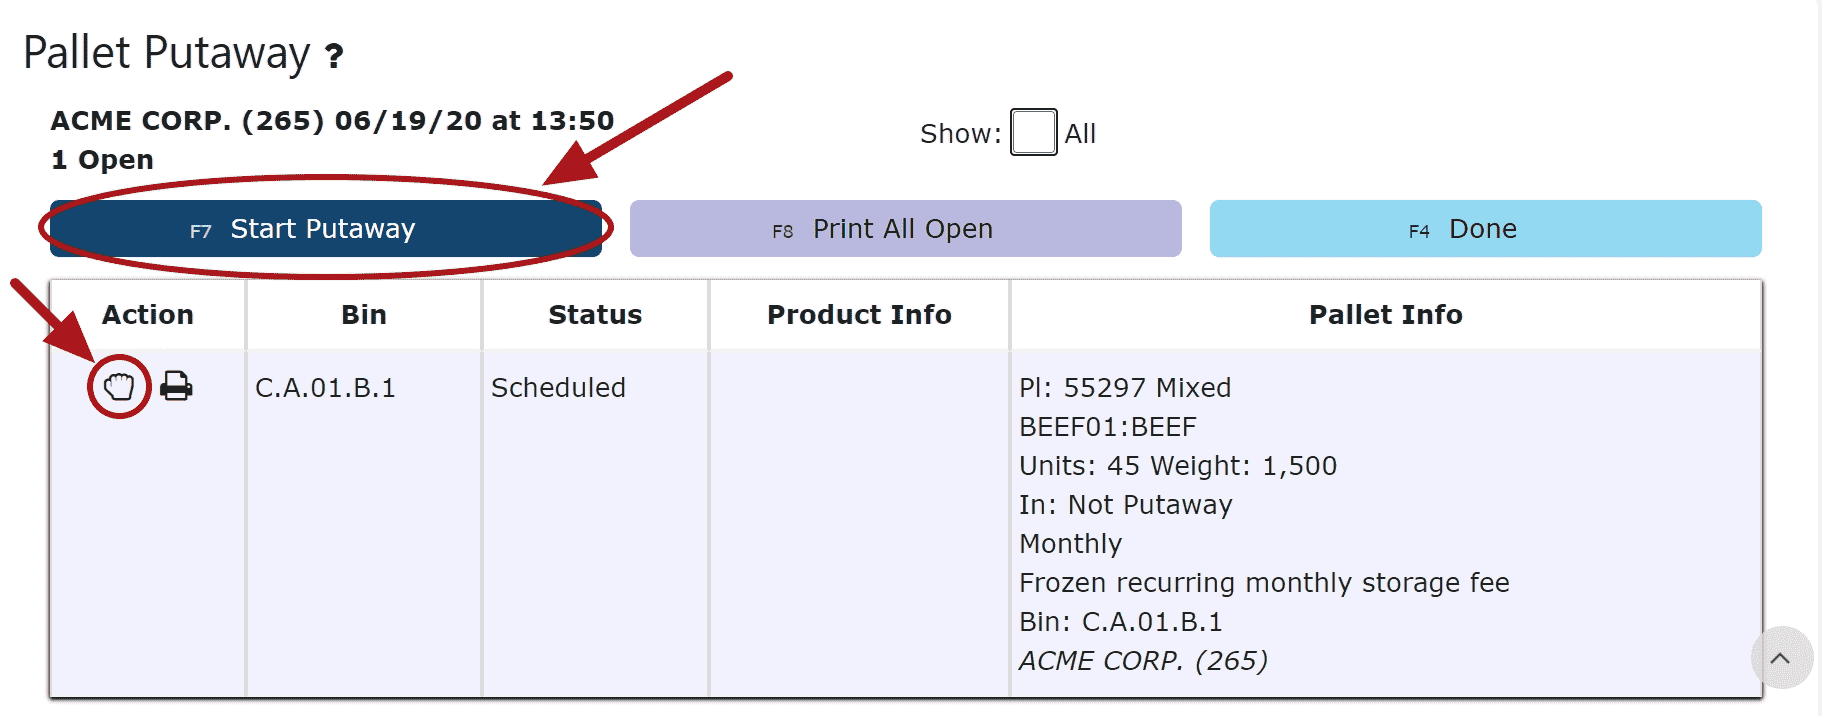
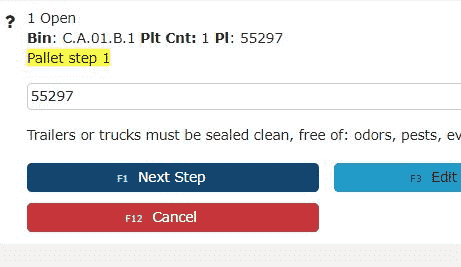
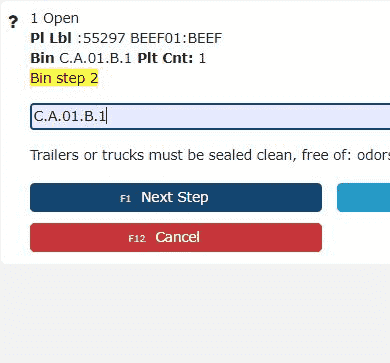
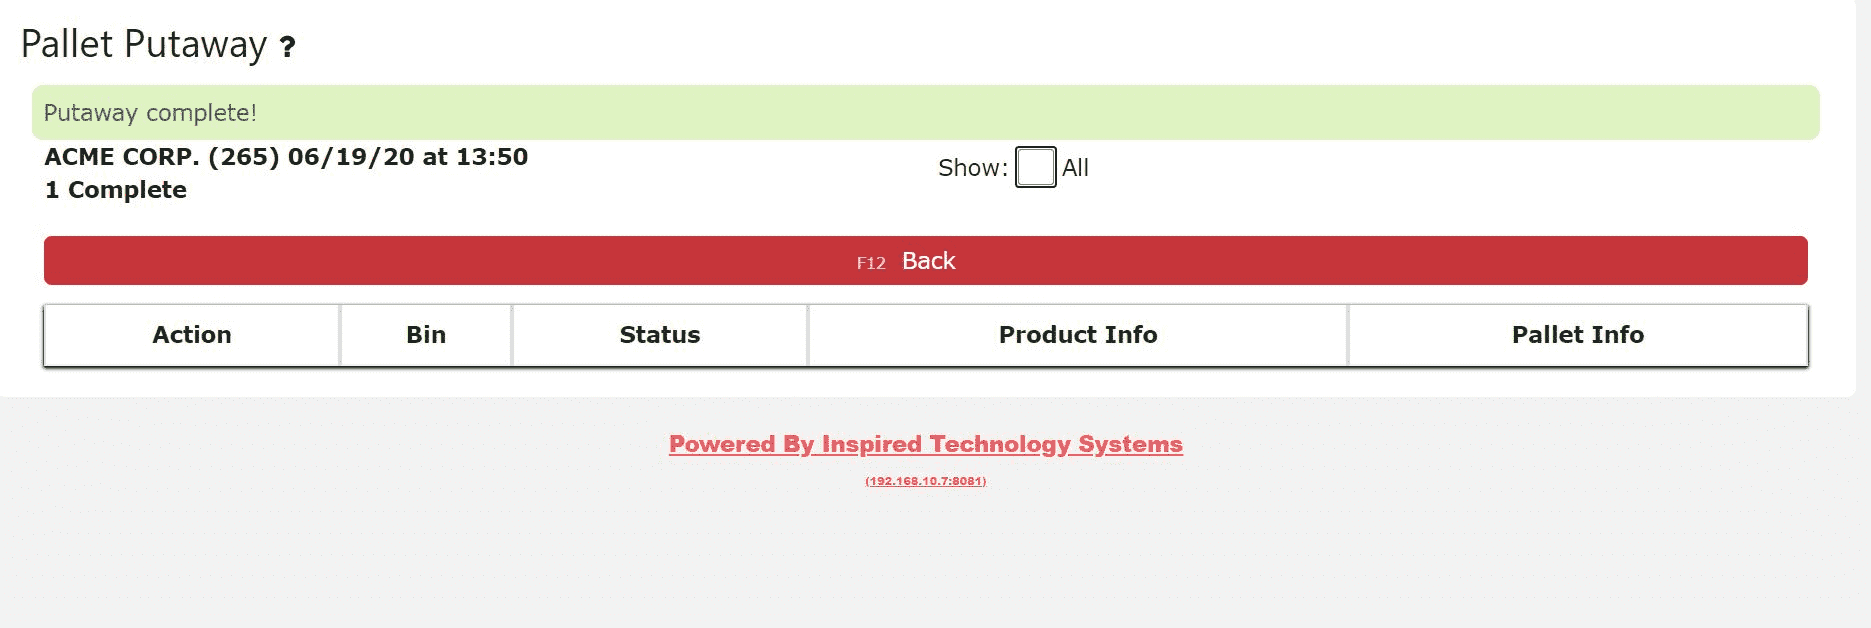
3. Perform the putaway (pallet(s) are now officially in inventory)
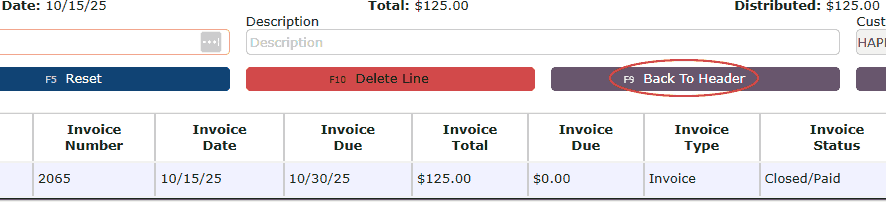
4. Bill the putaway
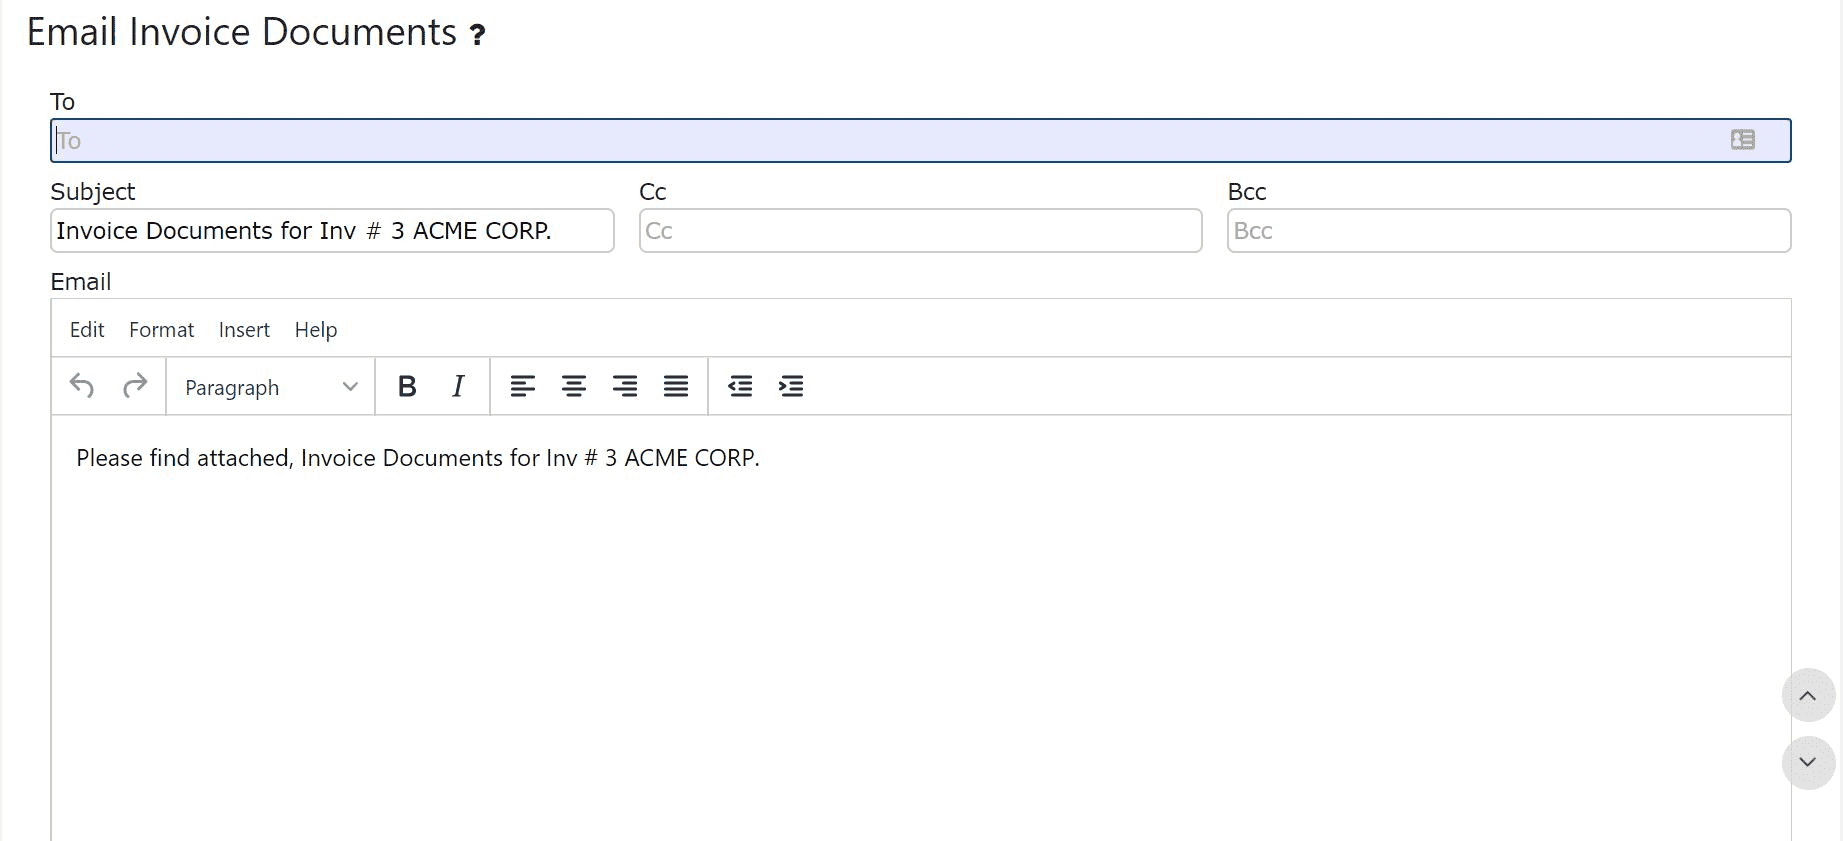
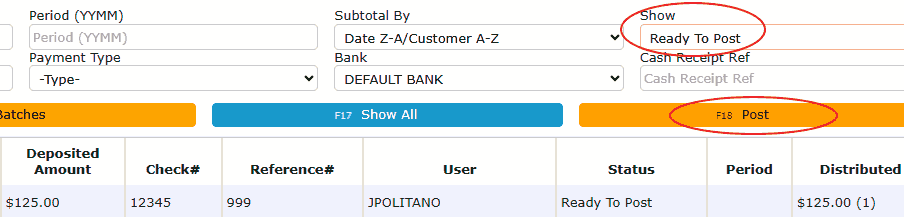
5. Invoice the putaway
Putaway Overview
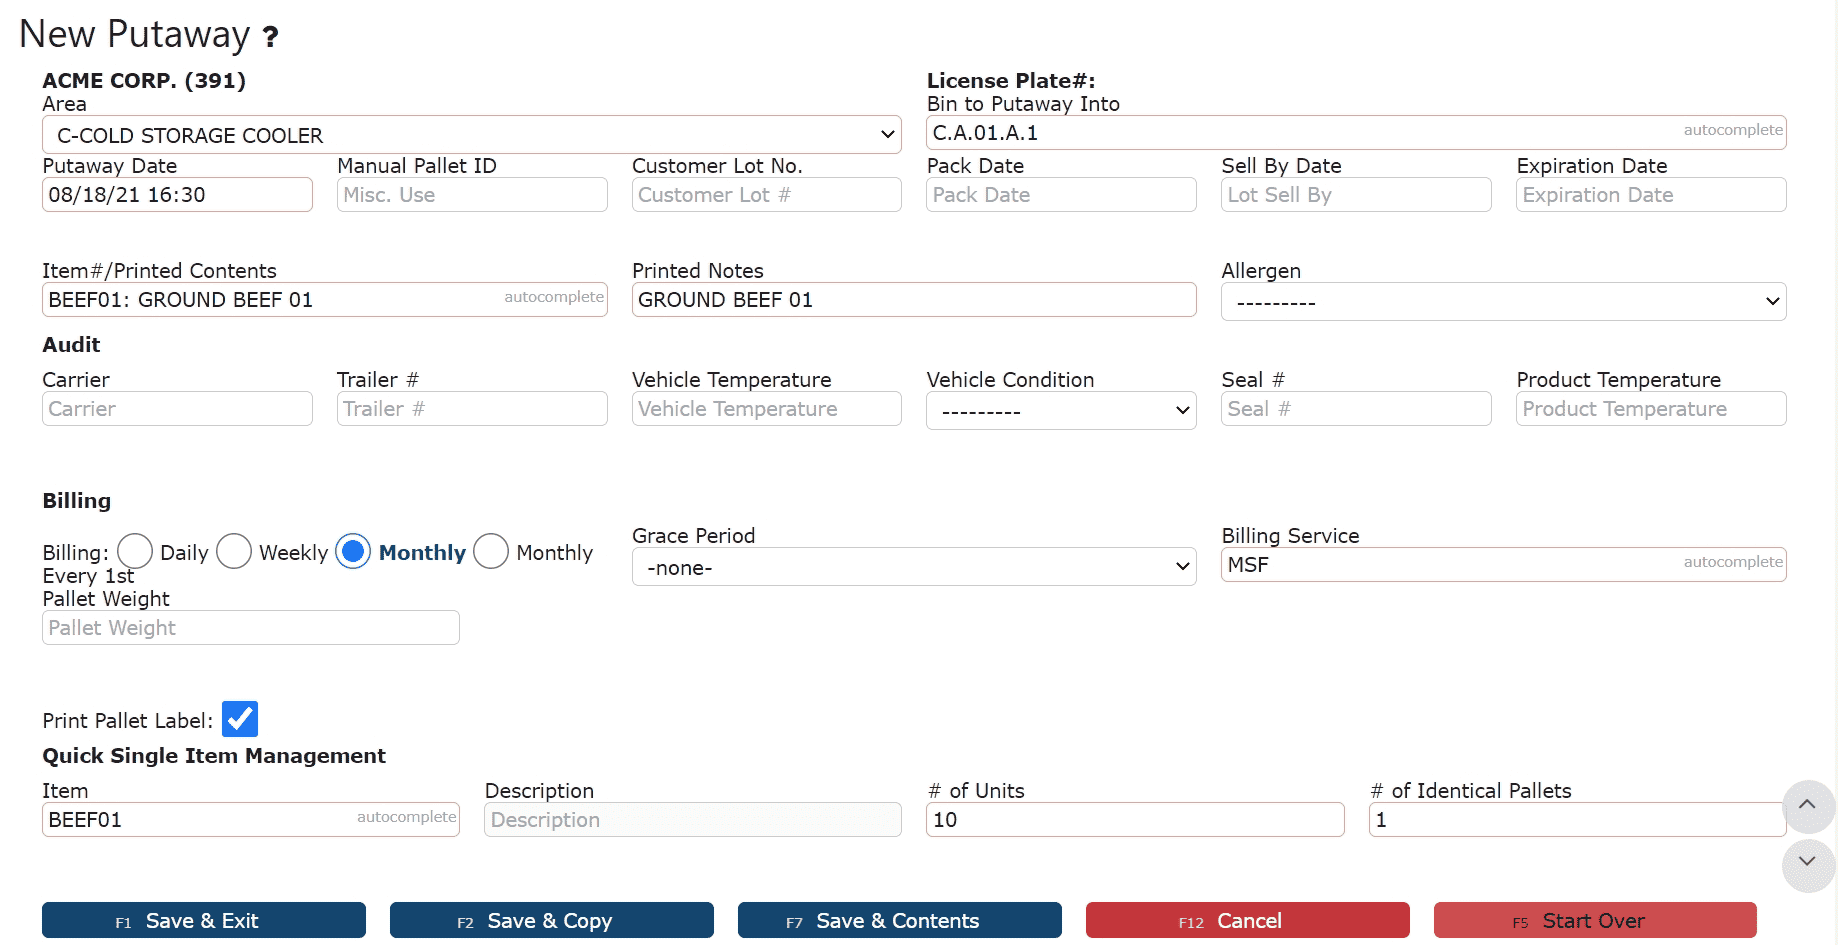
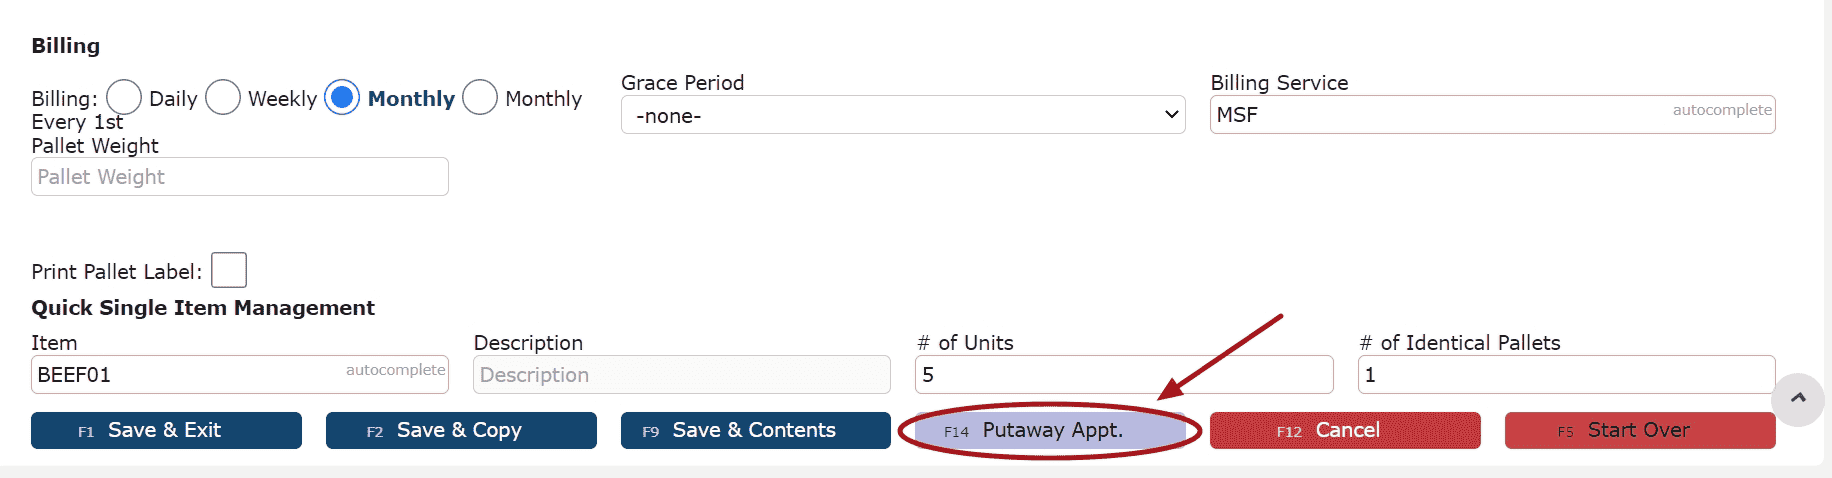
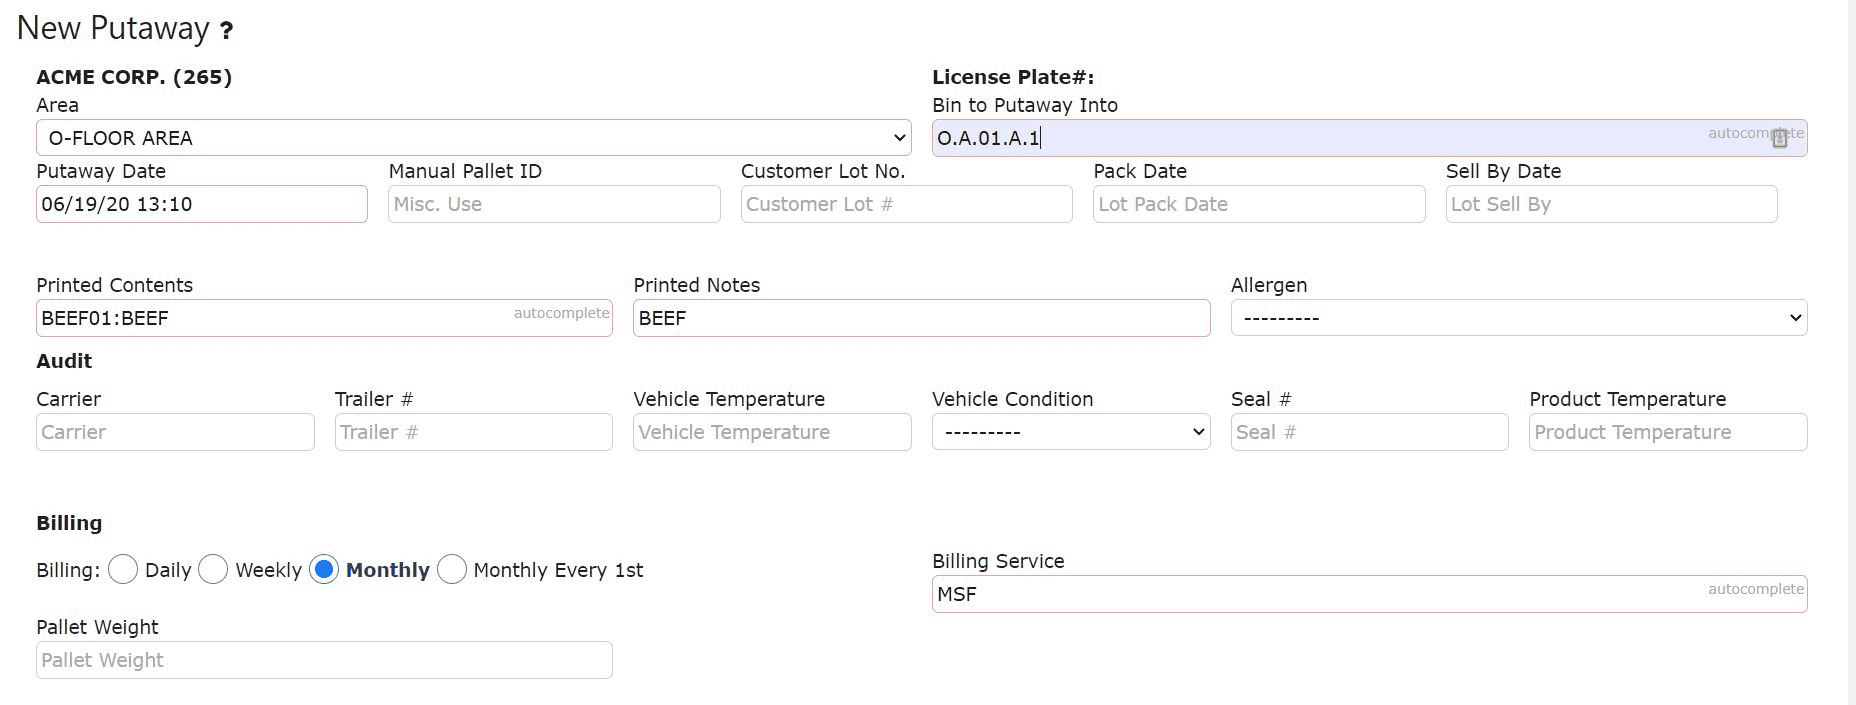
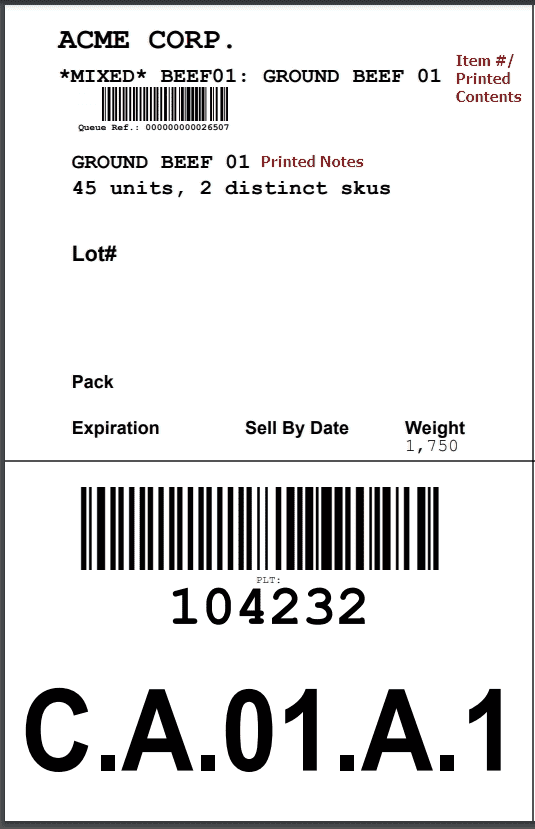
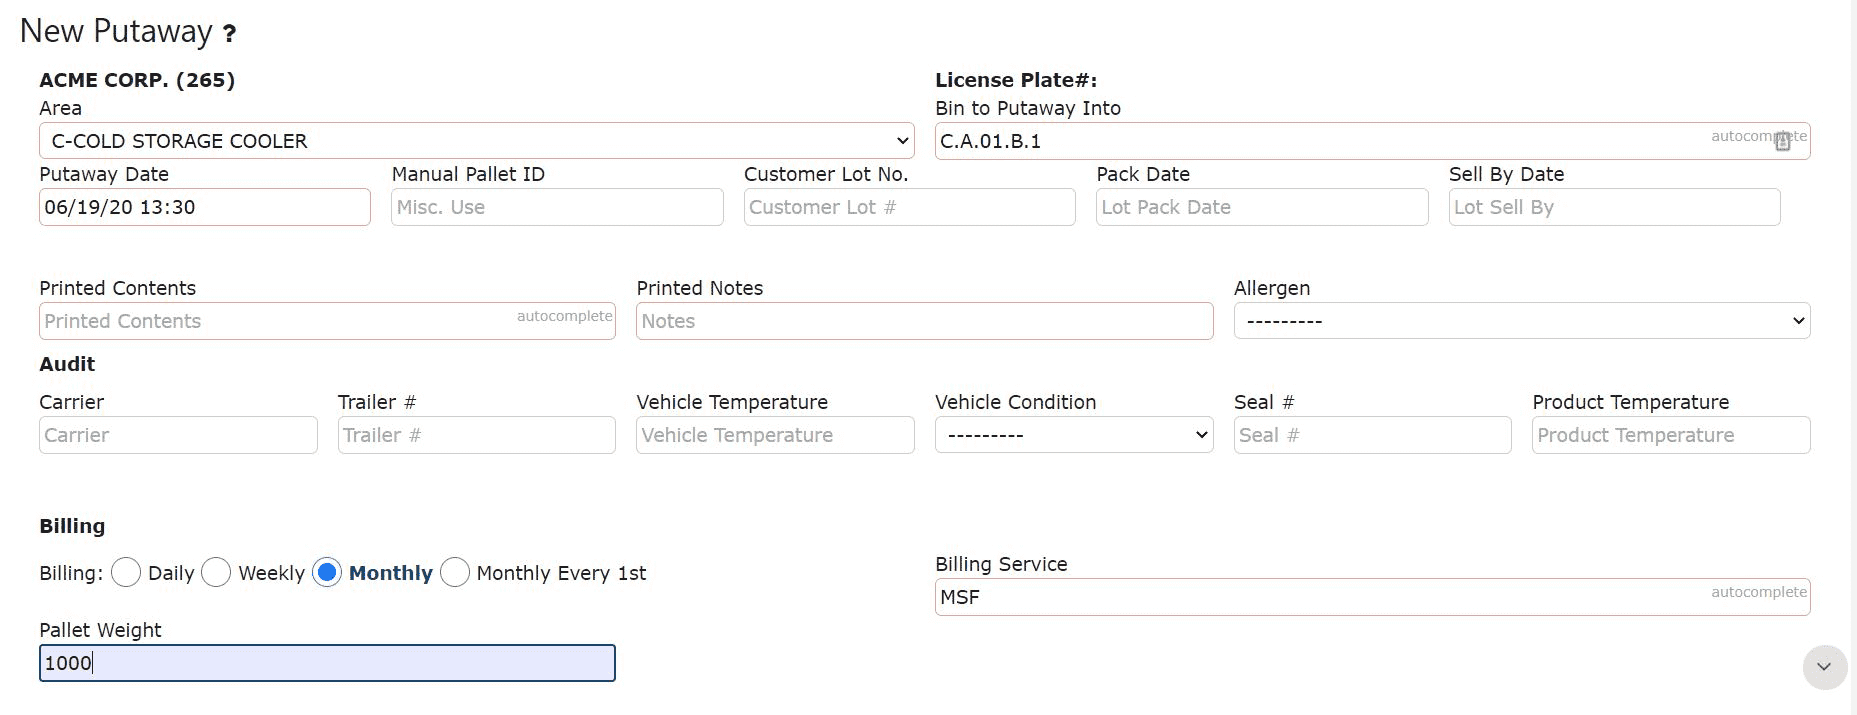
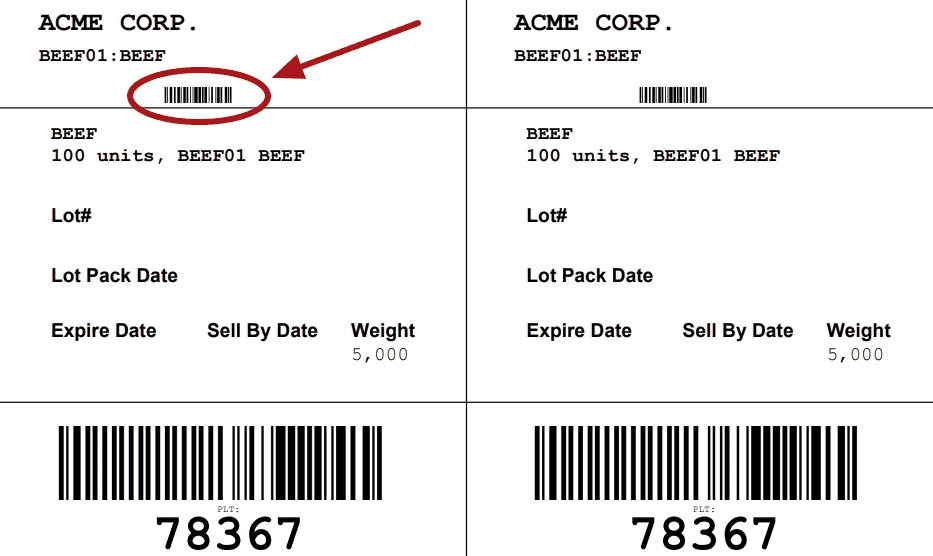
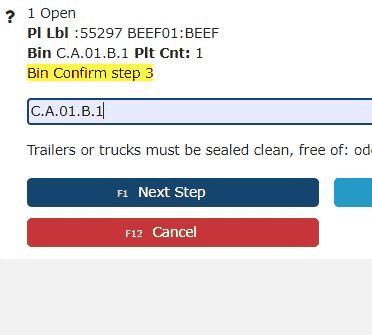
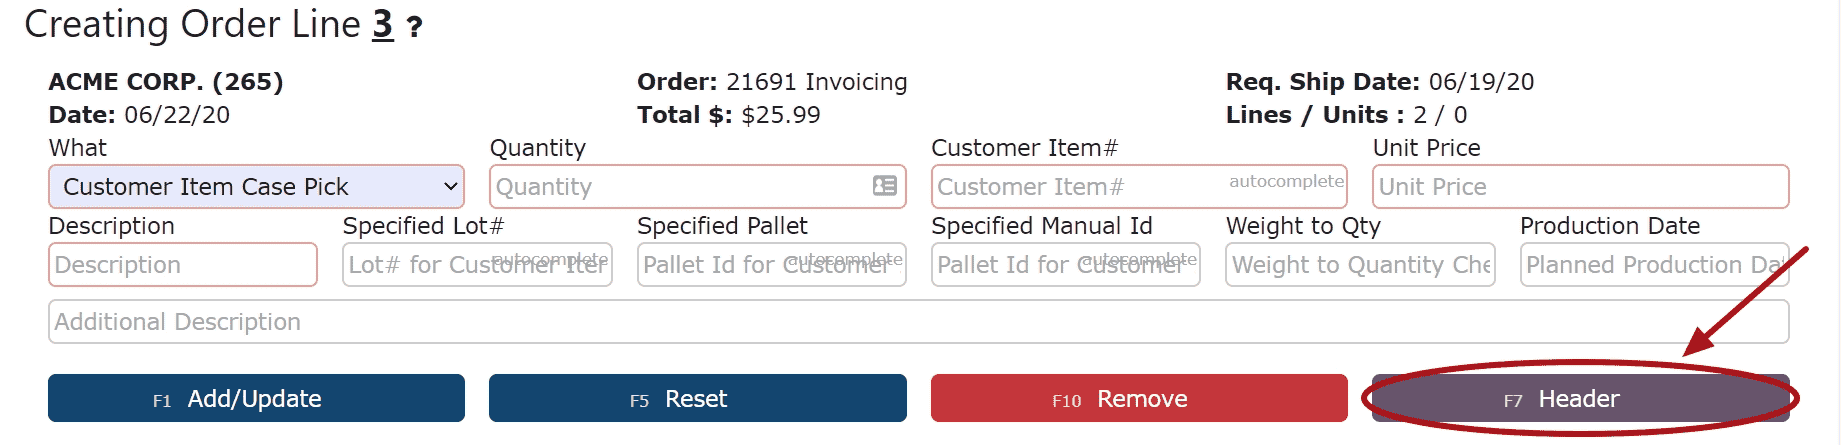
During a putaway, users assign inventory to a bin and define key details such as item, quantity, and billing configuration.
Key fields include:
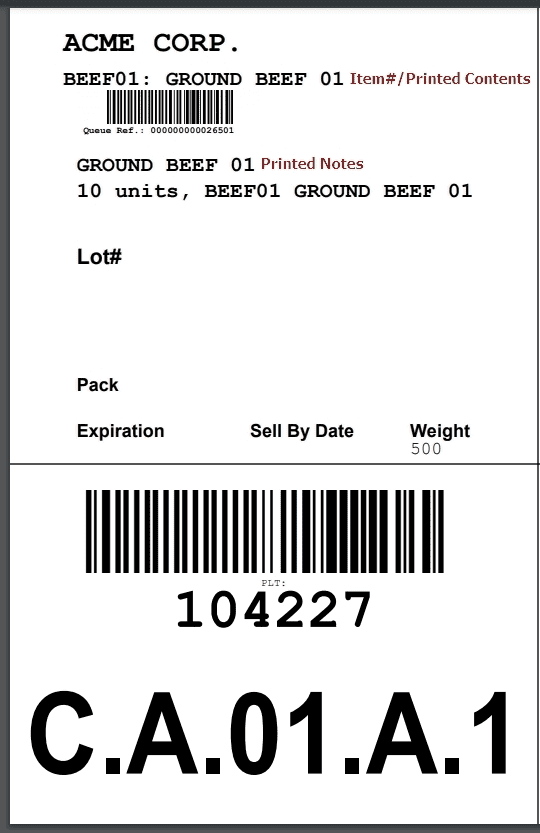
• Bin to Putaway Into – Final storage location
• Item / Description – Product being received
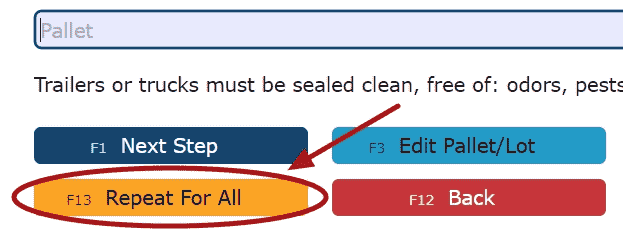
• # of Units / # of Identical Pallets – Quantity and pallet count
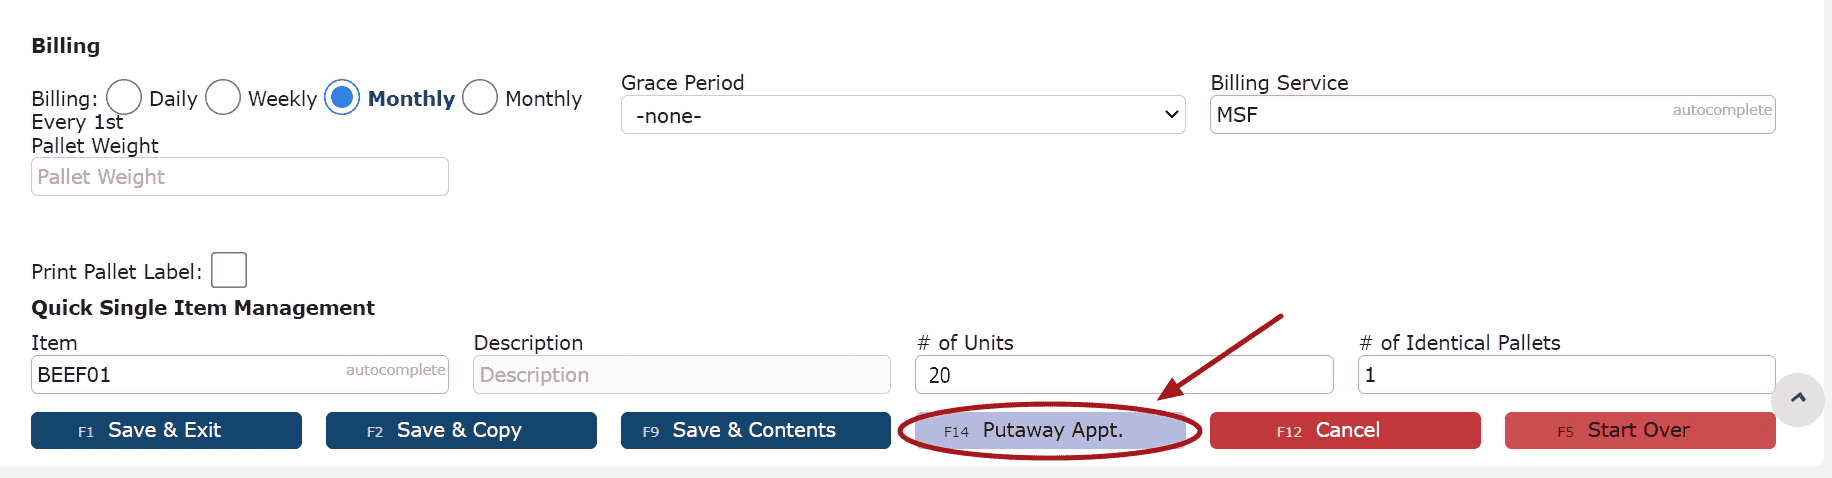
• Billing (Daily / Weekly / Monthly / Monthly Every 1st) – Storage frequency
• Billing Service – Determines how the activity is charged
• Grace Period – Delays initial storage billing if applicable
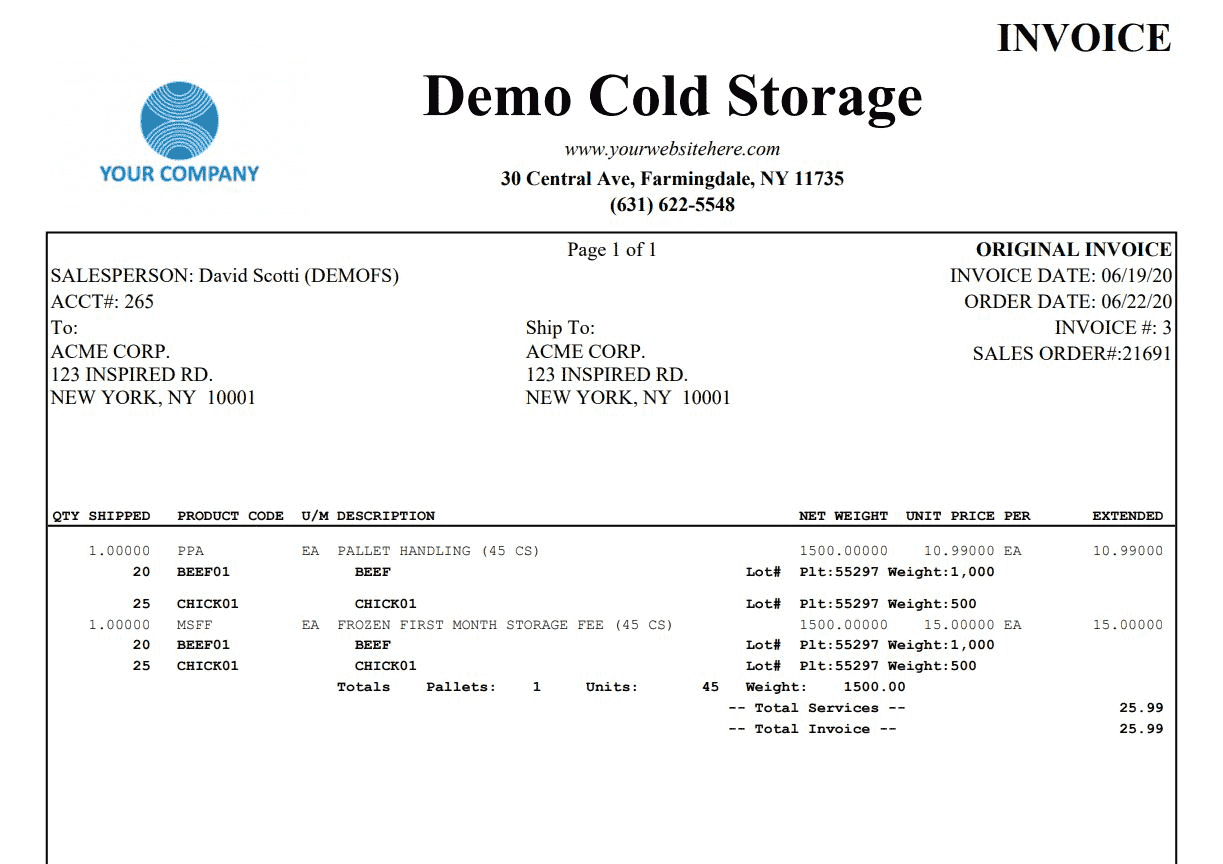
Putaway Billing
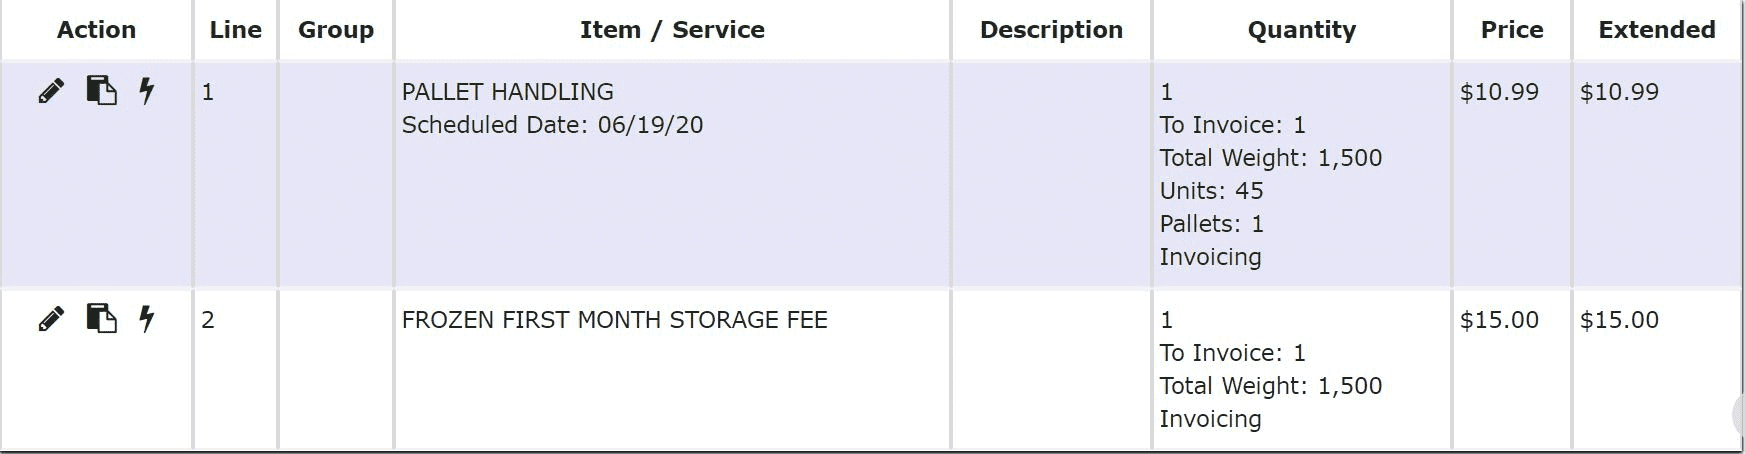
Each putaway that is created and performed will automatically generate one initial billing order, which includes:
• 1 Pallet Handling Fee per pallet
• 1 First Month / Week / Day Charge per pallet
These inbound charges are typically billed immediately.
Grace Period Behavior
If a Grace Period is selected during putaway:
• The First Month / Week / Day charge is delayed until the grace period expires
• If the pallet remains in inventory after the grace period, the charge is automatically billed and invoiced
• If the pallet leaves inventory before the grace period ends, the charge is not billed
Recurring storage billing is not affected by the grace period and continues based on the original received date.
Recurring Billing
For as long as the pallet remains in inventory:
• A recurring anniversary charge is automatically generated
This results in:
• 1 Recurring Charge per pallet per billing cycle
Note: Any anniversary charges that fall on floating calendar dates will automatically be dated for the last day of that month, and the billing and invoicing of that charge will occur on the first of the following month.
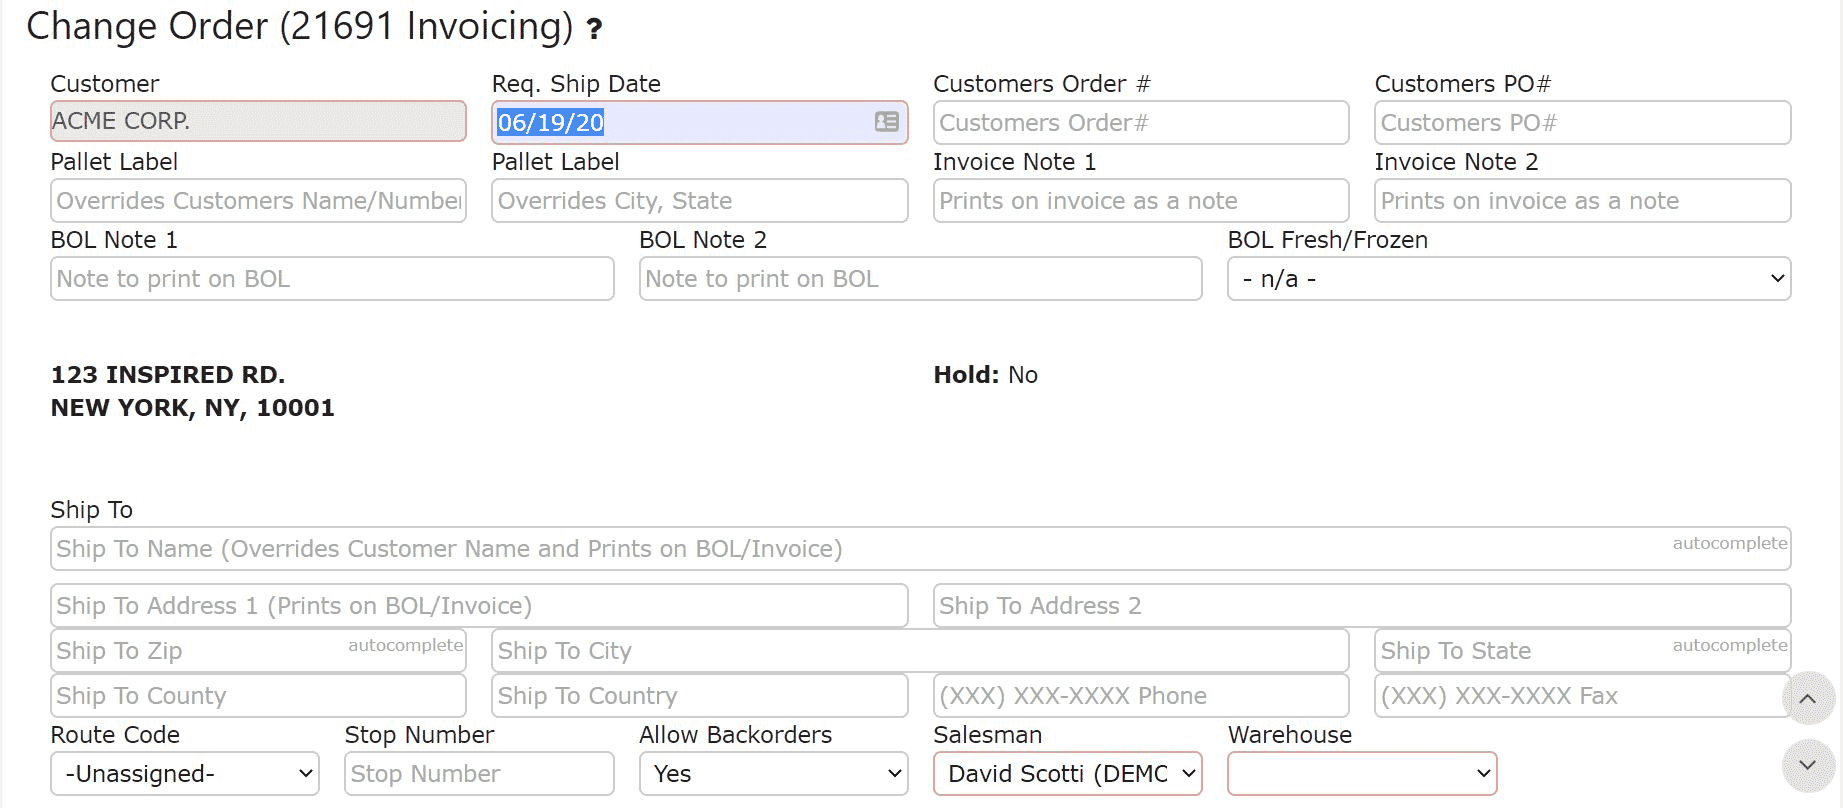
How Putaways Flow into Billing
Once putaways are completed:
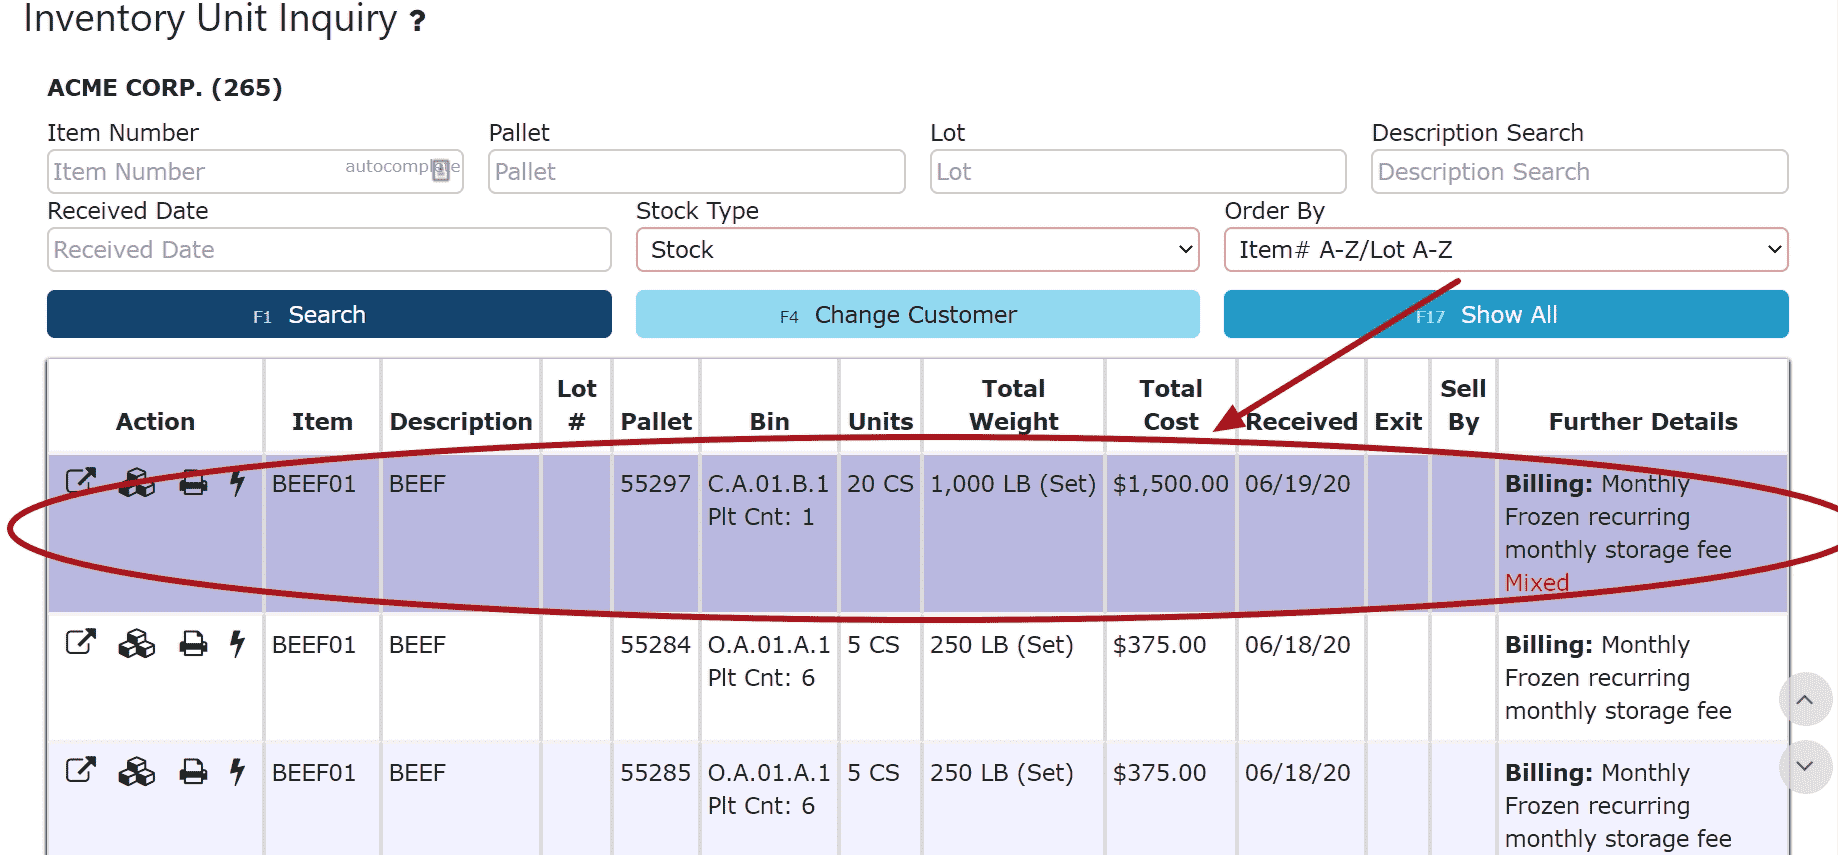
• Inventory is stored and tracked in the system
• Billing is generated based on:
• Pallet count
• Billing service
• Storage frequency
• Grace period (if applicable)
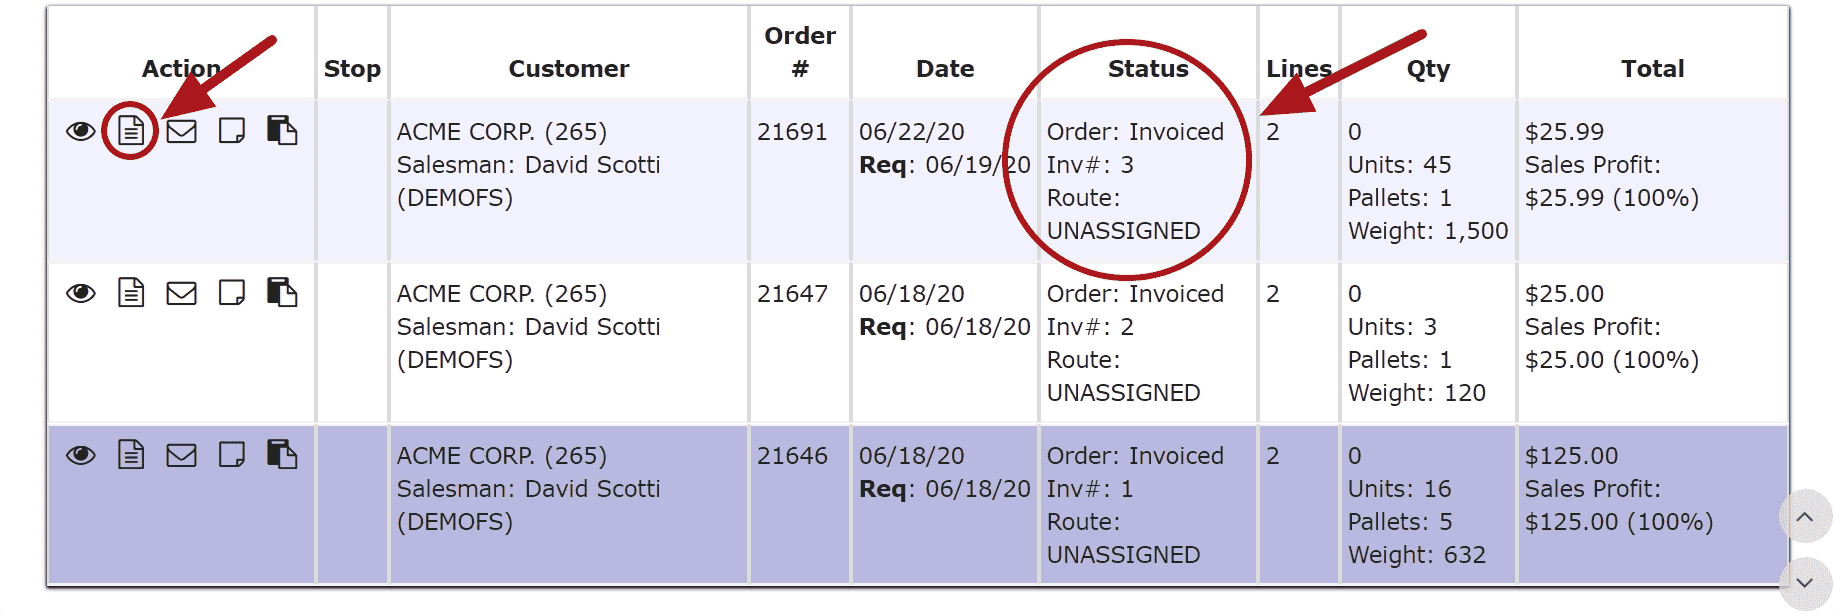
Each putaway directly drives what appears in WMS Activity Billing and ultimately on the invoice. Putaway transactions remain tied to the inventory throughout its lifecycle. As pallets remain in storage, recurring storage charges continue to generate based on the selected billing frequency. Once inventory leaves the warehouse, storage billing stops and no additional recurring storage charges will be generated for those pallets.
Understanding how putaways affect inventory and billing is important because the information entered during the putaway process determines how storage charges, handling fees, and recurring billing are calculated going forward.